How to Start a Food YouTube Channel and Earn Money in 2026
Learning how to start a food YouTube channel is a practical way to turn cooking you already do into an audience and, in time, an income. Food is one of the most searched topics on YouTube, and viewers look for recipes they can cook tonight. You do not need professional training, a big kitchen or an expensive camera. You need a clear angle, recipes you have tested, and a steady upload habit. This guide shows you how to set up the channel, film recipes at home, get found in search, and earn money from your videos, with honest costs and a realistic timeline.
In this guide
- Is a food channel still worth starting in 2026?
- Step 1: Pick your food angle
- Step 2: Set up your channel
- Step 3: Film in your kitchen on a small budget
- Step 4: Plan your first 10 videos
- How to film a recipe video that people finish
- Shorts or long videos for food?
- Titles, thumbnails and search for recipe videos
- How food channels earn money
- Worked example: what a small food channel could earn
- How to start a food YouTube channel: what it costs and what to expect
- Common mistakes
- Risks and scams to watch for
- Frequently asked questions
Is a food channel still worth starting in 2026?
Yes, if you pick a clear angle and accept that income takes time. People search YouTube for recipes every day, and a good recipe video can keep getting views for years. A video on how to make a simple curry or a one-pan pasta can still bring in viewers long after you publish it. That long life is the main strength of food content.
Step 1: Pick your food angle
Your food angle is the specific kind of cooking your channel covers. It is also called a niche. A narrow angle helps YouTube understand who your videos are for, and it helps viewers know what to expect. Pick an angle you enjoy cooking and can make at least 30 videos about.
| Food angle | Who it suits | Example video ideas |
|---|---|---|
| Budget meals | Cooks who want cheap, filling food | Meals under 5 dollars, weekly meal prep on a budget |
| Quick meals | Busy workers and parents | 15-minute dinners, 5-ingredient recipes, air fryer meals |
| One cuisine | Cooks who know one food culture well | Pakistani home cooking, Italian pasta, Thai street food |
| Baking | Bakers who enjoy precise recipes | Beginner bread, one-bowl cakes, no-oven desserts |
| Dietary cooking | People who cook for a health need | Low-FODMAP meals, gluten-free baking, high-protein lunches |
| ASMR cooking | Creators who film sound-rich cooking | Quiet cooking with no talking, sizzling and chopping sounds |
| Food reviews | Eaters who love trying new food | Street food tours, takeaway taste tests, snack reviews |
Test your angle with three videos before you commit to it. If you enjoy making them and viewers watch them through to the end, keep going. If filming feels like a chore after three videos, pick a different angle. Your first angle is not a life sentence, but changing it every week will confuse the viewers you have already won.
Step 2: Set up your channel
Set up the channel before you film your first video, so every upload lands in a finished home.
- Create a Google account and a channel. Sign in to YouTube, open Settings, and create a channel. YouTube's own help page explains the steps in YouTube's guide to creating a channel.
- Choose a clear name. Pick a name that says what you cook. Short names are easier to remember, and numbers make a name harder to search for. Check that no bigger channel already uses the name.
- Add a profile picture and banner. Use a simple logo or a clean photo of a dish. Your banner should show the channel name and the kind of food you make.
- Write your About section. Say who the channel is for and what viewers will learn. Add your main keywords in natural sentences, such as "simple Pakistani recipes for busy weeknights".
- Set your channel defaults in YouTube Studio. Add a standard description template with links to your social profiles, and set your upload defaults so every video starts with the right settings.
- Turn on 2-Step Verification for your Google account. You will need it later to join the YouTube Partner Programme, so set it up now.
For the full setup walkthrough, read our guide to how to start a YouTube channel, which covers branding, Studio settings and upload defaults in detail.
Step 3: Film in your kitchen on a small budget
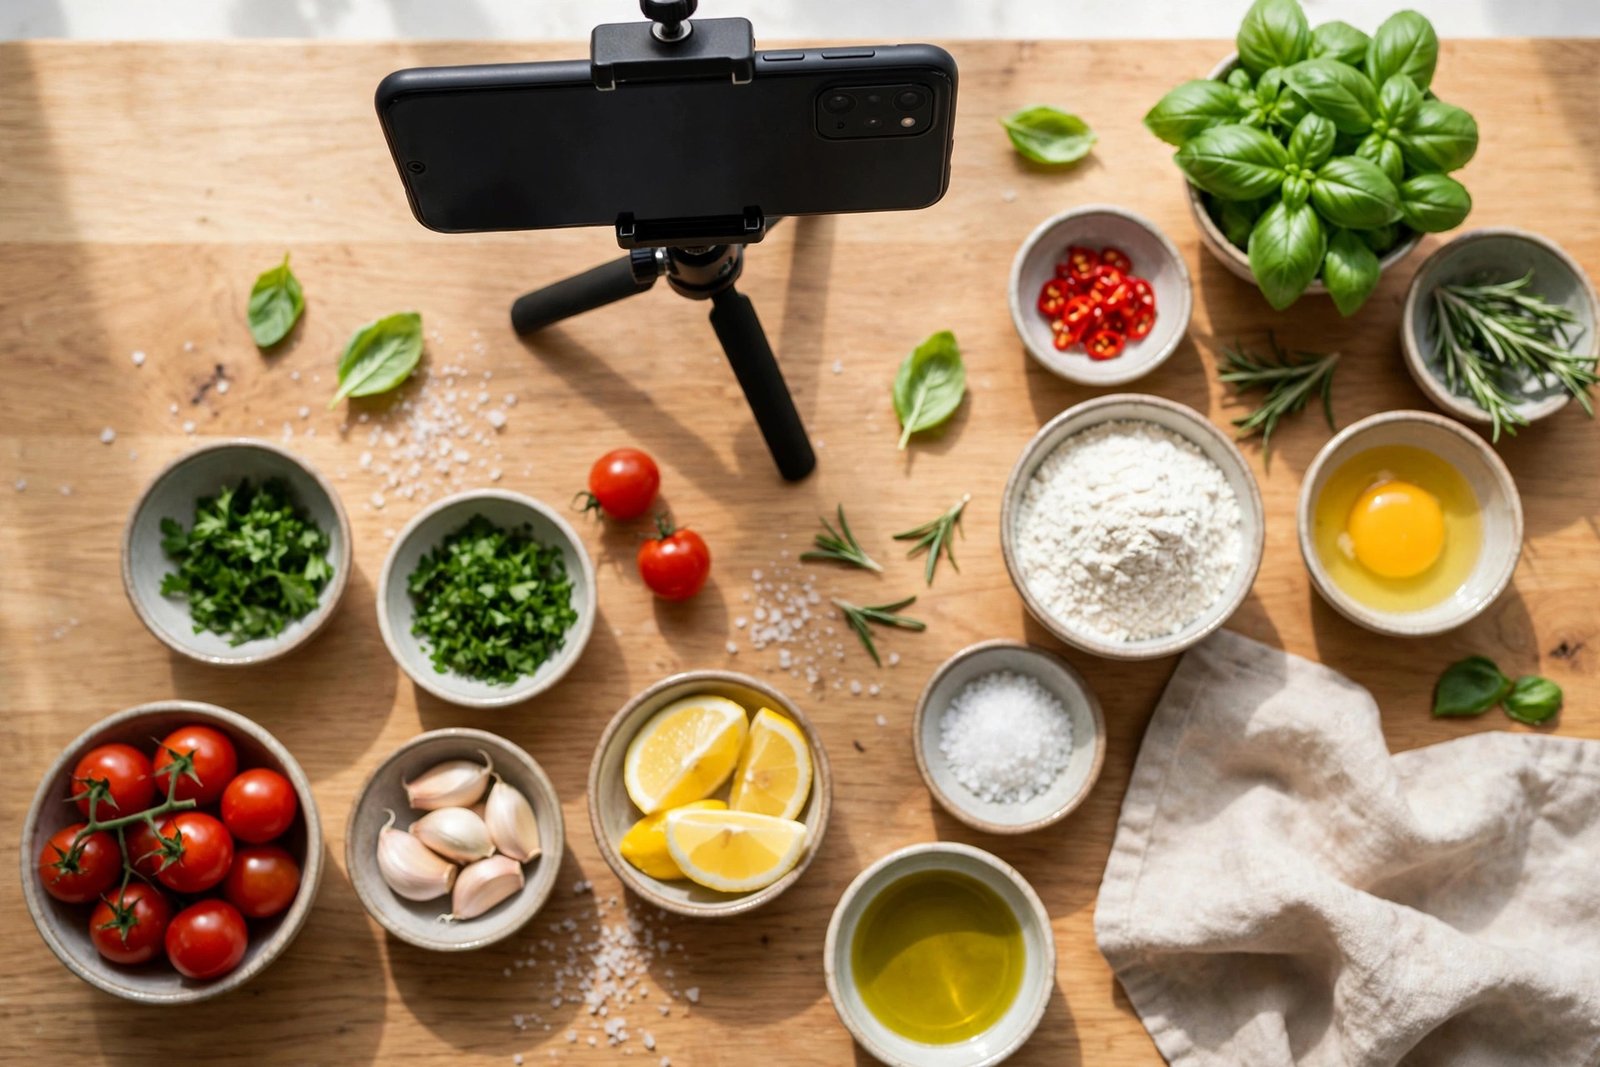
You can film good food videos in a normal kitchen. Clean the worktop, move clutter out of shot, and use the brightest part of the room. Natural light from a window is free and looks better than a dim ceiling light. Film during the day when you can.
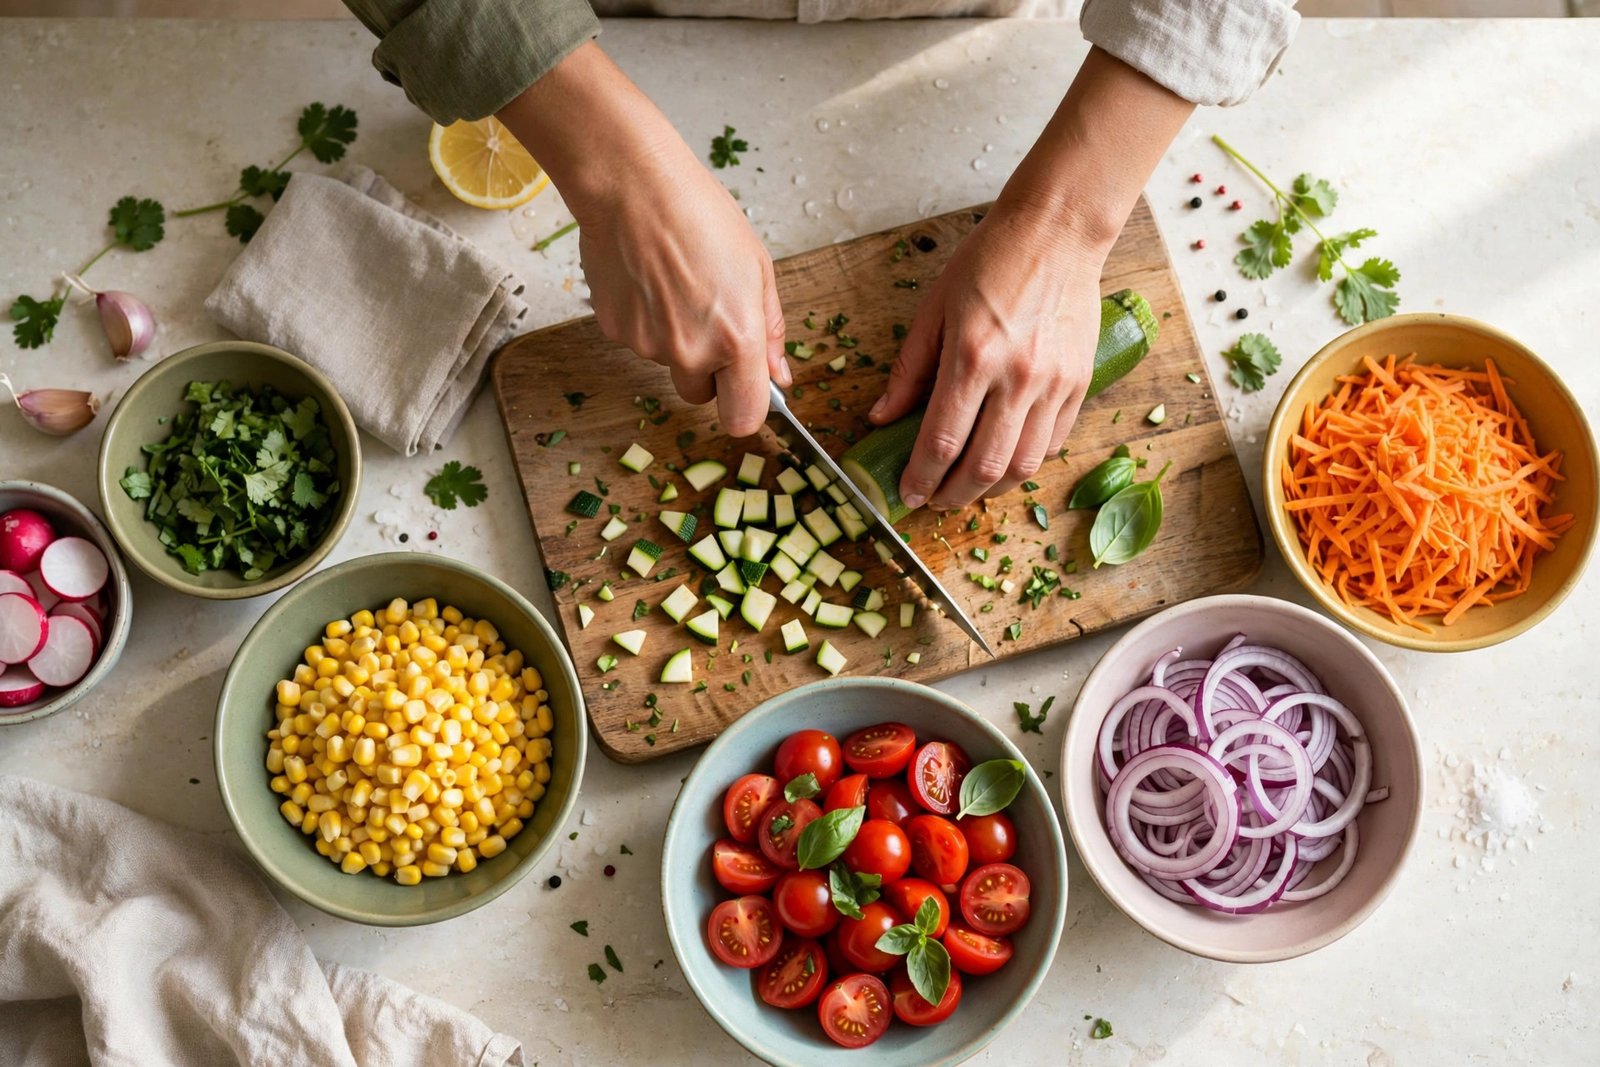
An overhead shot is the standard food video angle. It shows the hands, the ingredients and the pan at the same time, and it hides your face if you prefer not to appear on camera. A phone mount that clamps to a shelf or a tripod arm costs little and holds the phone steady above the worktop. Film in landscape for long videos and in portrait for Shorts.
Sound matters more than most beginners expect. A quiet kitchen with a clip-on microphone, called a lavalier mic, sounds far better than a phone microphone picking up the fridge hum. Record a short test clip and listen to it with headphones before you film a full recipe.
Keep your equipment list short at the start. A phone made in the last few years, a mount, a small light for dark evenings, and a clip-on mic are enough. Buy better gear only after the channel starts to earn. Our guide to how to edit YouTube videos for beginners covers free editing apps that work well for recipe videos.
Step 4: Plan your first 10 videos
Your first 10 videos teach YouTube what your channel is about, so plan them as a set, not one at a time. Mix searchable recipes with a few videos that show your personality. Searchable recipes bring new viewers from Google and YouTube search. Personality videos turn those viewers into subscribers.
A good first 10 for a food channel looks like this:
- Your most searched recipe, such as a simple chicken curry or a one-pan pasta.
- A 5-ingredient version of a popular dish.
- A budget meal that costs little per serving.
- A breakfast recipe people search for every morning.
- A common cooking mistake and how to fix it.
- A meal prep video for the working week.
- A dessert that needs no oven.
- A recipe using one ingredient three ways.
- A video that answers a question viewers ask, such as how to keep rice from sticking.
- A short introduction video that tells viewers what the channel is about.
How to film a recipe video that people finish
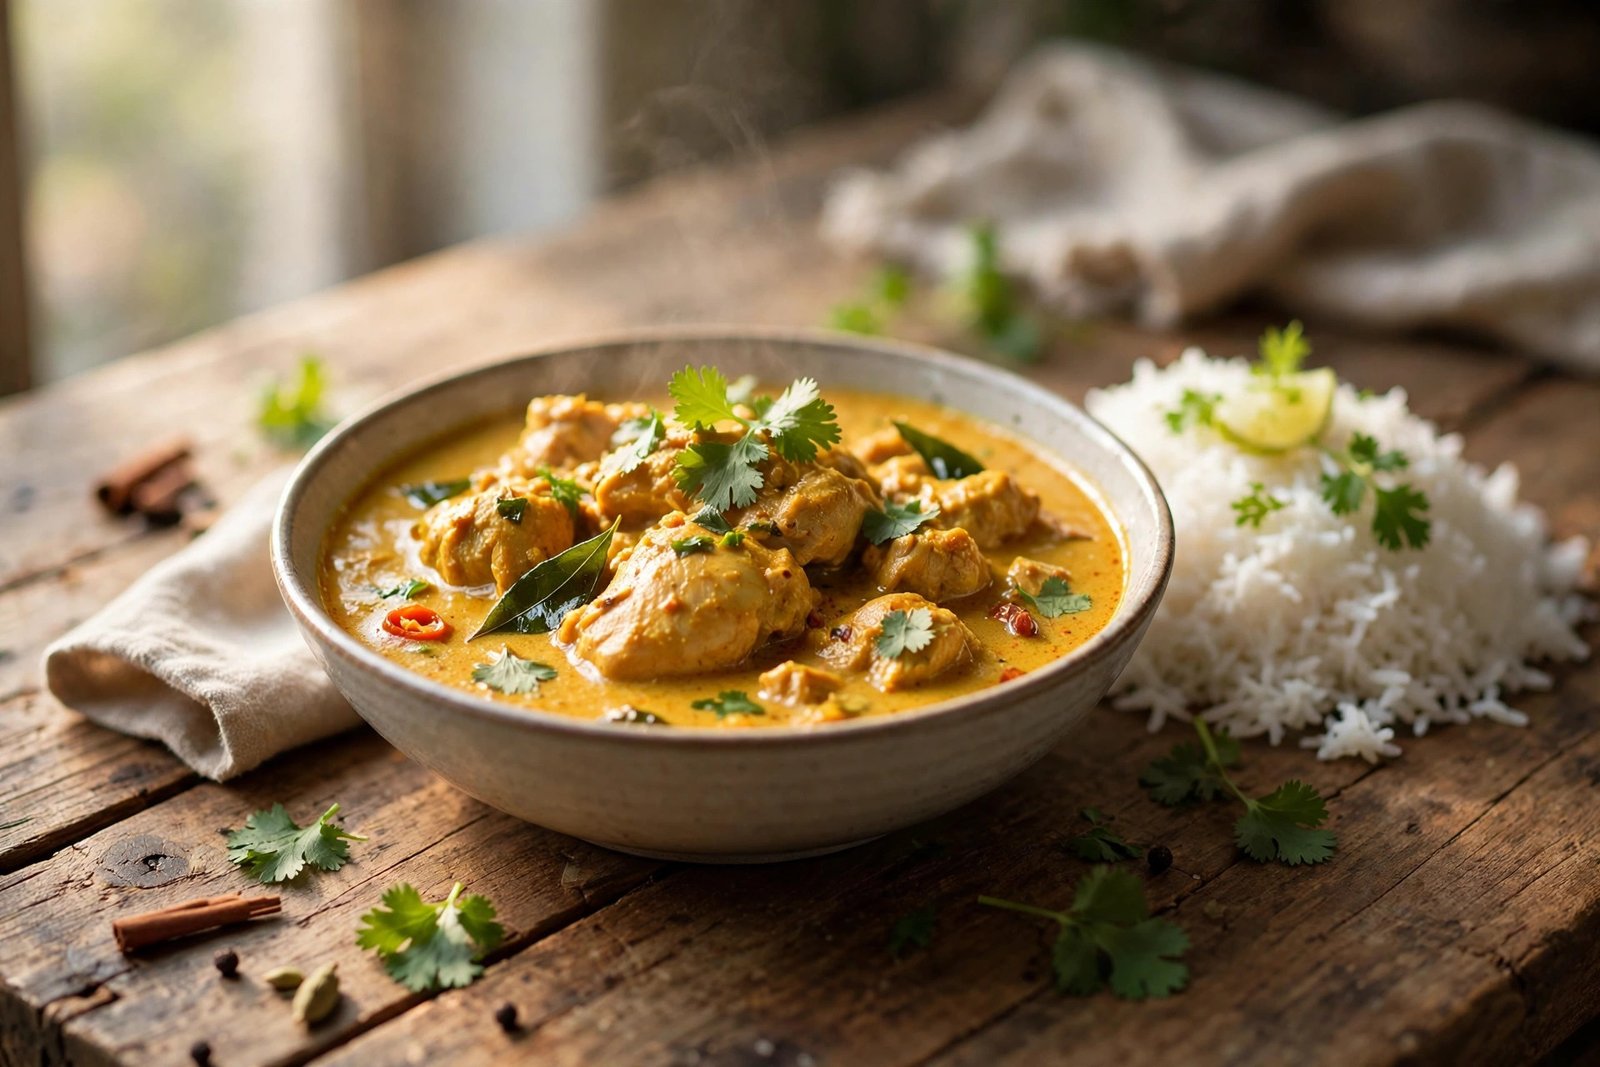
Most viewers decide in the first 10 seconds whether to keep watching. Show the finished dish first, in a short clip of a few seconds, so viewers know what they will get. Then show the steps in order, with the finished dish again at the end.
Keep each step short and visual. Show the ingredient, say the amount, and show it going into the pan. Do not film long stretches of chopping with no talking. If you use a voiceover, record it after filming, when you can speak clearly and fix mistakes. Add subtitles, because many people watch with the sound off.
Use chapters in your video description so viewers can jump to the step they need. A chapter list such as "0:00 Finished dish, 0:12 Ingredients, 1:05 Cooking, 4:30 Serving" helps viewers and helps YouTube understand your video. Add the full ingredient list with amounts in the description, because viewers will look for it there.
Test every recipe before you film it. Cook it at least once off camera, write down the exact amounts, and check the timing. A recipe that fails on camera wastes a filming day and loses trust. Be honest about substitutions. If you have not tried a swap, say so, and do not claim a dish is suitable for an allergy if you have not checked every ingredient.
Shorts or long videos for food?
Use both, but for different jobs. Shorts are vertical videos under 3 minutes, and they are good at reaching new viewers fast. A 40-second recipe Short can get far more views than a long video in its first week. Long videos are better for search, for watch time, and for ad income, because a 10-minute recipe can carry mid-roll ads once your channel is monetised.
A simple plan is one long recipe video each week and two or three Shorts cut from it or filmed separately. Turn the best moment of a long video into a Short, such as the cheese pull or the first cut into a cake. Link the Short to the full recipe in a pinned comment. Our guide to how to grow YouTube Shorts explains how Shorts views count towards monetisation, and our guide to how to repurpose long videos into YouTube Shorts shows the cutting process step by step.
Remember that Shorts Feed watch hours do not count towards the 4,000 watch hours needed for full ad monetisation. Shorts help you grow subscribers, but long videos build the watch hours. Plan your mix with that in mind.
Titles, thumbnails and search for recipe videos
Recipe viewers search with plain words. They type "chicken curry recipe" or "easy banana bread" into the search box, so your title should match the words they type. Put the dish name first, then a helpful detail, such as "Easy Chicken Curry Recipe (Ready in 30 Minutes)". Keep titles under 60 characters where you can, so they do not get cut off on a phone.
Thumbnails need a clear photo of the finished dish, with few words in large text. A close-up of the food beats a wide shot of the kitchen. Use bright colours and high contrast, because your thumbnail competes with dozens of others on a small screen. Do not use a photo of a different dish than the one in the video. That breaks trust and hurts your watch time.
Write descriptions that help search and help cooks. Put the dish name and the main keywords in the first two lines, then the full ingredient list, then the steps in short form. Add links to related recipes on your channel. Our guide to YouTube SEO and how to rank videos covers keyword research for video titles, and our guide to how to design YouTube thumbnails shows what makes a thumbnail get clicked.
How food channels earn money
Food channels earn from several sources, and ads are usually the smallest at the start. The YouTube Partner Programme, known as YPP, is the route to ad income. YouTube sets two tiers, and the figures below come from YouTube's own Partner Programme page, checked on 2026-11-19.
| YPP tier | What you need | What it unlocks |
|---|---|---|
| Early tier | 500 subscribers, 3 public uploads in the last 90 days, plus 3,000 watch hours in the last 12 months or 3 million Shorts views in the last 90 days | Fan funding, such as channel memberships and Super Thanks, and Shopping features. No ad revenue. |
| Full tier | 1,000 subscribers, plus 4,000 watch hours in the last 12 months or 10 million Shorts views in the last 90 days | Ad revenue sharing, YouTube Premium revenue, and all fan funding features. |
Joining also needs 2-Step Verification turned on, one active AdSense for YouTube account, and a channel that follows YouTube's monetisation policies. Review decisions typically take about one month. If your first application is rejected, you can retry after 30 days.
One important note for readers in Pakistan: the early 500 subscriber tier is only open in the countries YouTube lists on its Partner Programme page. As read on 2026-11-19, Pakistan does not appear in that list, while India does. That means a Pakistan-based channel may need to reach the full 1,000 subscriber tier before it can join. Check the current country list on YouTube's own page before you plan around the early tier.
YouTube also changes its rules from time to time. Some secondary sources report a change to the full tier thresholds from early 2027, but YouTube's own help page does not mention it as of 2026-11-19, so this guide does not print those figures as fact. Check YouTube's own Partner Programme page for the latest rules before you apply.
Beyond ads, food channels earn from affiliate links for cookware and ingredients, sponsorships from food brands, digital cookbooks and recipe packs, online cooking classes, and channel memberships. YouTube pays creators 55 percent of ad revenue on standard videos and 45 percent on Shorts, as of November 2026. Affiliate income often arrives before ad income, because you can add affiliate links to your descriptions from your first video. Always say clearly when a link earns you a commission. Our guide to how to monetize a YouTube channel explains each income route in detail, and our guide to how to make money with YouTube affiliate marketing covers affiliate programmes that fit food channels.
Worked example: what a small food channel could earn
Example only: these numbers are not typical results, and they are shown only to explain how the maths works.
Imagine a food channel that reaches the full YPP tier after 14 months. It has 2,000 subscribers and publishes one long recipe video a week. Each video gets about 3,000 views in its first month, and older videos keep bringing in views. The channel gets about 15,000 views a month in total.
If advertisers pay an average of 4 dollars per 1,000 views after YouTube takes its share, the maths is 15 multiplied by 4, which is 60 dollars a month from ads. If the channel also earns 25 dollars a month from affiliate links for a pan and a spice set, and 15 dollars a month from channel memberships, the total is 100 dollars a month. That is a realistic shape for a small channel: modest ad income plus smaller streams that add up. Results vary with your niche, your country, your upload schedule and the time of year.
How to start a food YouTube channel: what it costs and what to expect
You can start a food channel for very little. A phone you already own, a mount, a clip-on mic and a small light are enough for your first videos. Expect to spend nothing to about 100 dollars at the start if you already have a phone. Ingredients are a real cost, so cook food you would eat anyway and film recipes your household will use. That keeps the food bill close to normal.
A realistic timeline is 6 to 18 months of steady uploads to reach the full YPP tier, depending on your niche and how often you publish. Some channels get there faster, and many take longer. Income before that point is usually small and comes from affiliates or a digital product, not from ads. Plan for months with no income at all, and treat the channel as a hobby that may pay later.
Common mistakes
- Picking a general "cooking" angle instead of one clear food angle that viewers can remember.
- Filming recipes you have never tested, which leads to failed dishes and lost trust.
- Posting three videos in one week and then nothing for a month, which stalls growth.
- Using a photo of a different dish in the thumbnail, which disappoints viewers who click.
- Ignoring the description, where viewers look for the ingredient list and the amounts.
- Copying a bigger channel's recipes word for word instead of developing your own versions.
- Claiming a recipe is safe for an allergy without checking every ingredient.
- Spending hundreds of dollars on gear before publishing a single video.
Risks and scams to watch for
Food channels face a few real risks. Recipe accuracy is the first. Wrong amounts, wrong cooking times or wrong allergy claims can harm a viewer who trusts you, so test every recipe and be honest about what you have and have not checked. Never claim a dish is gluten-free or nut-free unless every ingredient is verified.
Copyright is the second. Do not use popular music in the background of your videos unless you have the right to use it. Use the YouTube Audio Library or royalty-free music instead. Our guide to how to start a faceless YouTube channel covers faceless filming, which suits food well. Read YouTube's copyright help page before you use any music, photo or clip you did not create yourself.
Watch out for scams aimed at small creators. A common one is a brand that offers a "sponsorship" but asks you to pay for the product first, or to buy a starter pack. A real sponsor pays you or sends the product free. Never pay to join a network, never buy views or subscribers, and never share your Google account password with anyone who claims they can grow your channel.
Frequently asked questions
Can you make money with a food YouTube channel?
Yes, but it takes time and several income streams. Most food channels earn from ads after joining the YouTube Partner Programme, plus affiliate links, sponsorships and digital products such as cookbooks. Ad income alone is usually small for a new channel, so plan for more than one income source.
Do I need professional cooking skills to start a food channel?
No. Viewers want clear, tested recipes more than professional technique. Many popular food channels are run by home cooks. What matters is that you can explain each step clearly and that the recipe works when a viewer follows it.
What food content gets the most views?
Searchable everyday recipes get the most steady views, such as quick dinners, popular dishes and budget meals. Short recipe videos also spread fast. A channel that mixes searchable recipes with a few personality videos usually grows faster than one that only does either type.
How many subscribers do you need to monetise a cooking channel?
You need 500 subscribers for the early YPP tier, which unlocks fan funding and Shopping features but no ad revenue. You need 1,000 subscribers plus 4,000 watch hours, or 10 million Shorts views, for the full tier with ad revenue. Check YouTube's own Partner Programme page for the latest rules and the country list, because the early tier is not open everywhere.
Can I run a food channel without showing my face?
Yes. Overhead shots of your hands and the food are the standard style for food channels, and many successful food creators never appear on camera. A voiceover or on-screen text is enough to guide viewers through the recipe.
Conclusion
Learning how to start a food YouTube channel in 2026 comes down to a clear angle, tested recipes, simple filming and steady uploads. Pick one kind of food, film it well with the gear you already have, and give viewers searchable titles and full ingredient lists. Reach the YouTube Partner Programme thresholds, then add affiliate links and your own products so ads are not your only income.
To keep building, read our guide to how to start a YouTube channel for the full setup, our guide to YouTube SEO and how to rank videos for getting found in search, and our guide to how to monetize a YouTube channel for every income route in detail. You can browse the rest of the YouTube Earning category for more channel guides.
Earning results vary, and nothing on this site is financial advice. Check YouTube's own Partner Programme page for the latest rules before you apply, and check your local tax rules when income starts.