How to Edit YouTube Videos for Beginners in 2026
Learning how to edit YouTube videos for beginners starts with one honest fact. Editing is mostly cutting, not effects. You have 40 minutes of footage, a shaky start, three takes of the same sentence, and a long pause while you thought of the next word. Your job is to turn that pile into a clear video that holds a viewer from the first second to the last. This guide shows you how to pick a free editor, set up a project, make a clean rough cut, fix the sound, add captions, and export with the settings YouTube recommends. By the weekend, you can have one finished video.
In this guide
- What editing actually is
- Step 1: Pick a free editor
- Step 2: Set up the project
- Step 3: Learn the editor window
- Step 4: Watch the footage once and mark the keepers
- Step 5: Make the rough cut
- Worked example: from 15 minutes of footage to a 9 minute video
- Step 6: Tighten the pacing and add B-roll
- Step 7: Fix the audio
- Step 8: Add captions and one title card
- Step 9: Correct the colour
- Step 10: Export and watch the whole file back
- Editing Shorts: what changes
- Common mistakes
- When the export fails or the video looks soft
- A four-week practice plan
- Frequently asked questions
What editing actually is
Editing has three jobs, in this order: cutting, sound, and pacing. Cutting removes what the viewer does not need. Sound makes the voice clear and the music quiet. Pacing keeps the video moving at the right speed for the topic. Effects, transitions, and colour grading come last, and most beginner videos do not need them at all. If you remember only one rule, it is this: a clean cut beats a fancy transition every time.
A rough cut is the first version of the video, made by removing dead air, mistakes, and repeats. A fine cut tightens the pacing and adds supporting pictures. The final export is the file you upload. You will do these in order, and you will not add music or titles until the rough cut is done. That order saves time, because there is no point polishing a section you will cut later.
Step 1: Pick a free editor
Start with a free editor you already have, or one you can download in minutes. You do not need a paid editor to make a good first video. All five editors in the table below can cut, add captions, fix sound, and export for YouTube. Pick the one that runs well on your device and matches how you film.
| Editor | Runs on | Cost | Best for |
|---|---|---|---|
| CapCut | Windows, Mac, phone, web | Free, with a paid plan for extra features | Fast cuts, captions, and phone editing |
| Clipchamp | Windows, web browser | Free, with a paid plan for extra features | Simple edits on a Windows computer |
| iMovie | Mac, iPhone, iPad | Free with Apple devices | Simple edits on a Mac or iPhone |
| DaVinci Resolve | Windows, Mac, Linux | Free version, with a paid studio version | Serious editing when your computer is strong enough |
| YouTube Create | Android, iPhone | Free | Quick edits on a phone, made by YouTube |
If you film on your phone, CapCut or YouTube Create will feel natural, because they are built for phone footage and touch editing. If you film on a computer, Clipchamp or DaVinci Resolve will feel more like a desk tool. If you use a Mac, iMovie is already there, and it is the simplest way to learn the timeline. Do not install all five. Install one, learn its timeline, and make three videos before you judge it.
Free editors may add a watermark to some export options, or lock some effects behind a paid plan. Check the export screen before you spend an hour editing, so you know what the free version gives you. A watermark on a finished video looks unprofessional, so avoid any export option that adds one. For a wider guide to learning this skill, read how to learn video editing.
Step 2: Set up the project
Before you import anything, make a project folder on your computer. A simple template keeps your files in one place and saves you from hunting for a missing clip later. Use this structure for every video: a main folder named after the video, with five folders inside it: 01 Footage for your raw video files, 02 Audio for voice recordings and music, 03 Images for photos and graphics, 04 Project for the editor project file, and 05 Export for the finished video file.
Copy your footage into the 01 Footage folder before you open the editor, and work from that copy. Do not edit from a memory card or a phone cable, because a loose connection can corrupt the project. Back up the footage folder first. A backup takes minutes. Re-filming takes hours.
When you create the project, set the aspect ratio first. Use 16:9, which is wide, for a normal YouTube video, and 9:16, which is tall, for a Short. Set the timeline to 1080p, which is 1920 by 1080 pixels, unless your footage is 4K and your computer can handle it. A 1080p timeline runs faster on a normal computer, and it looks sharp on most screens.
Step 3: Learn the editor window
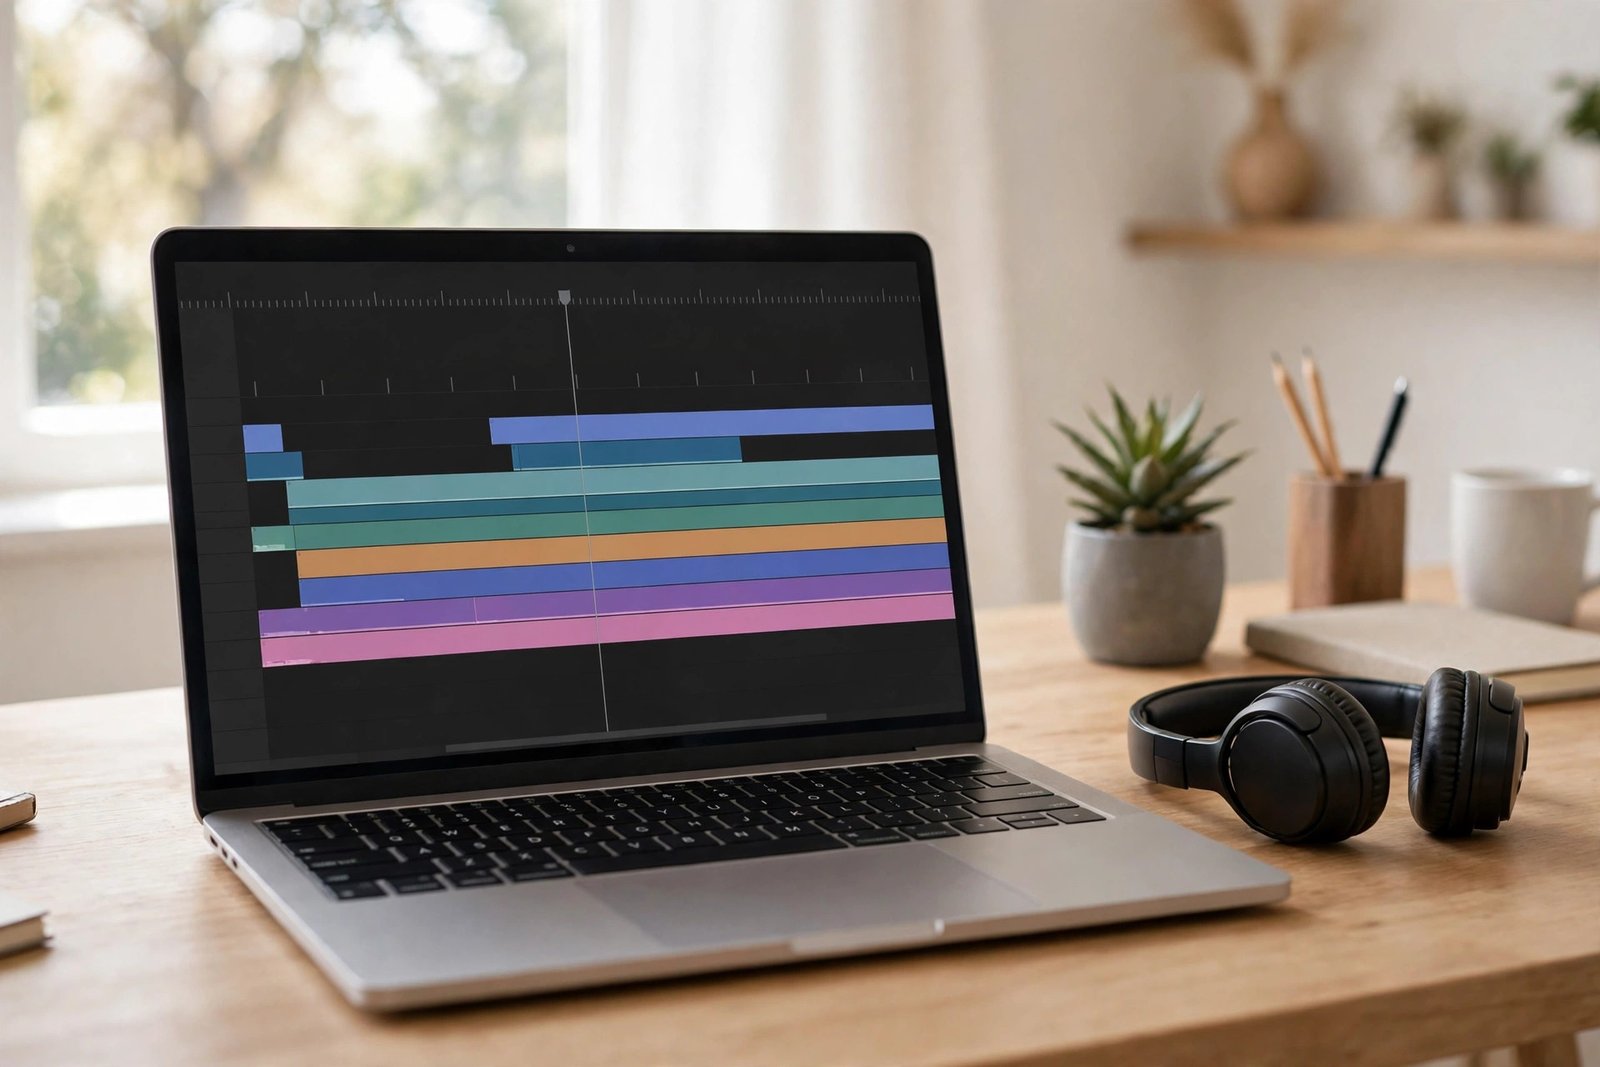
Every editor window has the same four areas, whatever the brand. The media area holds your imported clips, audio, and images. The preview area shows the video at the current point in the timeline. The timeline is the long strip at the bottom where you arrange clips in order. The tools area holds the cut, text, and audio controls.
Two tools do most of the work. The playhead is the vertical line that shows where you are in the video, and you move it by clicking on the timeline or pressing the spacebar to play and pause. The split tool, often shown as a blade or scissors icon, cuts a clip at the playhead into two pieces. Learn those two tools first, and the rest can wait.
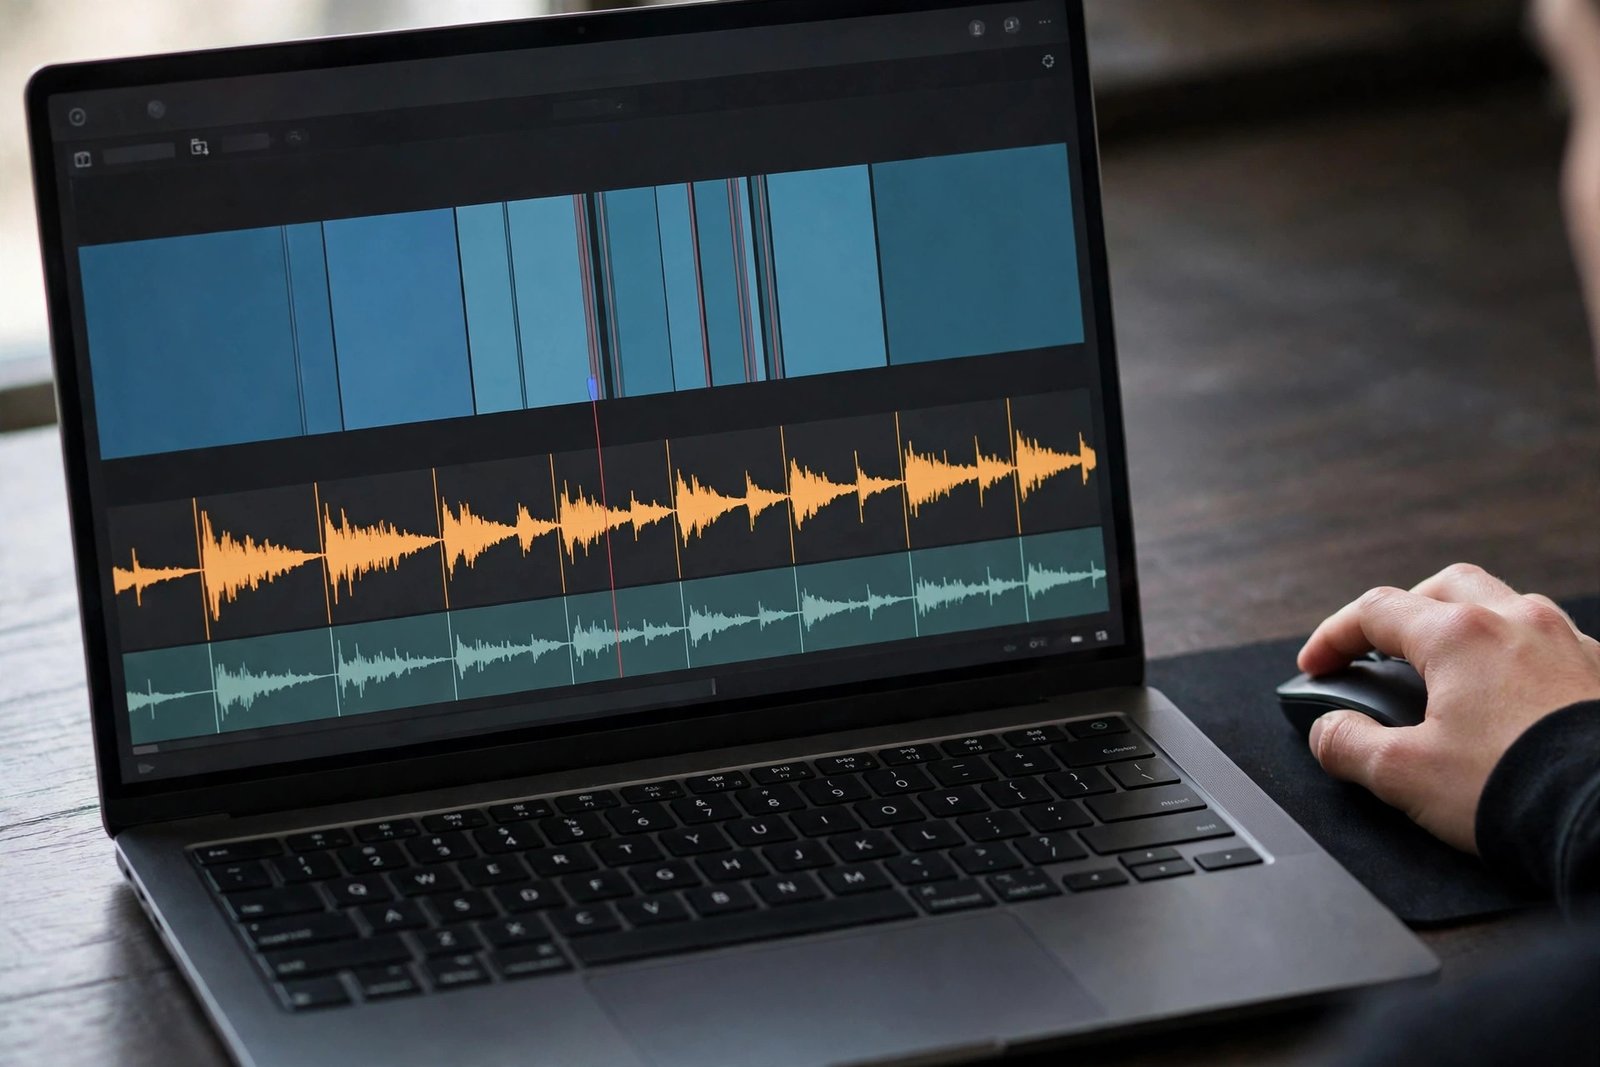
Zoom the timeline in and out until you can see the shape of your video. A zoomed-out timeline shows the whole video at a glance. A zoomed-in timeline lets you cut between two words. You will switch between the two all day. A short table of the most useful shortcuts is below. These are the defaults on most systems, but shortcuts differ by editor and system, so check your editor help menu if one does not work.
| Action | CapCut | Clipchamp | iMovie | DaVinci Resolve |
|---|---|---|---|---|
| Play and pause | Spacebar | Spacebar | Spacebar | Spacebar |
| Split the clip | Ctrl plus B, or Cmd plus B on Mac | S key | Cmd plus B | Ctrl plus B, or Cmd plus B on Mac |
| Delete and close the gap | Delete key | Delete key | Delete key | Shift plus Delete |
Step 4: Watch the footage once and mark the keepers
Before you cut anything, watch all your footage once from start to finish. Do not cut while you watch. Just note the time of each good moment on a piece of paper or in a text file. Mark the best take of each sentence, the clearest demo, and any moment that made you smile. Also mark the parts to drop: false starts, long pauses, and repeats.
This single watch saves more time than any other step. Beginners who cut as they watch end up re-watching the same minute five times. One full watch gives you a map of the video, and the map makes the rough cut fast. If you filmed a talking video, pick the take where you sounded most natural, not the one with the fewest mistakes. You can cut a small error out. You cannot add warmth back in.
Step 5: Make the rough cut
The rough cut is where the video takes shape. Drag your clips onto the timeline in order, then remove everything the viewer does not need. Cut dead air at the start and end of every clip. Cut mistakes, false starts, and long pauses. Cut any sentence you say twice, and keep the better take. Cut on a breath, never in the middle of a word, because a mid-word cut sounds like a glitch.
Work in passes, not in one perfect sweep. First pass: remove the obvious mistakes and the long silences. Second pass: watch the result and remove any part that feels slow. Third pass: check the start and the end, because those are the parts viewers judge first. Stop when the video says what it needs to say and nothing more.
Worked example: from 15 minutes of footage to a 9 minute video
Example only: these numbers are made up and are not typical results. Imagine you filmed a 15 minute tutorial about changing a bicycle tyre. The footage breaks down like this: the introduction runs 2 minutes, the tools section runs 3 minutes, the tyre change runs 8 minutes, and the closing runs 2 minutes. In the rough cut, you remove a 1 minute false start, a 2 minute repeat in the tools section, a 2 minute pause where you searched for a lever, and a 1 minute ramble at the end. The video is now 9 minutes long. The rough cut took about 45 minutes, which is three times the length of the raw footage. That ratio is normal for a beginner.
Step 6: Tighten the pacing and add B-roll
Pacing is the speed at which new information arrives. For a talking video, cut pauses between sentences so the speaker sounds engaged, not rushed. For a demo, hold the shot while the action lasts, so the viewer can follow it. If a section feels slow, it usually needs a cut, not a new effect. If a section feels rushed, it usually needs a pause or a second shot, not a slower voice.
B-roll is extra footage that shows what the speaker is talking about, laid over the main video. A-roll is the main footage, usually the speaker. When you say "here is the tool", cut to a close shot of the tool for a few seconds, then cut back. Film B-roll on purpose: close shots of hands, tools, screens, and results. Use B-roll where a point needs a picture, and nowhere else. Aim for a visual change every 20 to 30 seconds. For ideas on what makes a video hold viewers, read how to make YouTube videos that get views.
Step 7: Fix the audio
Good audio matters more than good picture. Viewers forgive a soft image, but they leave a video they cannot hear. Fix the audio in this order: remove noise, level the voice, then add music.
First, remove background noise. Most editors have a noise removal or denoise button. Use it lightly, because strong noise removal can make a voice sound robotic. A quiet room matters more than any filter, so record in the quietest room you have, away from fans, fridges, and traffic.
Next, level the voice so it stays at a steady volume from start to finish. Listen on headphones and check that quiet sentences are still clear and loud sentences do not distort. Most editors show an audio meter, and the voice should sit in the middle of that meter, not at the top.
Then add music, and keep it 18 to 20 decibels below the voice, so the words stay clear. That is a big gap, and it will feel too quiet when you first try it. Trust the number. Music that competes with the voice is the most common audio mistake beginners make. Use music from the YouTube Audio Library or a licence you hold. Never use a song from a random download site, because that can lead to a copyright claim.
Step 8: Add captions and one title card
Add captions to your video, because many viewers watch with the sound off, and captions help YouTube understand the topic. Most editors can generate captions from the audio, or you can upload a caption file. Read the generated captions and fix the errors, especially names, numbers, and technical terms. A wrong caption can mislead a viewer more than no caption at all.
Add one title card at the start, with the video title in large, readable text, held for two to three seconds. That is enough. Do not add a title to every section, and do not animate the text. A simple title card looks professional, and it tells the viewer they are in the right place.
Step 9: Correct the colour
Colour correction means making the picture look natural, not making it look dramatic. Start with white balance, which is the setting that makes white look white instead of blue or orange, and exposure, which is how bright the picture is. Fix those two first, because they matter most. Only then consider a small lift to contrast or colour strength, and keep it subtle.
Do not put a filter or a LUT on uncorrected footage. A LUT is a preset that changes the colours of a video, and it will make a bad picture look worse if the white balance and exposure are wrong. Learn the two basic fixes first, and leave grading, which is the creative colour work, until you have made ten videos. Film with colour in mind. Record in daylight or with one steady lamp, and keep the light in front of you, not behind you.
Step 10: Export and watch the whole file back
Export with the settings YouTube recommends, which are listed on the official YouTube recommended upload encoding settings page. For most beginners, the settings are simple: an MP4 file, H.264 video, AAC-LC audio at 48 kHz, and a frame rate that matches the recording. The table below gives the bitrate, which is the amount of data per second, for the two most common choices.
| Setting | 1080p video | 4K video |
|---|---|---|
| File type and video | MP4, H.264 | MP4, H.264 |
| Audio | AAC-LC, 48 kHz, stereo 384 kbps | AAC-LC, 48 kHz, stereo 384 kbps |
| Bitrate at 24 to 30 frames per second | 8 Mbps | 35 to 45 Mbps |
| Bitrate at 48 to 60 frames per second | 12 Mbps | 53 to 68 Mbps |
| Colour space | BT.709 for standard video | BT.709 for standard video |
Export the file, then watch the whole file back before you upload it. Watch it on your phone as well as your computer, because that is how most viewers will see it. Check the sound, the captions, the title card, and the end. If you find a mistake, fix it in the project and export again. Uploading without watching the export is how small errors go live. For the upload and title steps, read how to start a YouTube channel.
Editing Shorts: what changes
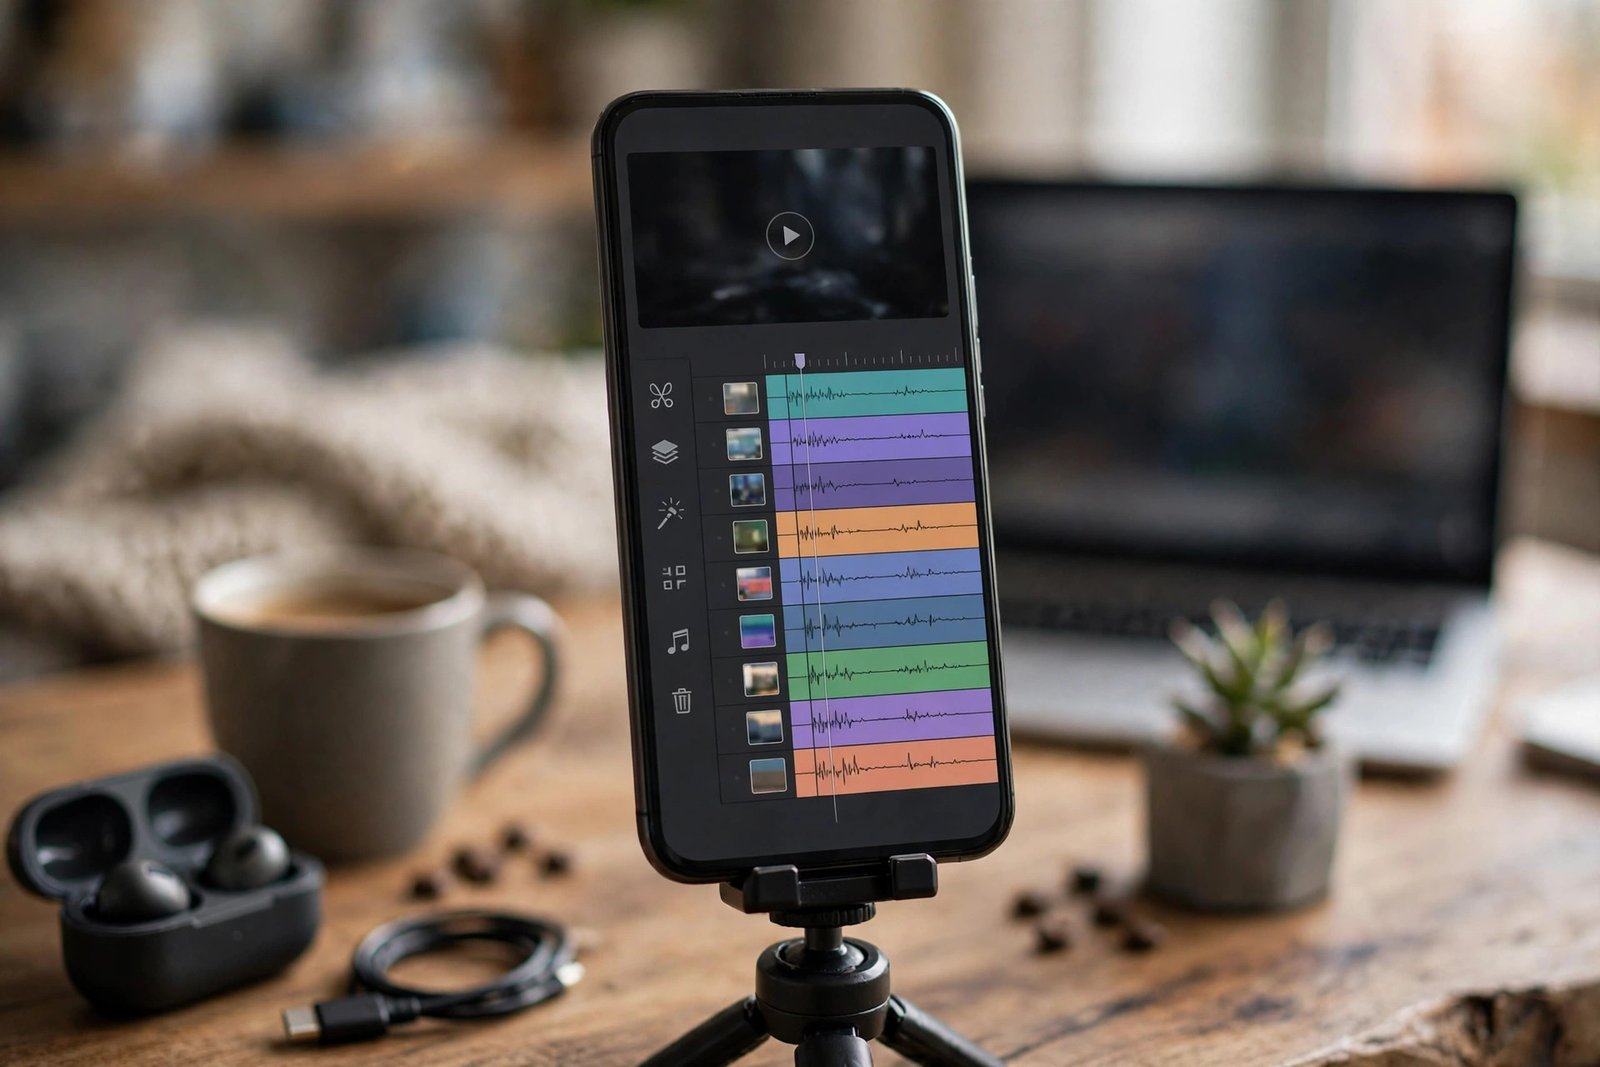
Shorts are vertical videos up to three minutes long, and editing them changes a few things. Set the project to 9:16, which is tall, before you import anything. Frame the speaker in the centre of the shot, because the edges get cropped on some screens. Keep the safe zones in mind: the top and bottom of the screen hold the title, the buttons, and the captions, so keep faces and key text away from those edges.
Burn captions into the picture for Shorts, because many viewers watch Shorts without sound and without captions turned on. Keep the captions to a few words per line, in large text, near the middle of the screen. Cut faster than a long video, and put the hook in the first one to three seconds. A Short that starts slowly will be swiped away. For the full method of turning long videos into Shorts, read how to repurpose long videos into YouTube Shorts.
Common mistakes
- Adding transitions and effects before the rough cut is done, so you polish sections you later delete.
- Letting the music sit louder than the voice, so viewers cannot hear the words.
- Cutting in the middle of a word, which sounds like a glitch and breaks the flow.
- Putting a filter or LUT on footage before fixing the white balance and exposure.
- Uploading the export without watching it back, so a small error goes live.
- Using a song from a random download site, which can lead to a copyright claim later.
- Filming with the light behind you, so your face or subject is dark and hard to see.
- Keeping every take, so a ten minute video feels like a twenty minute video.
When the export fails or the video looks soft
If an export fails, check three things first. Check that your drive has enough free space, because a long export needs room for the file. Check that the timeline has no corrupt clip, by exporting half the video at a time until you find the part that fails. And close other apps, because editing and exporting use a lot of memory. If the export still fails, restart the editor and try again before you reinstall anything.
If the uploaded video looks soft or blurry, wait before you worry. YouTube processes low resolutions first, so a new upload may show in 360p or 720p while the higher resolutions are still being made. Open the Quality menu on the video page and check which resolutions are listed. If 1080p appears after a while, the video is fine. If it stays soft after an hour, check the export settings against the table above.
A four-week practice plan
One small project per week builds the skill faster than one big project per month. Week one: edit a one minute video from your phone, with three cuts and no music. Week two: edit a three minute talking video, with a rough cut, captions, and music kept below the voice. Week three: edit a five minute tutorial, with B-roll, a title card, and colour correction. Week four: edit a Short from the same footage, with burned-in captions and a fast hook. By the end of the month, you will have four finished videos and a workflow you trust. Keep each project small and finish it.
Frequently asked questions
What is the easiest video editor for YouTube beginners?
The easiest editor is the free one that already runs well on your device. On a phone, CapCut or YouTube Create is the simplest start. On a Mac, iMovie is the simplest start. On Windows, Clipchamp is the simplest start. Pick one, learn its timeline, and make three videos before you judge it, because switching editors is what wastes time.
How long does it take to edit a YouTube video?
A beginner should expect editing to take about three times the length of the raw footage for a simple video, so 15 minutes of footage takes about 45 minutes to cut. A ten minute tutorial with B-roll and captions can take two to three hours. The time falls as you learn the shortcuts and stop re-watching the same clip.
Can I edit YouTube videos on my phone for free?
Yes. CapCut and YouTube Create are both free on phones and can cut, add captions, fix audio, and export for YouTube. Phone editing suits Shorts and simple videos best. For a long tutorial with many clips, a computer editor is faster, because the timeline is bigger and the keyboard shortcuts help.
What export settings should I use for YouTube?
Export an MP4 file with H.264 video and AAC-LC audio at 48 kHz, at a frame rate that matches your recording. For 1080p video, use 8 Mbps at 24 to 30 frames per second, or 12 Mbps at 48 to 60 frames per second. These are the settings on the official YouTube recommended upload encoding settings page, and they work for most videos.
Do free editors add a watermark to your video?
Some free editors add a watermark to certain export options, and some lock effects behind a paid plan. Check the export screen before you spend an hour editing, and avoid any export option that adds a watermark. The editors in this guide can all export a clean video in their free version, as long as you pick the right export option.
Is music from a free editor safe to use on YouTube?
Music from the YouTube Audio Library is safe, because YouTube provides it for creators. Music built into a free editor is usually safe too, but check the licence, because some tracks are only licensed for use inside that editor, or only for personal use. Never use a song from a random download site, because that can lead to a copyright claim.
Conclusion: make one finished video this week
Editing is mostly cutting, then sound, then pacing, in that order. Pick one free editor, set up a project folder, watch your footage once, make a rough cut, fix the audio, add captions, and export with the settings YouTube recommends. Then watch the whole file back before you upload it.
Your next step is to pick one video you have already filmed and run it through the ten steps this week. For the wider system, read how to make YouTube videos that get views, how to grow your YouTube Shorts, and YouTube analytics explained. You can also browse all our guides in the YouTube earning category.
Results vary with niche, audience, and consistency, and nothing on this site is financial advice. Export settings were checked against the official YouTube Help page on November 7, 2026.