How to Start a DIY YouTube Channel and Earn Money in 2026
Learning how to start a DIY YouTube channel is a practical way for a maker or home improver to turn projects they already build into an audience and an income. People search YouTube every day for how to build a shelf or fix a leaking tap, and a good tutorial can keep getting views for years. You do not need a big workshop or expensive tools. You need one clear lane, safe filming habits, and a steady upload rhythm.
In this guide
- DIY on YouTube in 2026: why how-to video keeps earning
- Step 1: Pick your DIY lane
- Step 2: Set up your channel
- Step 3: Film DIY properly
- Step 4: Equipment and workshop costs by stage
- Safety first
- Content formats and your first 10 videos
- Titles, thumbnails, chapters and DIY SEO
- Shorts strategy for DIY
- How DIY channels earn money
- Worked example: what a small DIY channel could earn
- How to start a DIY YouTube channel: what it costs and what to expect
- Common mistakes
- Risks and scams to watch for
- Frequently asked questions
DIY on YouTube in 2026: why how-to video keeps earning
DIY is one of the most search-driven niches on YouTube. People watch because something in their home needs fixing or building, and they want a clear answer. That search intent makes DIY videos evergreen, so a good tutorial keeps bringing in viewers long after you publish it. A video on how to build a simple bookshelf can still earn views three years later.
The challenge is scope. DIY covers woodworking, crafts, home improvement, repairs, upcycling, auto work and garden builds, and a channel that tries to cover all of them will confuse viewers. Pick one lane, build trust in it, and expand only when your audience asks you to.
Step 1: Pick your DIY lane
Your DIY lane is the specific kind of project your channel covers. A narrow lane helps viewers know what to expect and helps YouTube recommend your videos to the right people. Pick a lane you already know how to do and can make at least 30 videos about.
| DIY lane | Who it suits | Example video ideas |
|---|---|---|
| Woodworking | Makers with basic tools | Simple cutting board, floating shelf, beginner workbench |
| Crafts | Crafters who work by hand | Crochet for beginners, handmade cards, sewing a zip pouch |
| Home improvement | Homeowners who fix and build | How to paint a room, fit a shelf, fix a dripping tap |
| Repairs | Fixers who love problem solving | Fix a squeaky door, repair a chair, unblock a drain |
| Upcycling | Makers who reuse old materials | Turn pallets into a garden bench, restore an old table |
| Auto DIY | Car owners who do basic maintenance | Change engine oil, replace brake pads, clean headlights |
| Garden builds | Gardeners who build outdoors | Raised garden bed, compost bin, simple pergola |
Test your lane with three videos before you commit. If you enjoy making them and viewers watch them through, keep going. If filming feels like a chore after three videos, try a different lane. Your first lane is not fixed for life, but changing it every week will confuse the viewers you have already won.
Step 2: Set up your channel
Set up the channel before you film your first project, so every upload lands in a finished home.
- Create a Google account and a channel. Sign in to YouTube, open Settings, and create a channel. YouTube's own help page explains the steps in YouTube's guide to creating a channel.
- Choose a clear name. Pick a name that says what you make. Short names are easier to remember, and numbers make a name harder to search for. Check that no bigger channel already uses the name.
- Add a profile picture and banner. Use a simple logo or a clean photo of a finished project. Your banner should show the channel name and the kind of DIY you cover.
- Write your About section. Say who the channel is for, what kind of projects you build, and how often you upload. Add a contact email for brand and sponsorship enquiries.
- Set your channel defaults in YouTube Studio. Add a standard description template with links to your social profiles, and set your upload defaults so every video starts with the right settings.
- Turn on 2-Step Verification for your Google account. You will need it later to join the YouTube Partner Programme, so set it up now.
For the full setup walkthrough, read our guide to how to start a YouTube channel, which covers branding, Studio settings and upload defaults in detail.
Step 3: Film DIY properly
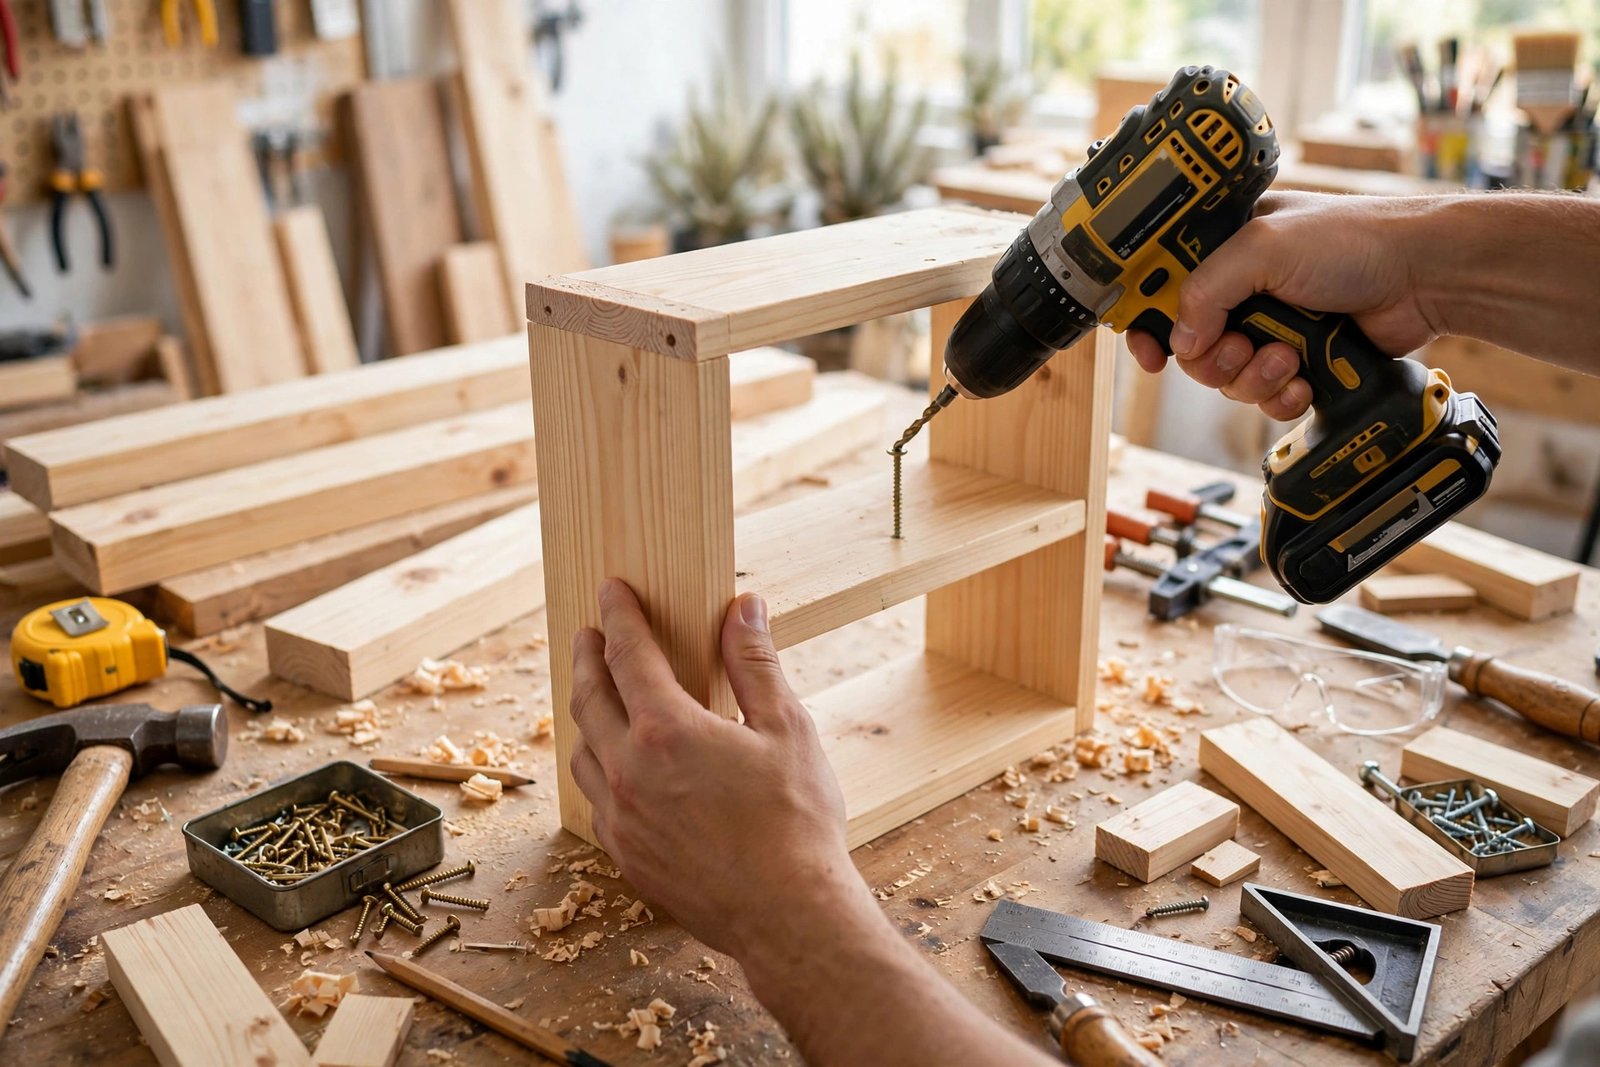
DIY filming is about showing the work clearly. Viewers need to see your hands, the tool and the material at the same time, so use two angles. An overhead camera shows the worktop and the project from above, and a wide camera shows you and the workshop. Cut between them so viewers always see the step that matters.
Show the finished piece first, in a short clip of a few seconds, so viewers know what they will build. Then show the steps in order, with the finished piece again at the end. Prepare examples of the project at different stages before you film, so you do not have to wait for glue to dry or paint to set on camera. Use time-lapse for long, boring steps, such as sanding or painting.
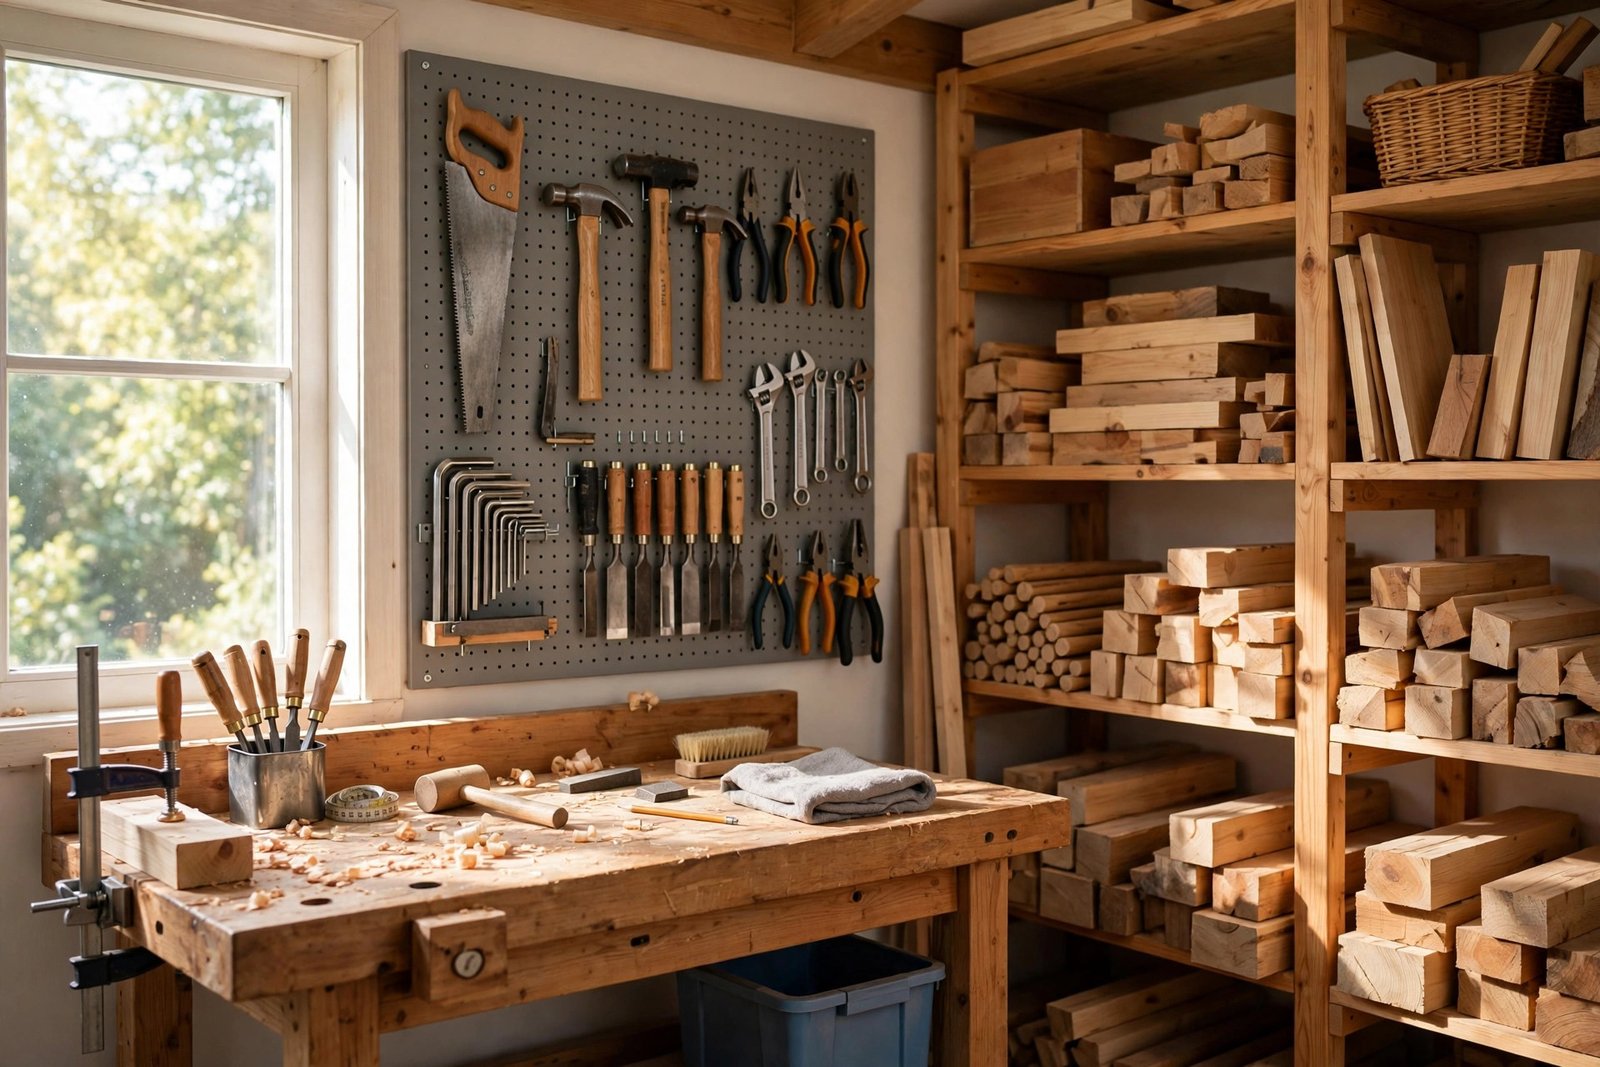
Light the work area well. Daylight from a window or a garage door is free and looks good, and a simple work light fills in shadows. Sound matters too. A quiet workshop with a clip-on microphone sounds far better than a phone microphone picking up echo. Record a short test clip and watch it back before you film a full project.
Step 4: Equipment and workshop costs by stage
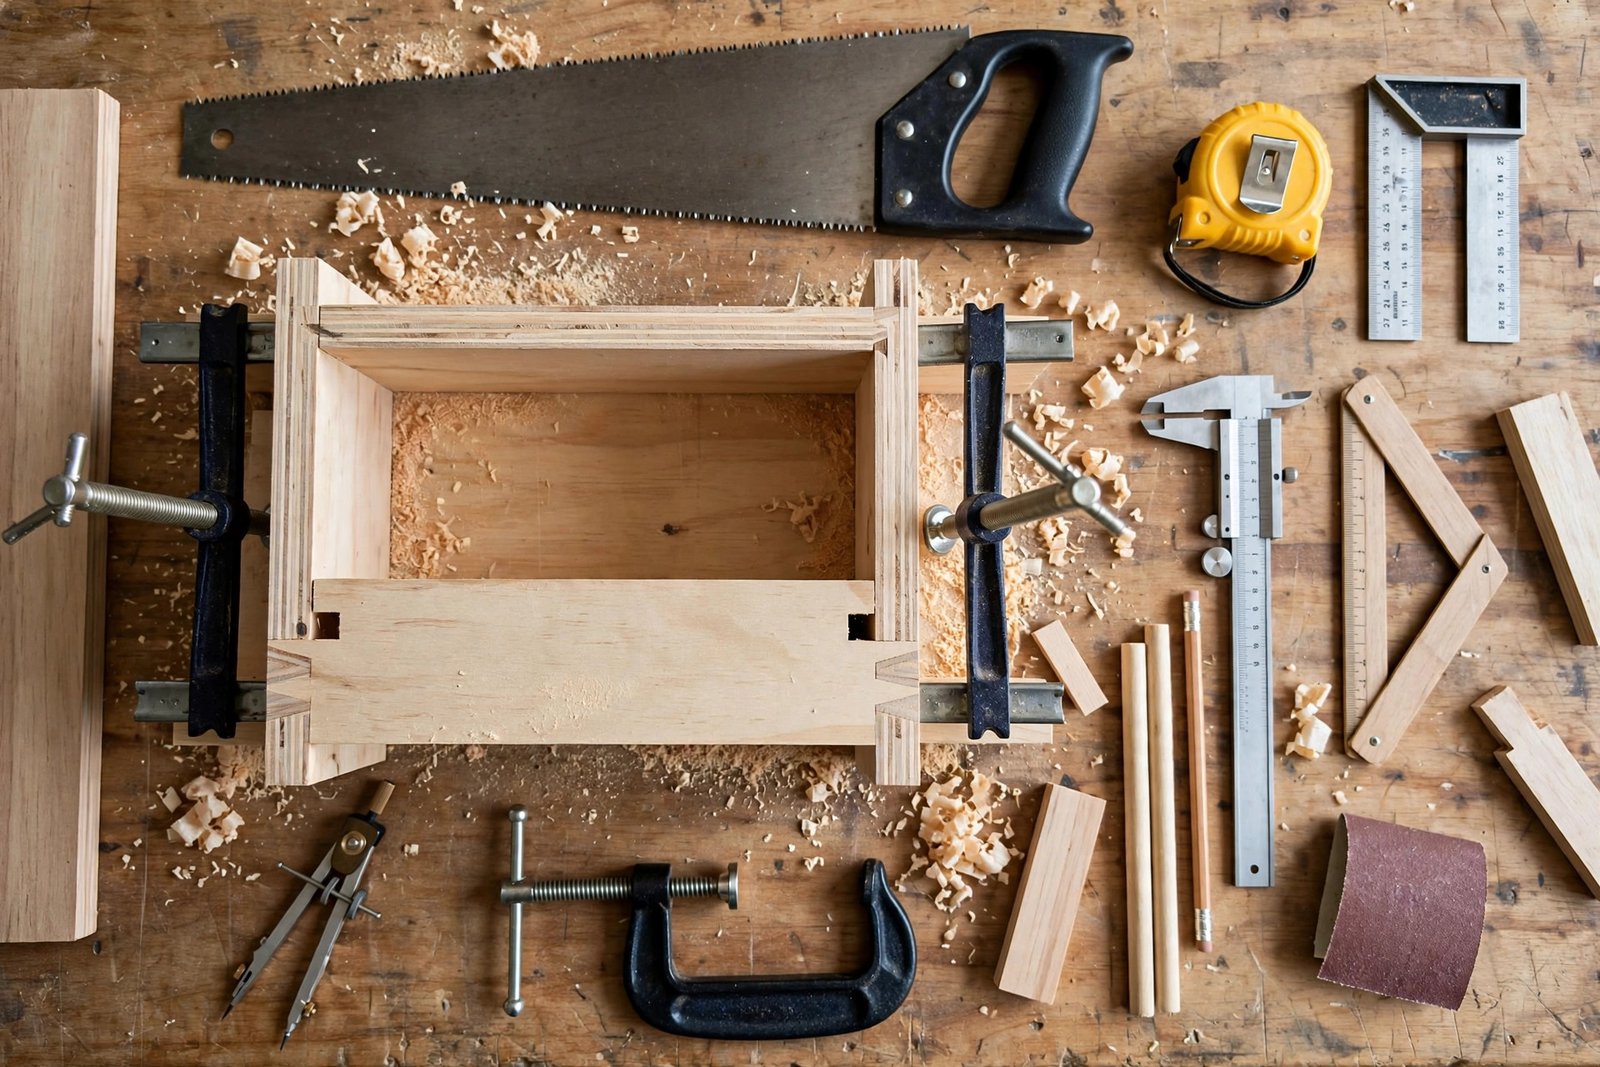
You do not need a full workshop to start. Buy tools for the project in front of you, not for projects you might make one day. Upgrade in stages, and pay for each upgrade from channel income where you can.
| Stage | What you need | Rough cost as of November 2026 |
|---|---|---|
| Start | Phone, tripod or overhead mount, clip-on mic, basic hand tools you already own | 0 to 100 dollars if you own the tools |
| Growing | Work light, second camera angle, basic power tools for your lane | 100 to 500 dollars |
| Established | Dedicated workshop space, better power tools, dust extraction, editing software | 500 to 2,000 dollars or more |
Costs vary by country and by lane. Woodworking tools cost more than craft tools, and home improvement tools sit in the middle. Start with what you have, film in a garage, a spare room or a garden, and spend on tools only when a video needs them.
Safety first
Safety is not optional in DIY, and it is also good content. Show your safety gear in the video, explain why you use it, and never film a shortcut that could hurt a viewer who copies you.
Wear eye protection when cutting, drilling or sanding. Wear ear protection with loud power tools, and wear a dust mask when sanding or cutting timber. Keep your hands clear of blades, unplug tools before you change a blade or a bit, and keep the work area tidy so you do not trip over cables. If a step needs a trained professional, such as mains electrical work, say so and tell viewers to hire one.
Be honest about mistakes. If a cut goes wrong or a joint fails, show it and explain how you fixed it. Viewers trust a maker who shows real problems far more than one who pretends every project works first time. Never encourage a viewer to skip safety gear to save time or money.
Content formats and your first 10 videos
DIY viewers come for different reasons, so mix formats that serve them all. Tutorials teach a skill, builds show a full project, fixes solve a problem, and reviews help a purchase.
- Step-by-step tutorials. One project from start to finish, with each step shown in order. Keep the pace steady and name every tool and material as you use it.
- Project builds. A full build, such as a shelf or a bench, filmed in stages with time-lapse for the slow parts.
- Fixes and repairs. One problem, one solution, filmed in a short video. These are highly searchable, because people search for the exact problem they have.
- Tool reviews. One tool tested on a real project, with honest pros and cons. Reviews that say when a tool disappointed you build more trust than reviews that praise everything.
- Tips and mistakes videos. Short videos on common errors, such as why a joint failed or how to avoid a bad paint finish.
Your first 10 videos should teach YouTube what your channel is about, so plan them as a set:
- Your easiest beginner project, such as a simple cutting board or a basic shelf.
- A fix video for a common problem in your lane.
- A tool review for a tool you use in every project.
- A project made from cheap or reclaimed materials.
- A video that answers a question beginners ask, such as which saw to buy first.
- A second beginner project, slightly harder than the first.
- A tips video on five mistakes beginners make.
- A project for a small space, such as a balcony or a small room.
- A seasonal project, such as a garden build in spring.
- A short introduction video that tells viewers what the channel is about.
Titles, thumbnails, chapters and DIY SEO
DIY viewers search with plain words and a clear problem. They type "how to build a floating shelf" or "how to fix a squeaky door" into the search box, so your title should match the words they type. Put the project or the problem first, then a helpful detail, such as "How to Build a Floating Shelf for Beginners (No Fancy Tools)".
Thumbnails need a clear photo of the finished project, with few words in large text. A close-up of the build beats a wide shot of the workshop. Use bright light and high contrast, because your thumbnail competes with dozens of others on a small screen. Do not use a photo of a different project than the one in the video.
Use chapters in your video description so viewers can jump to the step they need. A chapter list such as "0:00 Finished shelf, 0:15 Materials, 1:20 Cutting, 4:00 Assembly, 7:30 Mounting" helps viewers and helps YouTube understand your video. Add the full materials list with amounts in the description, because viewers will look for it there. Our guide to YouTube SEO and how to rank videos covers keyword research for how-to searches, and our guide to how to design YouTube thumbnails shows what makes a thumbnail get clicked.
Shorts strategy for DIY
Shorts are vertical videos under 3 minutes, and they are a strong discovery tool for DIY. A 30-second clip of a satisfying cut, a before-and-after transformation, or a quick fix can reach far more people than a long tutorial in its first week. Post the best moment of each long project as a Short, and link it to the full tutorial in a pinned comment.
The same clip can work on Pinterest, which is a strong discovery channel for crafts and home projects. Film each short clip in portrait, keep it under 60 seconds, and add captions, because many people watch with the sound off. Our guide to how to grow YouTube Shorts explains how Shorts views count towards monetisation, and our guide to how to repurpose long videos into YouTube Shorts shows the cutting process.
How DIY channels earn money
DIY channels earn from ads, affiliates, sponsorships, digital products and commissions, and the mix matters more than any single stream. The YouTube Partner Programme, known as YPP, is the route to ad income. The figures below come from YouTube's own Partner Programme page, checked on 2026-11-19.
| YPP tier | What you need | What it unlocks |
|---|---|---|
| Early tier | 500 subscribers, 3 public uploads in the last 90 days, plus 3,000 watch hours in the last 12 months or 3 million Shorts views in the last 90 days | Fan funding, such as channel memberships and Super Thanks, and Shopping features. No ad revenue. |
| Full tier | 1,000 subscribers, plus 4,000 watch hours in the last 12 months or 10 million Shorts views in the last 90 days | Ad revenue sharing, YouTube Premium revenue, and all fan funding features. |
Joining also needs 2-Step Verification, one active AdSense for YouTube account, and a channel that follows YouTube's monetisation policies. Review decisions typically take about one month. Note for readers in Pakistan: the early 500 subscriber tier is only open in the countries YouTube lists on its Partner Programme page, and as read on 2026-11-19 Pakistan does not appear in that list. Check the current country list on YouTube's own page.
YouTube also changes its rules from time to time. Some secondary sources report a change to the full tier thresholds from early 2027, but YouTube's own help page does not mention it as of 2026-11-19, so this guide does not print those figures as fact. Check YouTube's own Partner Programme page for the latest rules before you apply.
Beyond ads, DIY channels earn from tool affiliate links, tool sponsorships, selling plans and patterns, selling courses, taking commissions for custom builds, and channel memberships. Tool sponsorships usually start in stages: free products at a smaller size, affiliate income as the channel grows, and paid deals once the channel has a clear audience and a media kit. YouTube pays creators 55 percent of ad revenue on standard videos and 45 percent on Shorts, as of November 2026. Always say clearly when a link earns you a commission. Our guide to how to monetize a YouTube channel explains each income route, our guide to how to get YouTube sponsorships covers brand deals, and our guide to how to make money with YouTube affiliate marketing covers affiliate programmes.
Worked example: what a small DIY channel could earn
Example only: these numbers are not typical results, and they are shown only to explain how the maths works.
Imagine a woodworking channel that reaches the full YPP tier after 14 months. It has 2,000 subscribers and publishes one long project video a week. It gets about 15,000 views a month. If advertisers pay an average of 4 dollars per 1,000 views after YouTube takes its share, the maths is 15 multiplied by 4, which is 60 dollars a month from ads. If tool affiliate links earn 30 dollars a month, and the channel sells 5 project plans a month at 10 dollars each, that adds 50 dollars. The total is 140 dollars a month. Results vary with lane, audience country, upload schedule and the time of year.
How to start a DIY YouTube channel: what it costs and what to expect
You can start a DIY channel with a phone, a tripod, a clip-on mic and tools you already own, which costs roughly 0 to 100 dollars. Materials are a real cost, so build projects you or your household will use, and use reclaimed timber or offcuts where you can. That keeps the materials bill close to normal.
A realistic timeline is 6 to 18 months of steady uploads to reach the full YPP tier, depending on your lane and how often you publish. Some channels get there faster with a project that spreads, and many take longer. Income before that point is usually small and comes from affiliates or a digital product, not from ads. Plan for months with no income at all.
Common mistakes
- Trying to cover every craft, from woodworking to auto repair, which leaves no clear audience.
- Filming a project you have never built, which leads to mistakes on camera and lost trust.
- Skipping safety gear on camera, which teaches viewers a dangerous habit.
- Posting three videos in one week and then nothing for a month, which stalls growth.
- Using a photo of a different project in the thumbnail, which disappoints viewers who click.
- Ignoring the description, where viewers look for the materials list and the measurements.
- Copying a bigger maker's project without credit or your own twist.
- Spending hundreds of dollars on tools before publishing a single video.
Risks and scams to watch for
DIY channels face a few real risks. Safety is the first. A viewer who copies an unsafe step can be hurt, so show your safety gear, explain each risk, and tell viewers when a job needs a trained professional. Never film a shortcut that saves time but adds danger.
Copyright is the second risk. Do not use popular music in the background unless you have the right to use it. Use the YouTube Audio Library or royalty-free music instead. Read YouTube's copyright help page before you use any music, photo or clip you did not create yourself. If you use AI-generated images or video, say so, because YouTube asks creators to disclose AI-made content.
Watch out for scams aimed at small creators. A common one is a "sponsor" that offers a deal but asks you to pay for the product first. A real sponsor pays you or sends the product free. Never pay to join a network, never buy views or subscribers, and never share your Google account password with anyone who claims they can grow your channel. Tax rules apply to DIY income too, and they differ by country.
Frequently asked questions
How much can a DIY YouTube channel make?
It varies widely. A small channel earns mainly from ads and affiliate links, which may be tens of dollars a month at first. Selling plans, patterns or courses can add more, but they take time to build. No honest guide can promise a figure, because income depends on views, audience country, lane and the number of deals you win.
What equipment do I need for a DIY channel?
A phone, a tripod or an overhead mount, a clip-on mic and the hand tools for your lane are enough to start. Add a work light and a second camera angle as the channel grows, and buy power tools only when a project needs them. Start with what you own and upgrade from channel income where you can.
How do DIY channels earn money?
They earn from ads after joining the YouTube Partner Programme, plus tool affiliate links, tool sponsorships, selling plans and patterns, selling courses, taking commissions for custom builds, and channel memberships. Affiliate links and digital products often bring income before ads do, because they do not need the YPP thresholds.
Do I need a workshop to start a DIY channel?
No. Many DIY channels start in a garage, a spare room, a balcony or a garden. Small projects that fit on a workbench are a good start, and they film well with an overhead camera. A dedicated workshop is a later upgrade, not a starting requirement.
What is the best first DIY video?
A simple beginner project that a viewer can finish in one afternoon, such as a cutting board, a floating shelf or a basic repair. Pick a project you have built before, film it clearly, and show the finished piece first so viewers know what they will get.
How often should I upload DIY videos?
One long project video a week plus two or three Shorts is a realistic pace for one person. Projects take time to build and film, so do not promise a schedule you cannot keep. Consistency matters more than volume, so pick a pace you can hold for a year.
Conclusion
Learning how to start a DIY YouTube channel in 2026 comes down to one clear lane, safe filming, and steady uploads. Pick a kind of project you already know how to build, film it with two angles and good light, and give viewers a full materials list and clear chapters. Reach the Partner Programme thresholds, then add affiliate links, sponsorships and your own plans so ads are not your only income.
To keep building, read our guide to how to start a YouTube channel for the full setup, our guide to YouTube SEO and how to rank videos for getting found in search, and our guide to how to sell courses on YouTube for turning your skills into a course. Browse the rest of the YouTube Earning category for more channel guides.
Earning results vary, and nothing on this site is financial advice. Check YouTube's own Partner Programme page for the latest rules before you apply, and check your local tax rules when income starts.