How to Learn 3D Modelling Online in 2026
To learn 3D modelling online, start with free Blender, learn to move around in 3D space, model simple objects first, and build up to a small portfolio. 3D modelling is the skill of building objects in three dimensions on a computer, for games, film, product design, and 3D printing. It looks hard from the outside, but the first steps are simple shapes and short tutorials.
This guide gives you a clear path. It covers what 3D modelling is, how to pick your goal and your software, seven practical steps, a practice project ladder, the free and paid routes, and the costs.
In this guide
- What 3D modelling is
- Choose your goal first
- Step 1: Pick your software
- Step 2: Learn to navigate 3D space
- Step 3: Model your first simple objects
- Step 4: Learn topology and modifiers
- Step 5: Try sculpting and UV unwrapping
- Step 6: Texture, light, and render your models
- Step 7: Build a portfolio
- Free vs paid routes
- Example only: a 12 week study plan, with the hours shown
- What it costs to learn 3D modelling online and what to expect
- Common mistakes
- Frequently asked questions
What 3D modelling is
3D modelling is the process of building a digital object that has length, width, and height. You build it from a mesh, which is a net of points, edges, and faces. The points are called vertices. The flat surfaces between them are called faces. By moving vertices and adding faces, you shape the mesh into a chair, a character, a building, or a machine part.
There are two broad kinds of 3D modelling. Artistic modelling builds objects that look good, such as game characters, film props, and product images. CAD modelling, which stands for computer aided design, builds objects with exact measurements, such as machine parts and building plans. This guide covers artistic modelling, because that is what most beginners want. CAD is a separate skill with its own tools, such as Fusion 360 and SolidWorks.
A 3D model is not a finished picture. After you build the shape, you add materials and colours, you add lights, and you render it, which turns the 3D scene into a flat image or video. The model, the materials, the lights, and the render are four separate skills, and you learn them one at a time.
Choose your goal first
Your goal decides your tool. Do not pick software before you pick a goal, because the best tool for games is not the best tool for engineering.
| Goal | Main tool | Why |
|---|---|---|
| Games and film | Blender or Maya | Blender is free, Maya is the studio standard |
| Sculpting characters | ZBrush or Blender sculpting | ZBrush is built for organic shapes |
| Product design and 3D printing | Blender or CAD software | Blender for looks, CAD for exact sizes |
| Architecture and interiors | 3ds Max or Blender | 3ds Max is common in studios, Blender is free |
| Engineering parts | Fusion 360 or SolidWorks | CAD tools give exact measurements |
If you are not sure of your goal yet, pick games and film. It is the most popular path, it has the most free tutorials, and the skills transfer to other areas.
Step 1: Pick your software
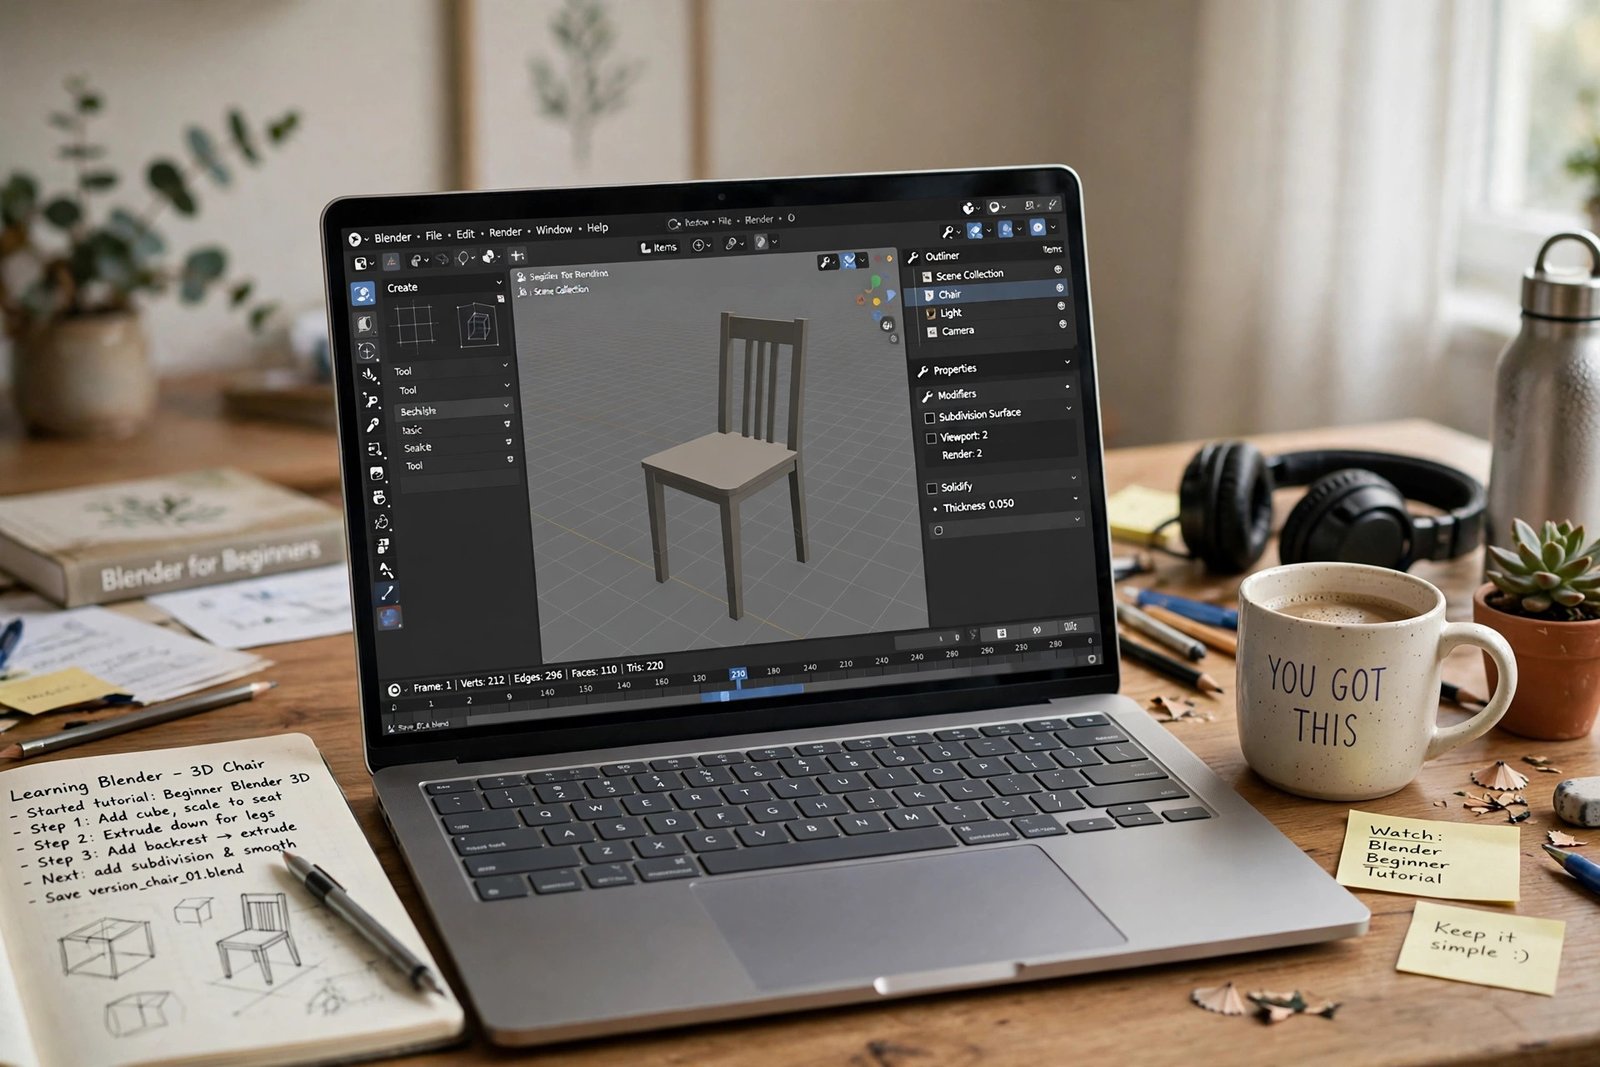
For most beginners who want to learn 3D modelling online, the answer is Blender. Blender is free and open source, which means it costs nothing and anyone can use it. It includes modelling, sculpting, texturing, animation, and rendering in one program. You can learn the whole skill in one tool.
The table below compares the main options. Check the official pricing pages before you pay for any of them, because prices change often.
| Software | Cost | Learning curve | Best for |
|---|---|---|---|
| Blender | Free | Medium | Beginners, games, film, printing |
| Maya | Paid subscription | Steep | Studio film and game work |
| 3ds Max | Paid subscription | Steep | Architecture and game environments |
| ZBrush | Paid, one time or subscription | Steep | Sculpting characters and creatures |
| Fusion 360 | Free for personal use, paid for business | Medium | Engineering parts and 3D printing |
Maya and 3ds Max are industry tools, and many studios ask for them. But they cost money every month, and they are harder to learn. Start with Blender, and learn Maya later only if a job or a client asks for it. Your Blender skills will transfer, because the core ideas are the same.
Download Blender from blender.org, which is the official site. Do not download it from any other site, because copies from other sites can carry malware.
Step 2: Learn to navigate 3D space
The first skill is moving around in the 3D view. Before you model anything, spend a few hours learning to orbit, pan, and zoom. Orbit means to turn the view around the object. Pan means to slide the view sideways. Zoom means to move closer or further away.
Learn the number pad views too. Front, side, and top views help you check the shape of your model, because a model that looks right from the front can look wrong from the side.
Learn to select and move objects, to add a cube, a sphere, and a cylinder, and to switch between object mode, which moves whole objects, and edit mode, which changes the shape of one object. These basics feel slow at first, and they become fast with practice. Do not skip them.
Step 3: Model your first simple objects
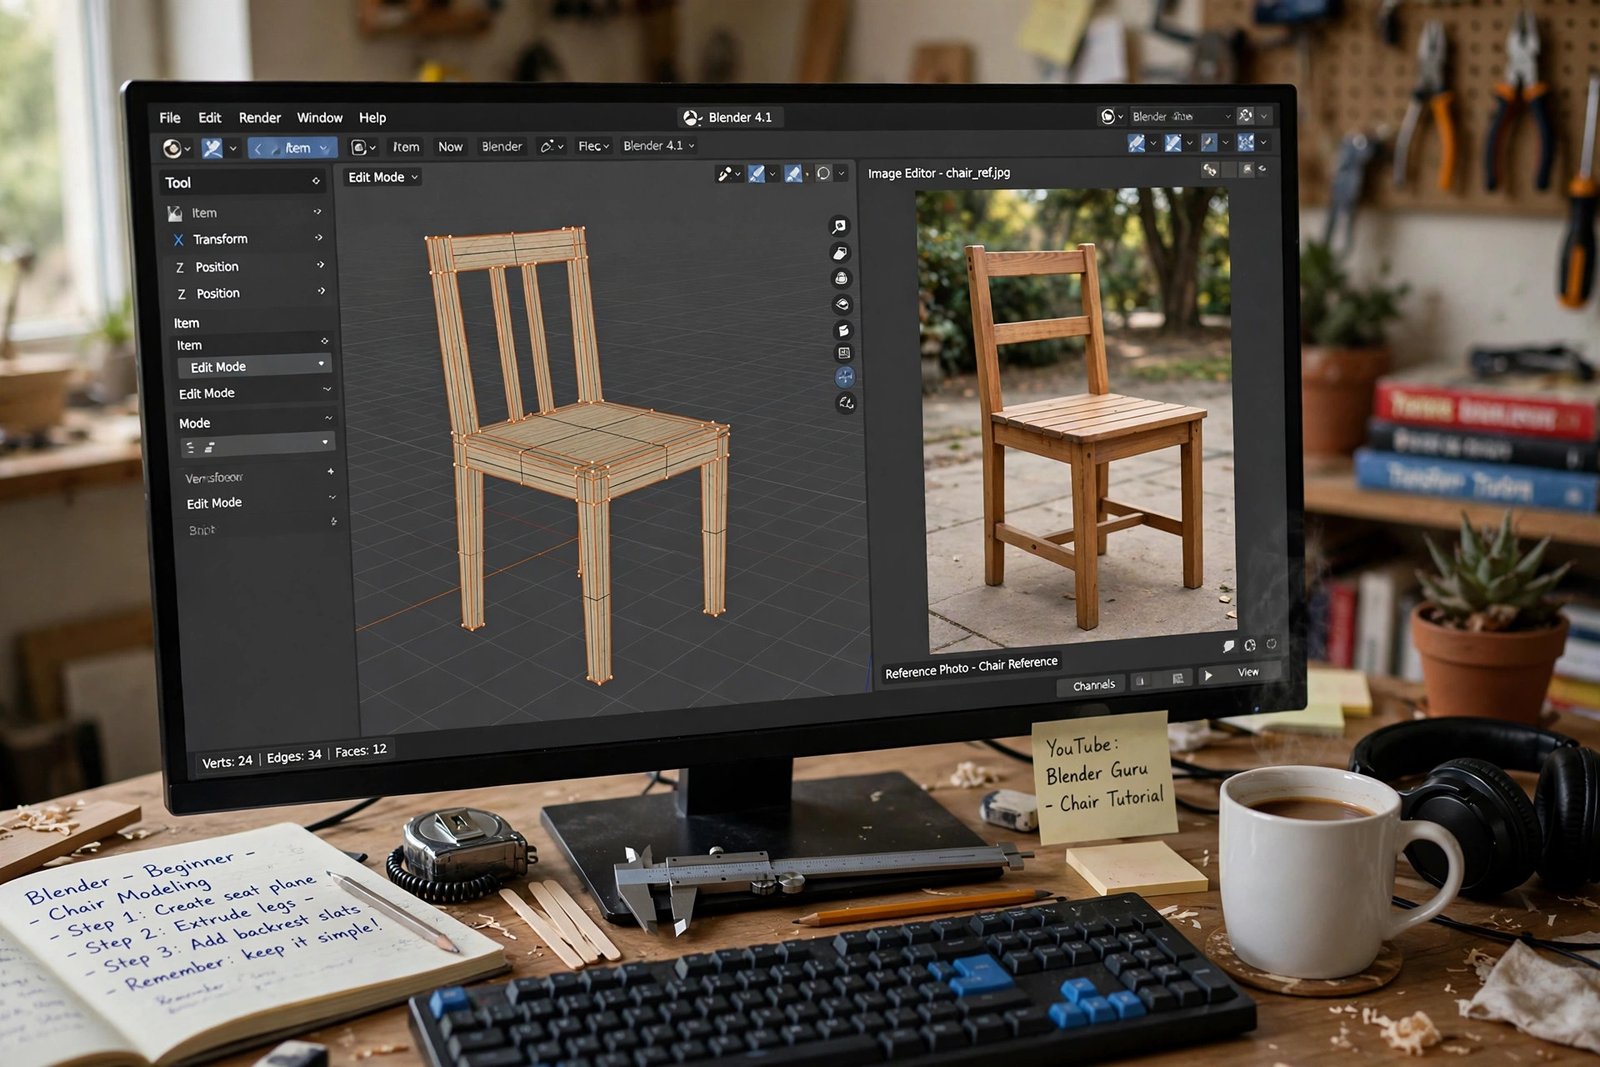
Start with simple objects if you want to learn 3D modelling online. A mug, a table, and a lamp are good first projects, because they use only boxes and cylinders. Do not start with a character or a car. Those need skills you do not have yet, and they will frustrate you.
Follow this practice project ladder. Finish each level before you move to the next one.
| Level | Projects | New skill |
|---|---|---|
| 1 | Mug, table, lamp | Basic shapes and moving vertices |
| 2 | Chair, bookshelf, simple house | Joining shapes and clean edges |
| 3 | Sword, treasure chest, simple vehicle | Curves and bevels |
| 4 | Stylised character, animal | Proportions and simple sculpting |
| 5 | Small room or game environment | Lighting, materials, and composition |
For each project, work from a reference image, which is a photo or drawing of the object you want to build. Keep it open on screen while you model, and check the proportions against it often. Beginners who model from memory make objects that look wrong, because memory is vague and a photo is exact.
Model each object on your own after you watch a tutorial. Watching is not learning. If you only follow the tutor click by click, you will forget the steps the next day. Watch once, then close the video and build the same object alone.
Step 4: Learn topology and modifiers
Topology is the layout of the faces on your model. Good topology means the faces are mostly quads, which are four sided shapes, and they flow in clean lines around the model. Bad topology means messy triangles that pinch and crease when the model moves. For still objects, messy topology matters less. For characters that bend and move, it matters a lot.
Learn edge loops, which are rings of faces that follow the shape of the model. A face needs edge loops around the eyes and the mouth, for example, so it can open and close cleanly. Learn to add loops where a shape needs to bend, and remove them where it does not.
Modifiers are tools that change your model without destroying it. The mirror modifier copies one side of a model to the other side, so you only build half a symmetrical object. The bevel modifier rounds sharp edges, which makes models look real. The subdivision surface modifier smooths a blocky model into a curved one. Learn these three first, then add more as you need them.
Step 5: Try sculpting and UV unwrapping
Sculpting is pushing and pulling a digital surface as if it were clay. It suits organic shapes, such as faces, animals, and rocks. Blender has sculpting built in, and it is free. ZBrush is the specialist sculpting tool, but you do not need it as a beginner.
Start sculpting with a sphere. Pull it into a simple head shape, and add the brow, the nose, and the chin with the grab and smooth brushes. Do not aim for a perfect face. Aim to learn how the brushes feel. Sculpting takes months to learn well, so treat this step as an introduction.
UV unwrapping is the job of flattening the surface of a 3D model into a flat 2D sheet, so you can paint a texture onto it. Think of peeling an orange and laying the peel flat on a table. You cut seams where the peel should split, then you unwrap it and paint on it. Blender has a checker texture you can use to test your unwrap: if the squares look even, the unwrap is good.
Step 6: Texture, light, and render your models
Texturing is adding colour and surface detail to a model. PBR textures, which stands for physically based rendering, are the standard way to do this. A PBR material has maps for colour, roughness, and bumpiness. Roughness controls how shiny a surface looks: a polished metal ball has low roughness, and a brick wall has high roughness. Learn roughness first, because it changes the look of a model more than colour does.
Lighting is the second half of a good render. A model lit by one flat light looks dull. A model lit by a key light, a fill light, and a rim light looks real. The key light is the main light, the fill light softens the shadows, and the rim light adds a bright edge that separates the model from the background. Learn this three point setup and use it for every portfolio render.
Rendering turns the scene into an image. Blender has two render engines: Cycles, which is slow and realistic, and Eevee, which is fast and good enough for most work. Start with Eevee, because fast renders mean you can test more ideas.
Step 7: Build a portfolio
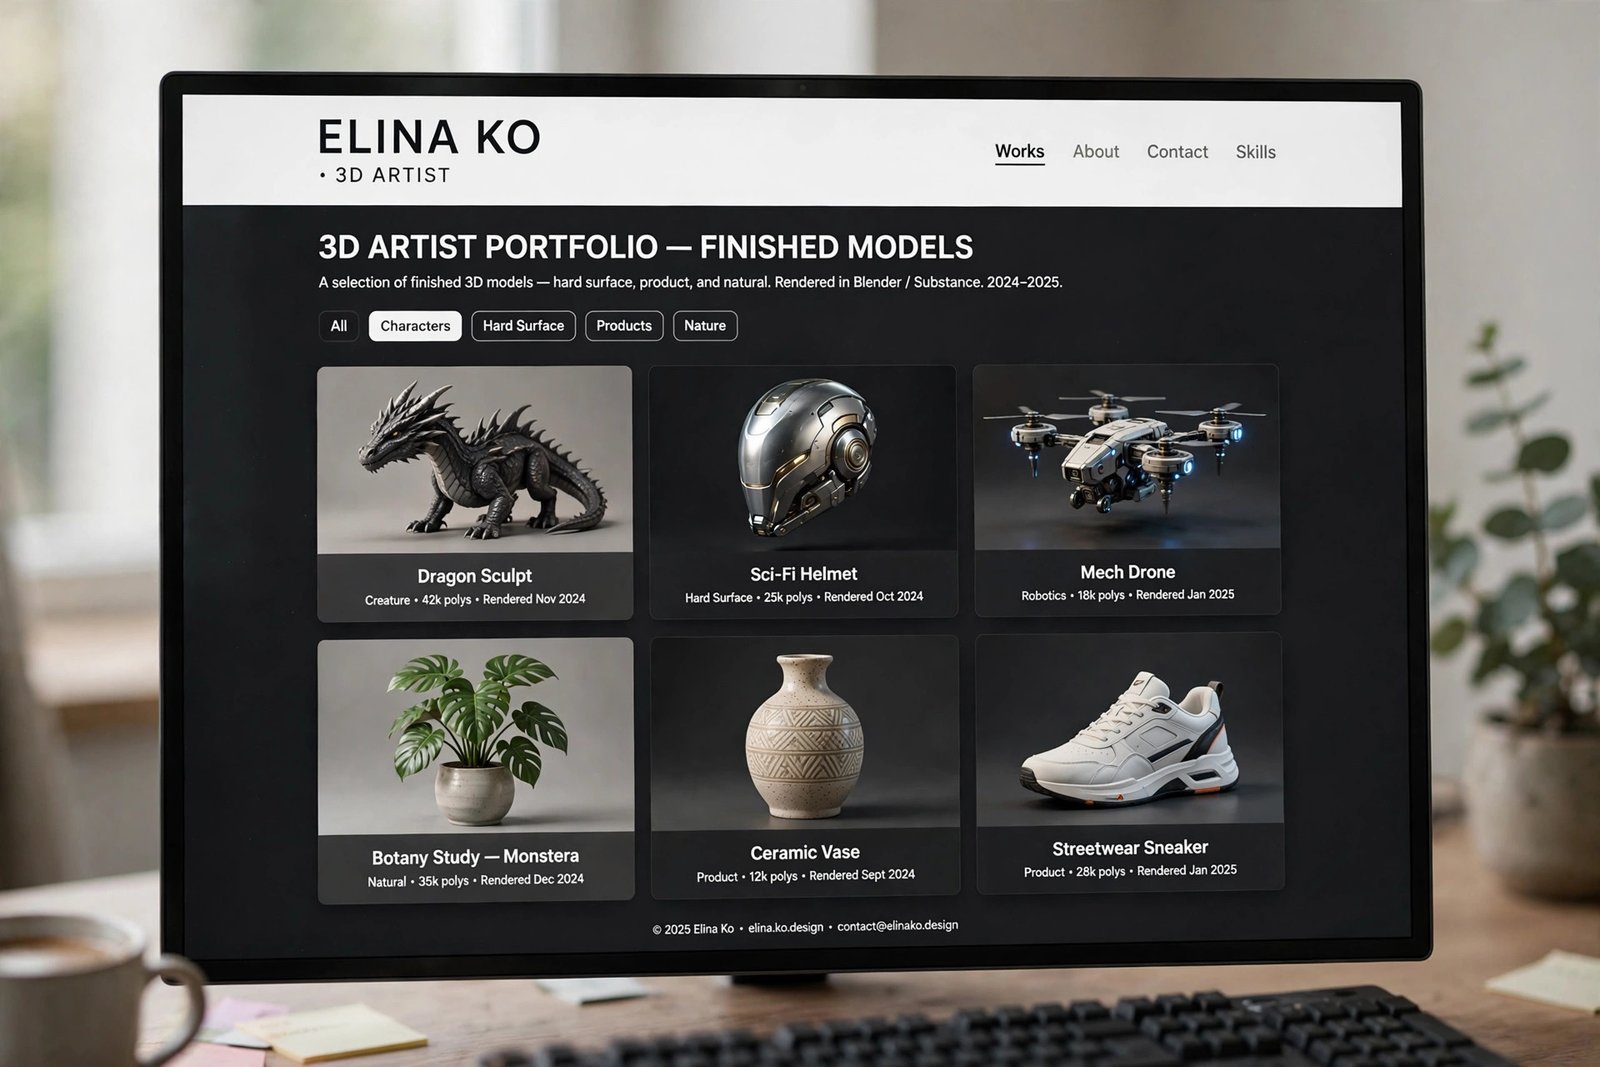
A portfolio is a small set of your best finished models, shown with clean renders. Aim for 6 to 10 pieces. One good chair render beats ten unfinished models.
Include a mix of work: two simple props, two harder objects, one character or sculpt, and one small environment. Show each model from two or three angles, and add a wireframe view for one or two pieces, because it shows your topology is clean. Write one line under each piece that says what you made and what you learned.
Show your portfolio on ArtStation, which is the main site for 3D artists, and on a simple personal page. Keep it updated. Remove old work when your new work is clearly better. A portfolio is a living thing, not a finished document.
If you want to earn from your models later, read our guide on how to sell 3D models online. That guide covers the selling side. This guide stays on the learning side.
Free vs paid routes
| Route | Cost | Best for | Notes |
|---|---|---|---|
| Free Blender route | 0 dollars | Most beginners | Blender plus free tutorials on YouTube and Blender Studio |
| Paid course route | 30 to 300 US dollars | Structured learning with projects | Udemy, CG Cookie, and Blender Cloud courses |
| School route | Thousands of dollars | People who want a classroom and a network | CG Spectrum and Gnomon, check current fees first |
The free route is genuinely good for 3D modelling, because Blender is free and the tutorial community is huge. The Blender Beginner Bootcamp on Coursera lists 23 modules with real projects such as a door, a bridge, a van, and a teddy bear, and its listing page is on Class Central. Check the price on Coursera before you enrol, because it can change.
Paid courses help when you want a set order and feedback. CG Cookie and Blender Cloud both offer structured Blender courses. Check the price and the syllabus before you pay.
Example only: a 12 week study plan, with the hours shown
This example uses made up numbers. It is an example only, and it shows how much time a beginner plan takes.
Suppose you study 6 hours a week, for 12 weeks. That is 6 times 12, which is 72 hours in total.
Navigation and basics: 6 hours. Simple objects and the project ladder: 24 hours. Topology and modifiers: 12 hours. Sculpting and UV unwrapping: 12 hours. Texturing, lighting, and rendering: 12 hours. Portfolio renders and tidy up: 6 hours. Add them up: 6 plus 24 is 30, plus 12 is 42, plus 12 is 54, plus 12 is 66, plus 6 is 72 hours.
After 72 hours you should have 6 to 10 finished models and a small portfolio. You will not be a professional yet, because most working 3D artists have thousands of hours of practice. But 72 hours of focused work is enough to know whether you enjoy the skill.
What it costs to learn 3D modelling online and what to expect
| Item | Typical cost | Notes |
|---|---|---|
| Blender software | 0 dollars | Free and open source, forever |
| A paid Blender course | 30 to 300 US dollars | Optional, free tutorials cover the basics |
| A graphics tablet | 40 to 100 US dollars | Optional, useful for sculpting, not required |
| A computer that can run Blender | 0 to 800 US dollars | Most modern laptops work; a dedicated graphics card helps for rendering |
| Portfolio hosting | 0 dollars | ArtStation has a free plan |
Expect a slow start. Simple props take 1 to 2 months at 4 to 6 hours a week. Characters and complex work take 6 months to 2 years. These timelines come from Learnr, a learning site that gives realistic estimates. Do not compare your first month to an artist with five years of practice.
Your first models will look rough. That is normal. Every 3D artist has a folder of bad early work. Keep modelling, keep comparing your work to reference images, and the quality will follow.
Common mistakes
- Do not start with a character or a car, because those need skills you do not have yet.
- Do not use too many polygons early, because a dense mesh is hard to fix and slow to render.
- Do not ignore scale, because a chair that is ten times too big will break your scene.
- Do not follow tutorials without modelling alone afterwards, because watching is not learning.
- Do not skip the reference image, because memory makes objects look wrong.
- Do not model without checking the side and top views, because a model can look right from the front and wrong from the side.
- Do not buy expensive software before you try Blender, because Blender is free and covers the basics.
- Do not compare your first month to a professional with years of practice, because that comparison only causes frustration.
Frequently asked questions
Which 3D modelling software should I start with?
Start with Blender. It is free, it covers modelling, sculpting, texturing, and rendering in one program, and it has the largest free tutorial community.
Is Blender free?
Yes. Blender is free and open source, and it will stay free. You can download it from blender.org, use it for personal or commercial work, and never pay a licence fee. Paid add ons exist, but you do not need them as a beginner.
How long does it take to learn 3D modelling?
Simple props take 1 to 2 months at 4 to 6 hours a week. Characters and complex work take 6 months to 2 years. These are guide estimates, not promises, and your speed depends on how often you practise.
Do I need a drawing tablet?
No, not to start. A mouse is fine for box modelling and hard surface work. A tablet helps for sculpting, because it feels more like drawing. Buy one later, once you know you enjoy sculpting.
Can I learn 3D modelling without a degree?
Yes. Most 3D artists are judged by their portfolio, not by a degree. Studios and clients look at your models, your renders, and your topology.
What computer do I need for 3D modelling?
Most modern laptops can run Blender for simple models. A computer with 16 gigabytes of memory and a dedicated graphics card will render faster and handle bigger scenes. Start with the computer you have.
Conclusion
To learn 3D modelling online, start with free Blender, learn to move around in 3D space, model simple objects first, then learn topology, sculpting, texturing, and rendering one skill at a time. Follow the project ladder, model alone after each tutorial, and build a small portfolio of 6 to 10 finished pieces.
To go further, read how to sell 3D models online when you are ready to earn from your work, how to learn photo editing online for a related visual skill, and how to learn web design for beginners for a related design skill, then browse the full Digital Skills category for more guides. The facts in this guide were checked against blender.org and Class Central in November 2026, and software prices should be checked on the official pages before you buy.
Note for the reader: software prices are in US dollars unless stated otherwise, and they change often, so check the official pricing page before you pay. Earning results vary; nothing on this site is financial advice.