How to Learn Web Design for Beginners in 2026
You open a beautiful website, and you wonder how it was made. Then you open a design tool, and you see a hundred buttons, and you close it again. That is the usual start. Learning how to learn web design for beginners is not about talent first. It is about learning a small set of visual ideas, then one design tool, then the basic code that turns a design into a page.
This guide gives you that path. You will learn the difference between web design and web development, the core visual skills, how to use Figma on its free plan, the basics of HTML and CSS, and how to build three practice projects and a simple portfolio. It uses free tools throughout.
In this guide
- Web design versus web development
- The core skills you need
- Step 1: Visual basics
- Step 2: Learn Figma on the free plan
- Step 3: HTML and CSS fundamentals
- Step 4: Responsive design and accessibility basics
- Step 5: Build three practice projects
- Build a simple portfolio
- No-code versus code: which route suits you
- What it costs and how long it takes
- Common mistakes
- Frequently asked questions
Web design versus web development
Web design and web development are related, but they are not the same job. Web design is about how a site looks and how a visitor moves through it. A web designer chooses the layout, the colours, the type, and the images, and plans where each button and heading goes. Web development is about building the site so it works. A web developer writes the code that makes the pages load, the forms send, and the buttons respond.
Many small projects need both skills, and many beginners learn a little of each. You can start with design, and learn enough code to build simple pages. Or you can start with code, and learn enough design to make clean pages. This guide starts with design, because it is easier to learn the code when you already know what you want to build.
User experience, often shortened to UX, means how easy and pleasant a site is to use. User interface, often shortened to UI, means the visible parts a person taps and reads, such as buttons, menus, and forms. A good designer thinks about both. A beautiful page that confuses visitors is a poor design, even if it looks good in a screenshot.
The core skills you need
Six core skills cover most beginner web design work. Learn them in order, and practise each one on a real page, not only in a tutorial.
| Skill | What it means | Why it matters |
|---|---|---|
| Layout | How content is arranged on the page | A clear layout helps visitors find what they need fast |
| Colour | How colours work together and guide the eye | Good colour builds trust, and poor colour hides the message |
| Typography | How type is chosen, sized, and spaced | Readable type keeps visitors reading, and poor type pushes them away |
| Figma | A free design tool for drawing pages before you build them | It lets you test ideas without writing code first |
| HTML and CSS | The code that structures a page and styles it | It turns a design into a real page a browser can show |
| Responsive design | Making a page work well on phones and computers | Most visitors now arrive on a phone, so mobile comes first |
Layout matters most at the start, because a clear layout can carry simple colours and simple type. Colour and type matter next, because they set the mood and the readability. Figma, HTML, and CSS are the tools that let you put those ideas into practice.
If you are still choosing a skill to learn, read our guide on the best digital skills to learn. It compares web design with other digital skills, so you can see which one fits your goals.
Step 1: Visual basics
Visual basics are the ideas behind every good page. Learn four of them, and practise each one by copying a clean page you admire, in your own words and with your own content.
Layout starts with a grid, which is a set of invisible columns that keep content aligned. Most pages use one main column for text, with space on each side, and a clear order from top to bottom: heading, short intro, main content, and a clear next step. Leave white space, which is empty space around text and images. White space is not wasted space. It helps the eye rest, and it makes the important parts stand out.
Colour starts with one main colour, one supporting colour, and one colour for buttons and links. Use a free colour tool to test pairs, and check that text is easy to read on its background. Dark text on a light background is the safest choice for body text. Save bright colours for buttons and short headings, not for long paragraphs.
Typography starts with two typefaces at most, one for headings and one for body text. Use a clear size for body text, with enough space between lines, and keep line length short enough to read without losing your place. Left aligned text is easiest to read for most readers.
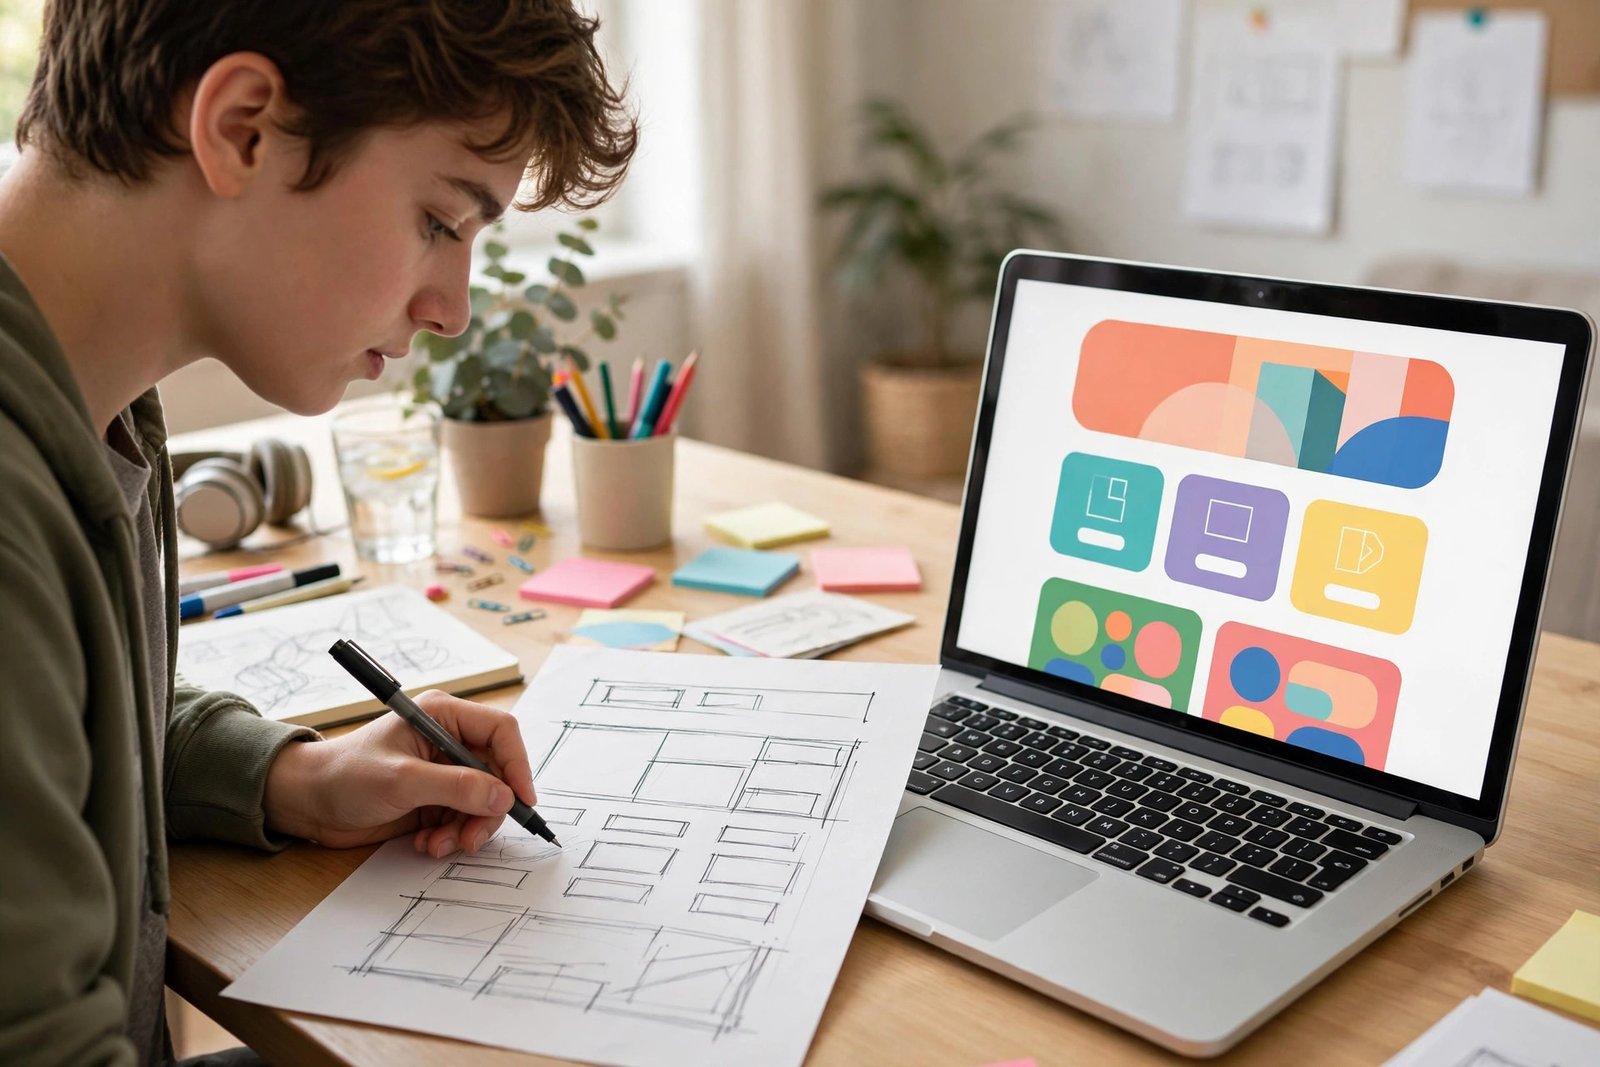
Practise by redesigning one simple page a week. Take a local shop page, a charity page, or a blog post, and sketch a cleaner version on paper first. Note what you changed, and why. That note is the start of design judgement.
Step 2: Learn Figma on the free plan
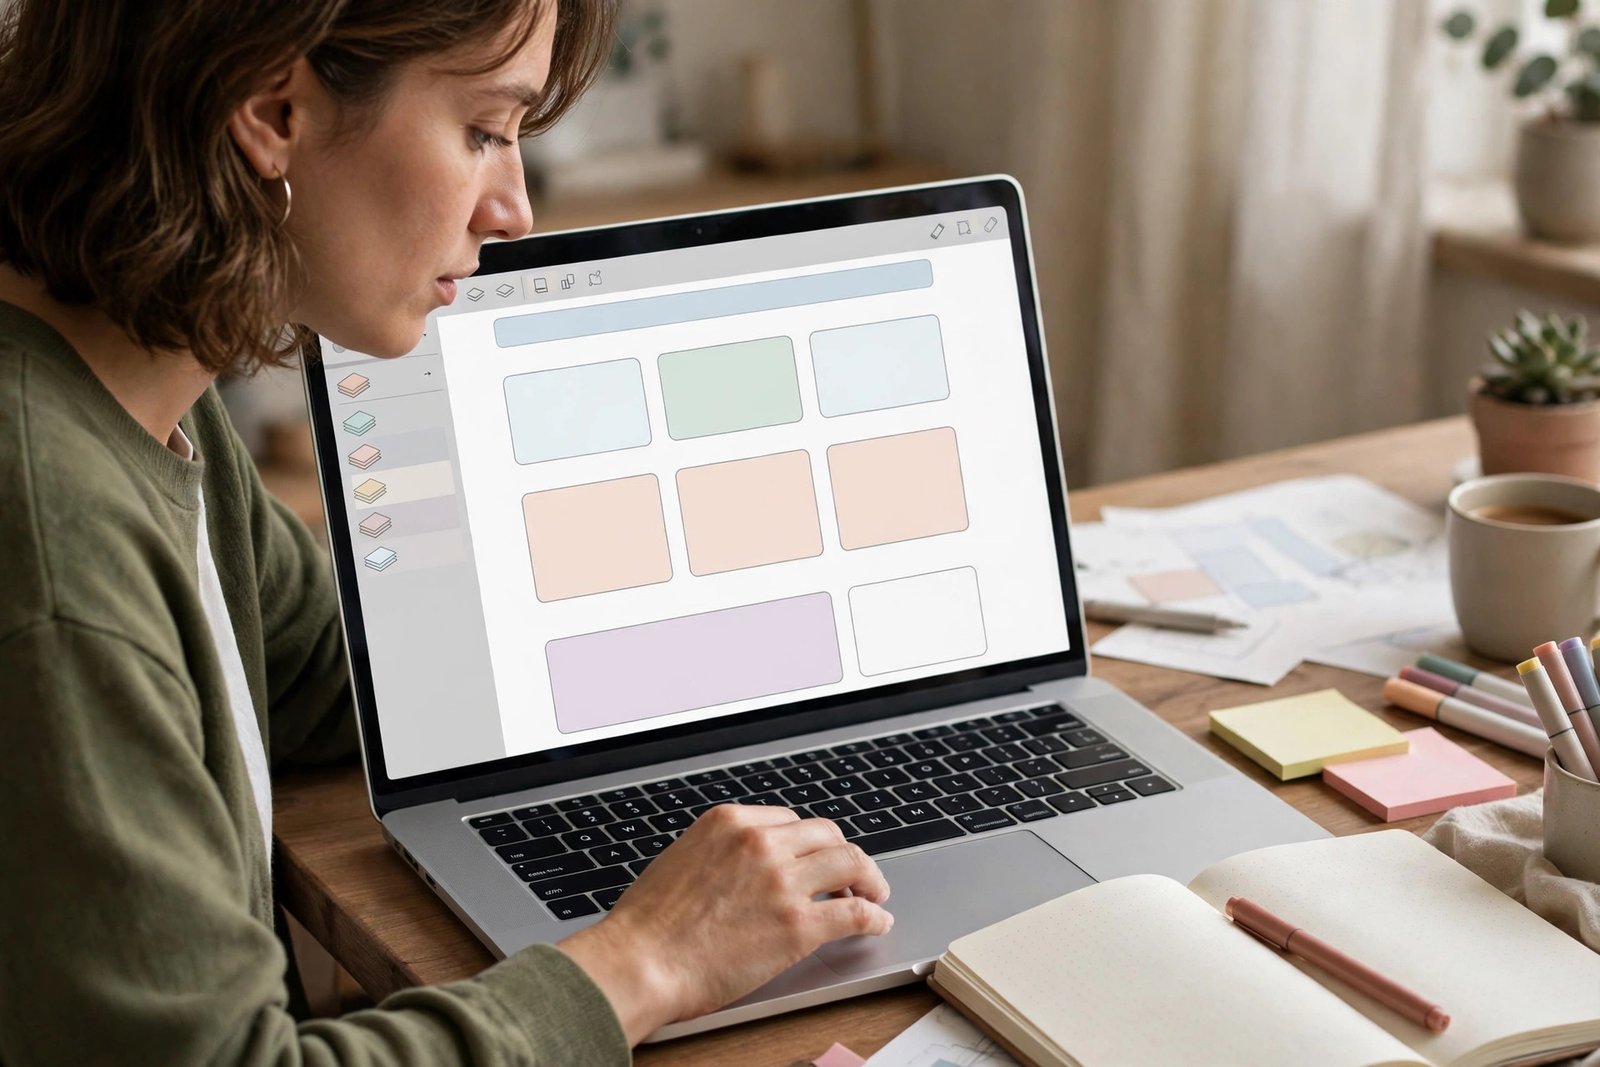
Figma is a design tool that runs in a browser. The free plan covers what a beginner needs, including drawing pages, sharing them, and working with others. You do not need to pay to learn it.
Start with four moves. First, draw a frame, which is the outline of a page or a phone screen. Second, add rectangles, text, and images inside the frame. Third, use auto layout, which is a Figma feature that keeps spacing even when text grows or shrinks. Fourth, make a component, which is a reusable piece such as a button, so you can change it once and update it everywhere.
Follow a free Figma beginner tutorial, and rebuild one simple homepage in Figma as you watch. Do not just watch the video. Pause after each step, and do the step yourself. At the end of two to three weeks, you should be able to draw a homepage, a blog post page, and a simple contact page, each with a clear heading, body text, an image, and a button.
Step 3: HTML and CSS fundamentals
HTML is the code that gives a page its structure. It marks up headings, paragraphs, links, images, and lists, so the browser knows what each part is. CSS is the code that styles those parts. It sets colours, sizes, spacing, and layout, so the page looks the way you designed it.
Learn HTML first, for one week. Practise the tags that matter most: headings, paragraphs, links, images, lists, and simple sections. Then learn CSS for two to three weeks. Practise colours, type sizes, spacing, and a simple layout with a header, a main column, and a footer.
Two free resources cover this well. Learn web development from MDN offers free structured modules that take a learner from beginner to comfortable, in Getting started, Core, and Extension sections, with test your skills exercises. freeCodeCamp offers free courses, projects, and certifications, including a Responsive Web Design certification, and its curriculum covers HTML, CSS, JavaScript, Python, Linux, Git, and SQL. Use one of these as your main course, and finish the HTML and CSS sections before you move on.
Do not jump to JavaScript yet. JavaScript is the code that adds interaction, such as menus that open and forms that check input. It matters later, but it is not needed for your first three projects. Learn HTML and CSS well first, and JavaScript will be easier when you reach it.
Step 4: Responsive design and accessibility basics
Responsive design means a page works well on a phone, a tablet, and a computer. Most visitors now arrive on a phone, so design for the phone first, then add space and columns for larger screens. Test every page on a real phone, not only in a desktop browser. Check that text is easy to read, buttons are easy to tap, and images do not overflow the screen.
Accessibility means a page works for people with different needs, including people who use a screen reader, which is software that reads a page aloud, and people who navigate with a keyboard. Four basics cover most of it. Use real headings in order, so a screen reader can follow the page. Write alt text for images, which is a short description of what the image shows. Make sure text has enough contrast against its background. Make sure every button and link can be reached with a keyboard, and that it is clear which one is selected.
A simple test helps. Turn off the images on a page, and read only the headings and alt text. If you can still follow the page, the structure is sound. Then check the page with a keyboard only. If you can reach every link and button, the page is usable.
Step 5: Build three practice projects
Tutorials teach tools. Projects teach design. Build three projects, each with a clear brief, so you practise the full path from sketch to finished page.
Project one is a personal homepage. It has your name, a short intro, three skills, and a contact link. Good looks like a clear heading, one photo or simple graphic, short paragraphs, and one clear button. Project two is a small business page for a made up bakery, cafe, or plumber. It has a hero section, a short services list, three customer questions, and a contact form link. Good looks like a clear offer in the first screen, readable prices or service notes, and a phone number or email that is easy to find. Project three is a blog post page. It has a headline, a short intro, four sections with headings, one image, and a related posts row. Good looks like easy reading, clear headings, and a layout that works on a phone.
For each project, follow the same steps. Sketch the page on paper first. Draw it in Figma. Build it with HTML and CSS. Test it on a phone. Write one short note on what you would improve next time. That note matters, because it shows you are learning to judge your own work.
If you want to pair web design with writing skills, read how to learn graphic design online. It covers colour, type, and layout in more depth, and it links well with the design work here.
Example only: these numbers are not typical results. Imagine a beginner who spends six hours a week for ten weeks. In weeks one to two, she learns layout, colour, and type, and sketches five pages on paper. In weeks three to five, she learns Figma and rebuilds two homepages. In weeks six to nine, she learns HTML and CSS and builds a personal homepage and a bakery page. In week ten, she builds a blog post page and puts all three in a simple portfolio. She has spent about 60 hours in total, and she has three finished pages to show. Your time will differ, but the order is the same. Sketch, design, build, test, and repeat.
Build a simple portfolio
A portfolio is a simple page that shows your best work, with a short note on each project. It does not need to be fancy. It needs to be clear, honest, and easy to use.
Include four items. First, a short intro that says who you are and what you do, in two sentences. Second, your three practice projects, each with a screenshot, a link to the live page if you have one, and one sentence on what you learned. Third, a short list of the tools you use, such as Figma, HTML, and CSS. Fourth, a contact link, so a visitor can reach you. Keep the page fast, and test it on a phone.
If you want to offer design work as a freelancer, read how to create a freelance portfolio and how to start freelancing. Both explain how to present early work honestly, and how to set a fair first price.
No-code versus code: which route suits you
A no-code tool, such as Webflow, lets you build a site by dragging and dropping, without writing code. A code route, with HTML and CSS, gives you more control, and it teaches you how the web really works. Neither route is right for everyone.
| Route | Best for | What you learn | What to watch for |
|---|---|---|---|
| No-code first | Building a site fast for a small business | Layout, content, and publishing | You may hit limits when you want a custom feature |
| Code first | Learning the skill deeply, and offering design plus build work | HTML, CSS, and how browsers work | It takes longer before your first finished site |
| Mixed route | Most beginners | Design in Figma, build simple pages in code, use no-code for speed | Do not switch tools every week, or you will finish neither |
Choose the code route if you want to offer design and build work, and you have time to learn. Choose the no-code route if you need a site live fast, and you are happy to learn the tool deeply. The mixed route suits most beginners. Design in Figma, build simple pages in HTML and CSS, and use a no-code tool only when a client needs speed.
What it costs and how long it takes
You can learn web design free, with Figma on its free plan, free courses, and a free code editor. The paid route adds a course or a paid design tool, but it is not required to learn the core skills.
| Item | Free option | Paid option | Note |
|---|---|---|---|
| Design tool | Figma free plan | Check the official page for paid plans | Free covers beginner needs |
| Code course | MDN and freeCodeCamp | Check the official page before you pay | Finish a free course first |
| Code editor | A free editor such as VS Code | No paid editor is needed at the start | Use one editor, and learn it well |
| Hosting for practice | Free static hosting for a test page | Check the official page for paid plans | A free host is enough for a portfolio |
How long it takes depends on your hours. At six hours a week, most beginners can finish the visual basics, Figma, and HTML and CSS in about three months, with three practice projects done. Career level skill usually takes longer, often 9 to 18 months of steady work, because real client work adds new problems that tutorials do not cover. Results vary with your time, your consistency, and the work near you. No course can promise you a job, and you should be wary of any course that does.
Common mistakes
- Learning tools before learning layout, colour, and type, so pages look busy but have no clear order.
- Using five colours and four typefaces on one page, instead of one main colour and two typefaces at most.
- Copying a design without understanding why it works, so you cannot adapt it to a new brief.
- Designing only for a large screen, and forgetting to test on a phone.
- Skipping accessibility, so the page is hard to use for some visitors.
- Jumping to JavaScript before HTML and CSS are solid, which slows both.
- Building ten half finished projects, instead of three finished ones with notes.
Frequently asked questions
Do I need a degree to become a web designer?
No. Most clients and employers look at your portfolio first. A degree can help in some larger companies, but a small set of finished projects, with clear notes on what you did, often matters more for a first role or a first client.
Do I need to learn coding?
You do not need to learn coding to design in Figma, but you do need basic HTML and CSS to turn a design into a real page. That basic level is enough for your first projects. You can learn JavaScript later, when you need interaction.
Is Figma free?
Figma has a free plan that covers what a beginner needs, including drawing pages and sharing them. Paid plans add team features and extra storage. Check the official Figma page on the day you start, because plan limits change, and the free plan is the right place to begin.
How long does it take to learn web design?
At about six hours a week, most beginners can learn the visual basics, Figma, and HTML and CSS in about three months, with three practice projects done. Career level skill usually takes 9 to 18 months of steady work. Results vary with your time and your practice.
What is the difference between UX and UI design?
UX design is about how easy and pleasant a site is to use, such as whether a visitor can find what they need fast. UI design is about the visible parts, such as buttons, menus, and forms. A good designer thinks about both, because a beautiful page that confuses visitors is a poor design.
How do I get my first web design client?
Start with a simple portfolio of three finished projects, then offer a small page to a local shop, charity, or creator you already know. Agree the brief, the price, and the delivery date in writing, and report your progress honestly. One happy client often leads to the next.
Conclusion: sketch one page today, then build it
Pick a simple page, sketch a cleaner version on paper, draw it in Figma, and build it with HTML and CSS. Then test it on a phone, fix what breaks, and add it to a simple portfolio. Repeat that loop three times, and you will have learned web design by doing it, not by watching it.
Your next step is to sketch your first page today. Then read how to learn SEO for beginners, because a well designed page still needs visitors, and how to start an online business for beginners if you want to turn design into a service. You can also browse all our guides in the digital skills category.