How to Learn Photo Editing Online in 2026
You take a good photo, and it looks flat on screen. The colours are dull, the sky is too bright, and a bin sits in the corner. You open an editor, and you see sliders with names you do not know. Learning how to learn photo editing online starts with a simple idea. Editing is not about filters. It is about fixing light, colour, and shape, in the right order, on a copy of your photo.
This guide shows you how to choose an editor, which skills to learn first, how to follow a 4 week practice plan, and how to build a small portfolio. It covers free editors as well as Photoshop, and it includes mobile editing. It is written for a complete beginner with a phone or a computer and a set of photos to practise on.
In this guide
- Choose your editor first
- The core skills in order
- Step 1: Learn the workspace and non-destructive editing
- Step 2: Basic adjustments on your own photos
- Step 3: Layers, masks and selections
- Step 4: Retouching and creative effects
- A 4 week practice plan
- Build a small portfolio
- What it costs and what to expect
- Common mistakes
- Frequently asked questions
Choose your editor first
An editor is the program you use to change a photo. Different editors suit different needs. The table below compares the main options for a beginner. Prices change, so check the official page before you pay for anything.
| Editor | Cost | Best for | What to watch for |
|---|---|---|---|
| Photoshop | Paid plan or trial, check the official Adobe page | Detailed retouching, layers, and compositing | It is a large app, and it takes time to learn |
| Lightroom | Paid plan, check the official Adobe page | Organising and editing many photos fast | It is less suited to detailed pixel work |
| Canva | Free plan, with a paid plan for more features | Quick social posts and simple edits | It is not a full photo editor |
| GIMP | Free | Detailed editing without a paid plan | The interface feels less polished than Photoshop |
| Photopea | Free in a browser, with a paid option to remove adverts | Quick edits without installing anything | It needs an internet connection, and it shows adverts on the free plan |
| Snapseed | Free mobile app | Editing on a phone, with strong basic tools | It is less suited to large print work |
For most beginners, start with a free editor. If you take photos on your phone, start with Snapseed. If you work on a computer and you want layers, start with Photopea or GIMP. If you already pay for Adobe tools, or you want to learn the industry standard, start with Photoshop, and use the free Adobe tutorials below.
Do not try to learn three editors at once. Pick one, and stay with it for at least four weeks. The skills transfer between programs, because the controls work in similar ways, even when the names differ. Learn the ideas once, and the buttons become easy.
The core skills in order
Photo editing has a natural order. Learn the skills in this order, and each step will make sense. Skip ahead, and you will chase the same problem twice.
First, crop and straighten, so the photo has a clear shape and a level horizon. Second, exposure, which is the overall brightness, and white balance, which is the overall colour of the light. Third, tone and colour, which shape contrast and the strength of each colour. Fourth, local adjustments, which change one part of the photo without touching the rest. Fifth, retouching, which removes small distractions such as dust spots and blemishes. Sixth, sharpening and export, which prepare the photo for the screen or for print.
Two ideas run through all six steps. A raw file keeps everything the camera sensor recorded, so you can recover highlights and shadows, change white balance without loss, and push colours much further before the image breaks down. A JPEG is an image the camera has already processed, with white balance, contrast, and sharpening baked in, and much of the original data thrown away. If your camera or phone can shoot raw, use it for photos you plan to edit. Non-destructive editing means the original file is never changed, and every adjustment can be undone. Always edit a copy, never the original.
Step 1: Learn the workspace and non-destructive editing
Open your editor, and learn where the main panels live. Find the tools for crop, exposure, white balance, and export. Find the undo button, and learn the shortcut for it. Find the layers panel, if your editor has one. A layer is a separate sheet that holds one part of an edit, so you can change it without touching the rest.
Practise non-destructive editing from day one. Make a copy of a photo, and edit the copy. Use adjustment layers where your editor offers them, so each change sits on its own layer. Save the editable file, as well as the exported copy. That way, you can return to an edit a week later, change one layer, and export it again without starting over.
Spend three to four days on this step. Your goal is to open a photo, make a small change, undo it, save a copy, and export a web version, without getting lost. That simple loop is the base for everything that follows.
Step 2: Basic adjustments on your own photos
Basic adjustments fix light and colour. Do them in this order, and check the result after each one. First, crop and straighten. Turn on lens corrections first if your editor offers them, because they remove distortion and change the edges of the frame, so they belong before the crop. Then straighten horizons and vertical lines, and crop to strengthen the composition, which is how the parts of a photo are arranged. Remove distractions at the edges, place the subject deliberately, and choose an aspect ratio that suits the picture and where it will be shown.
Second, set exposure and white balance. Set overall brightness with Exposure, so the midtones look right. Then use Highlights to bring back detail in bright areas, Shadows to open up dark areas, and Whites and Blacks to set the end points of the tonal range. The histogram shows the result. Data piled against the right edge means lost highlight detail, and data piled against the left edge means lost shadow detail. For white balance, use the eyedropper on something that should be neutral grey or white, or set the Temperature slider from blue to yellow, and the Tint slider from green to magenta, by eye.
Third, shape tone and colour. The Contrast slider is blunt, so use it lightly. The tone curve gives precise control. A gentle S shape, with shadows down and highlights up, adds contrast through the midtones while protecting the ends. Vibrance boosts muted colours and protects skin tones, while Saturation boosts all colours equally. Use Vibrance first, and add Saturation only if the photo still looks flat. The colour mixer lets you change one colour, such as darkening a blue sky or calming an orange skin tone, without touching the rest.
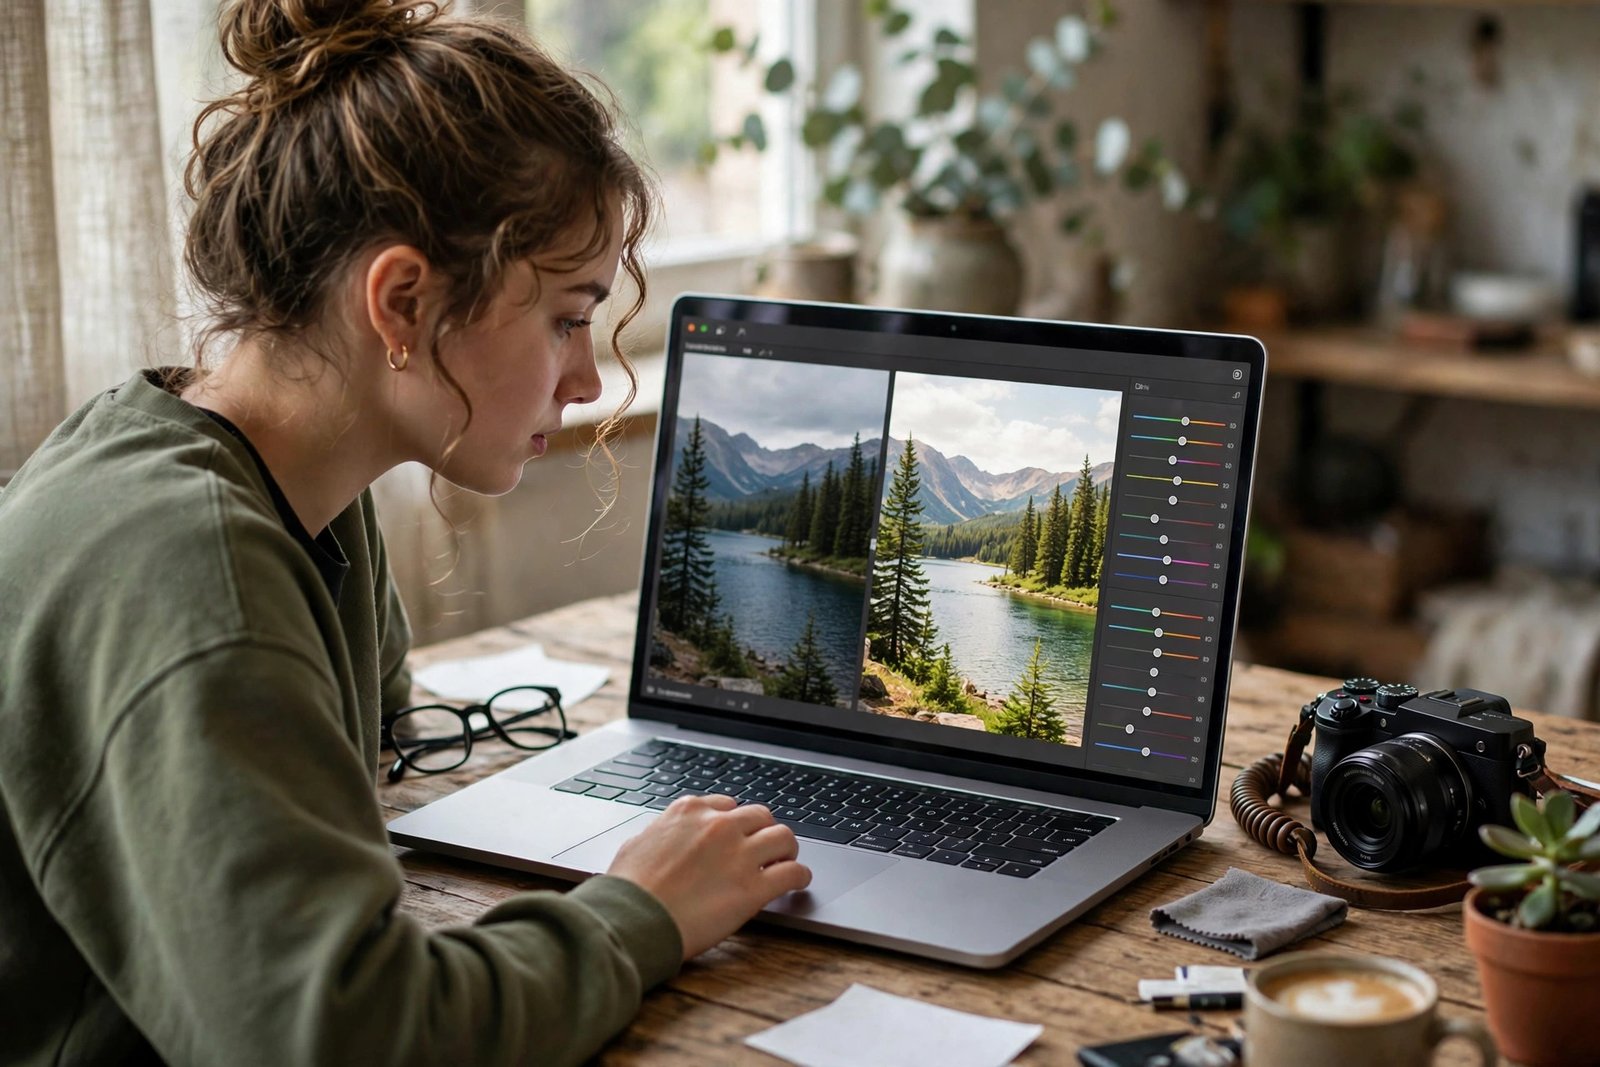
Practise on ten of your own photos. Edit each one in order, and compare the result with the original side by side. That comparison teaches you what each slider really does, faster than any video.
Step 3: Layers, masks and selections
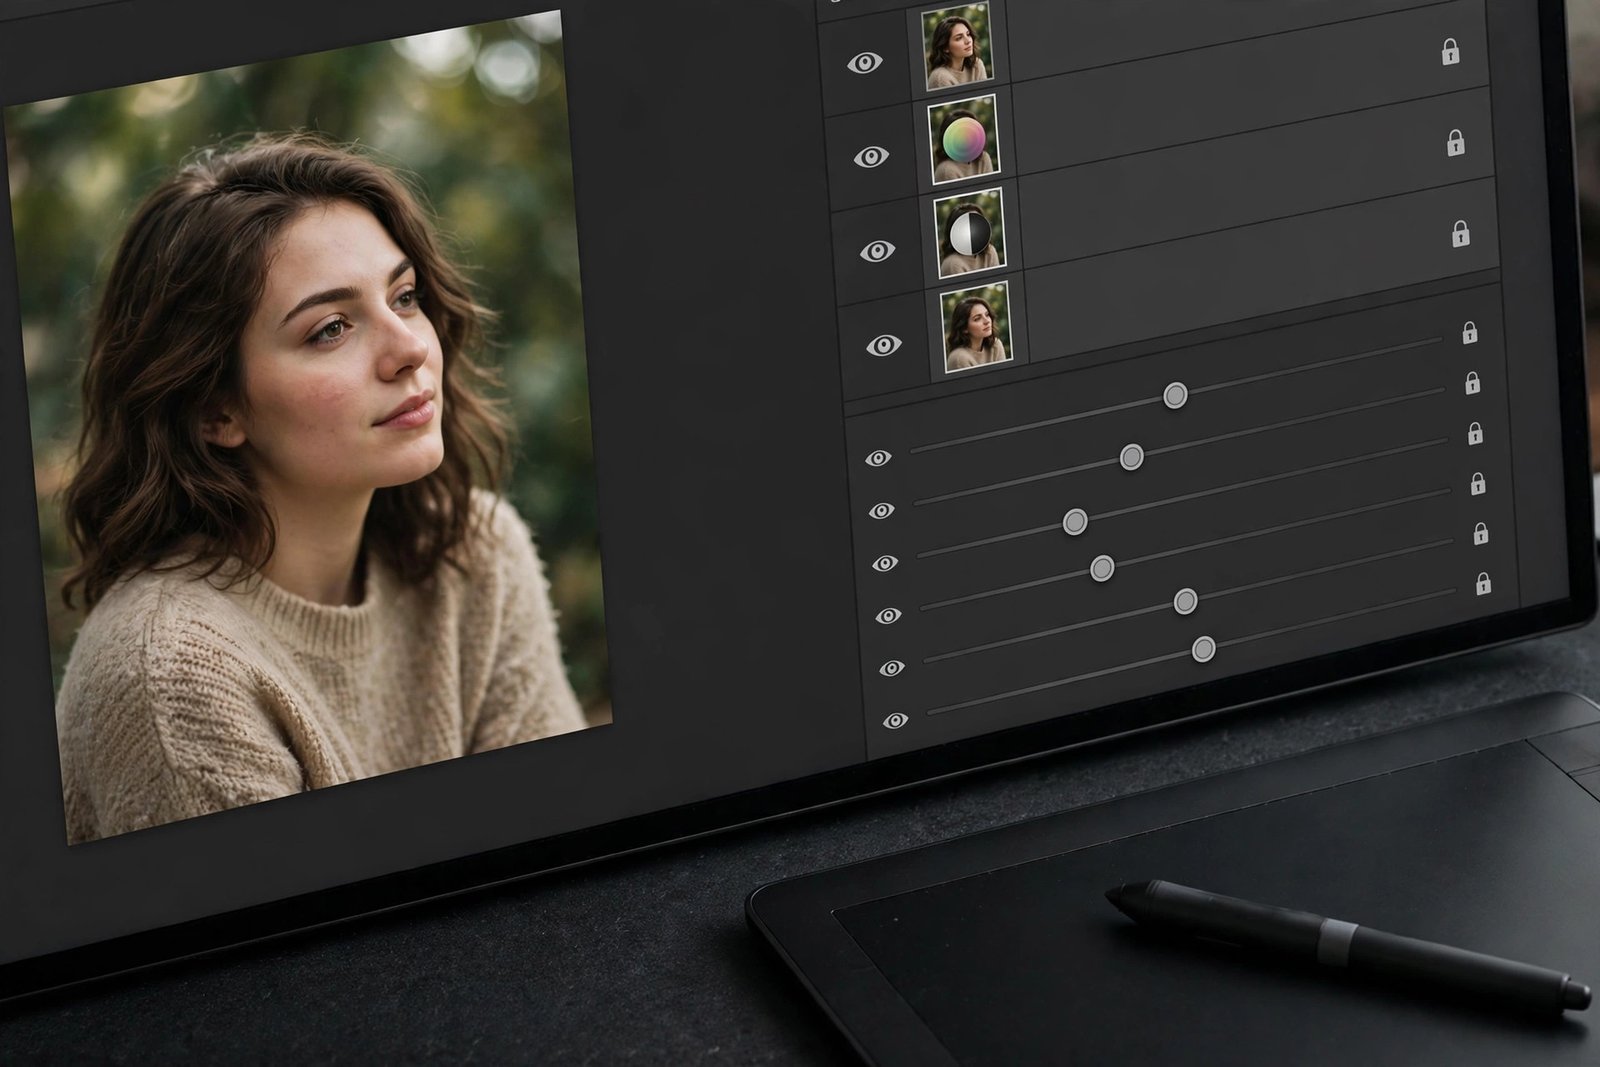
Layers, masks, and selections let you change one part of a photo without touching the rest. A selection is an outline around part of a photo, such as a face or a sky. A mask is a way to apply an adjustment to one area only, such as darkening a bright sky with a gradient, brightening a face with a radial mask, or painting a change onto an irregular shape with a brush.
Start with three masks. A linear gradient darkens a bright sky. A radial mask brightens a face. A brush lets you paint a small change onto one spot. Turn each mask off and on to judge the effect. If the change looks too strong, lower its strength, or soften the edge of the mask. The classic use is dodging and burning, which means lightening and darkening areas to guide the viewer's eye toward the subject.
Learn layers in the same week. Put each major change on its own layer, and name the layer in plain words, such as "sky darker" or "face brighter". That habit makes your edits easy to fix later. It also makes your work easy to show to a client or a teacher, because each layer tells part of the story.
The free Adobe guide on how to use Photoshop for beginners covers getting started with Photoshop basics, layers, layer masks, removing objects, adding text, drawing, saving and exporting, and Neural Filters. Use it as your main reference for Photoshop layers and masks, and check the official page for the current version, because Adobe pages change as the product changes.
Step 4: Retouching and creative effects
Retouching means removing small distractions and cleaning up a photo, without changing what the photo is. Use the spot removal or healing tool for dust spots, blemishes, and small distractions. It copies texture from nearby and blends it in. For larger work, such as removing a sign or a person, use a layer based editor with content aware fill or cloning on a separate layer.
In portraits, retouch temporary things, such as a spot or a stray hair, and leave permanent features alone unless the subject asks. That is a matter of honesty as well as taste. A portrait should still look like the person. Frequency separation is a more advanced method that edits skin tone and skin texture separately. You do not need it yet. Learn it only when basic retouching feels easy.
Creative effects come last, after the photo is technically right. Colour grading adds a mood by tinting shadows, midtones, and highlights, such as cool shadows with warm highlights. A good black and white conversion is not just desaturation. Use the black and white mixer to control how bright each original colour becomes in grey. Darkening blue makes skies dramatic, and brightening orange lightens skin. Grade last, and keep it subtle. An edit that looks strong after ten minutes of staring usually looks overdone the next day.
For more Photoshop tutorials, use Adobe Learn Photoshop, which is Adobe's tutorial hub with hands-on beginner tutorials and tutorial articles. Note that this link carries the il_he locale, so use the matching locale version of the Adobe Learn Photoshop page for your region where possible, or use the UK how to page above.
A 4 week practice plan
A short, steady plan beats a long course you never finish. The table below assumes about 30 minutes a day, five days a week. Use your own photos, and do the exercise before you move on.
| Week | Focus | What you do |
|---|---|---|
| Week 1 | Basics | Crop, exposure, and white balance on ten photos, and export each one for the web |
| Week 2 | Tone and colour | Tone curve, Vibrance, and colour mixer on ten photos, with before and after notes |
| Week 3 | Layers and masks | Three masked edits per photo on five photos, plus one retouched portrait |
| Week 4 | Finish and share | Grade and export five best photos, build a small portfolio, and ask for feedback |
After each week, pick your best two edits and your weakest two edits. Write one sentence on why each one worked or failed. That note is the fastest way to improve, because it forces you to look at your own work with fresh eyes.
Build a small portfolio
A portfolio is a small set of finished edits that shows what you can do. For photo editing, it should show before and after pairs, because the change is the proof. Build it from your 4 week practice, and add one or two projects for a real person or a small business.
Include six to eight before and after pairs. Show different kinds of work, such as a portrait, a landscape, and a product photo. Add a short note under each pair, in one or two sentences, on what you changed and why. For example, "I darkened the sky, warmed the light on the subject, and removed a bin from the corner." Keep the exports high quality, and present them in a clean gallery, such as Behance or a simple page on your own site.
If you want to earn from photo editing, read how to sell stock photos online and how to learn graphic design online. Both show how editing skills link to paid work, without promising fast income.
Example only: these numbers are not typical results. Imagine a beginner who edits for 30 minutes a day for four weeks. In week one, she edits ten phone photos, and she learns that cropping alone makes half of them stronger. In week two, she edits ten more, and she learns that a gentle S curve beats a strong Contrast slider. In week three, she retouches five portraits, and she learns to remove spots but to leave freckles alone. In week four, she picks her best six before and after pairs, and she shows them to a local photographer, who gives her three clear notes. She has spent about ten hours in total, and she has a small portfolio to show. Your time will differ, but the order is the same. Practise, compare, ask for feedback, and repeat.
What it costs and what to expect
You can learn photo editing free, with a free editor, free tutorials, and your own photos. The paid route adds Photoshop or Lightroom, or a paid course, but neither one is needed to learn the core skills.
| Route | Cost | What you get | What to watch for |
|---|---|---|---|
| Free first | No money, about 30 minutes a day | Skills, practice, and a small portfolio | You must set your own schedule |
| Paid editor | Check the official Adobe page, prices vary | Industry standard tools and support | Photoshop itself may need a paid plan or trial |
| Paid course | Check the official page, prices vary | Structured lessons and feedback | Look for feedback on your work, not just videos |
How long it takes depends on your practice. Basic skills, such as crop, exposure, white balance, and export, take 1 to 2 months of steady practice. Intermediate skill, such as layers, masks, and consistent colour, takes 3 to 6 months. Advanced professional level, such as high end retouching and consistent client work, takes 6 to 12 months. Those timelines come from the competitor guide read in full for this article, and they assume regular practice. Results vary with your time, your eye, and the work near you. No course can promise you clients or a job.
A note on hardware. Photo editing needs moderate performance. A basic guide read in full for this article lists a minimum of 8GB RAM, SSD storage, and a colour accurate monitor as useful, with graphics support for advanced work. A budget system handles beginner tasks. Before you buy new hardware, try your current computer or phone with a free editor. Calibrate your screen if you can, because if your display is too bright or too blue, every edit will be off.
Common mistakes
- Pushing every slider to the limit, so the photo looks harsh and overdone.
- Editing out of order, such as grading before white balance and exposure are right.
- Using too much clarity, saturation, and sharpening, which creates halos and glowing colours.
- Judging edits on an uncalibrated or very bright screen, so the photo looks different elsewhere.
- Overusing filters, which hide the photo instead of improving it.
- Oversaturating colours, or smoothing skin until it looks plastic.
- Ignoring composition, and trying to rescue a weak photo with editing alone.
- Exporting low quality files, so a good edit looks poor when it is shared.
Frequently asked questions
Can I learn photo editing for free?
Yes. You can learn with a free editor such as GIMP, Photopea, or Snapseed, and free tutorials from Adobe and other official sources. A paid editor can add speed and polish, but it is not needed to learn the core skills or to build a small portfolio.
Do I need Photoshop?
No, not to start. Photoshop is the industry standard for detailed work, but free editors cover the core skills, including crop, exposure, colour, layers, and retouching. Learn the ideas first in a free editor, then move to Photoshop later if your work needs it.
How long does it take to learn photo editing?
The basics of exposure, white balance, cropping, and export take a few evenings. Getting fast and consistent, and developing your own look, takes months of regular editing. Basic skills take about 1 to 2 months, intermediate skill takes 3 to 6 months, and advanced skill takes 6 to 12 months, with steady practice.
What is the best photo editing software for beginners?
The best software is the one that fits your device and your goal. Snapseed suits phone editing. Photopea and GIMP suit free computer editing with layers. Photoshop suits detailed professional work. Start with one, learn it well for four weeks, and switch only if you have a clear reason.
Can I edit photos on my phone?
Yes. A free mobile app such as Snapseed covers crop, exposure, white balance, and basic retouching well. Phone editing suits social posts and quick work. For large prints or detailed retouching, a computer editor gives you more control, but a phone is enough to learn the core skills.
Is Lightroom better than Photoshop for beginners?
It depends on your work. Lightroom suits photographers who edit many photos fast, with strong colour and batch tools. Photoshop suits detailed work on one photo, with layers and retouching. Many photographers use one of each. Start with the one that matches your main work, and add the other later.
Conclusion: edit ten photos this week, in order
Pick ten of your own photos, and edit each one in order: crop, exposure, white balance, tone, colour, masks, retouch, and export. Compare each result with the original, keep your best two, and note what you would change next time. Then repeat for four weeks, and build a small portfolio from the best work. That is how to learn photo editing online, one finished photo at a time.
Your next step is to choose one editor today and edit your first photo. Then read how to design YouTube thumbnails, because thumbnail editing uses the same core skills, and how to learn video editing if you want to add video to your editing work. You can also browse all our guides in the digital skills category.