
Learning how to sell digital products with Facebook ads starts with a warning most guides skip: ads cannot save a product nobody wants, and they can burn your budget fast if your funnel is not ready. Facebook ads, now called Meta ads, can put your ebook, course, or template in front of people who have never heard of you, but they only work when the product page, the tracking, and the budget are all in place first.
In this guide
- How Facebook ads work for digital products
- Before you spend anything: the funnel you need
- Step 1: Set up your Business Manager, Page, and domain
- Step 2: Install the Meta pixel and Conversions API
- Step 3: Choose your campaign objective
- Step 4: Build your audience
- Step 5: Make ad creative that stops the scroll
- Step 6: Set a test budget you can afford to lose
- Step 7: Launch, read the numbers, and decide what to do next
- Advantage+ compared with manual campaigns
- Order bumps and upsells, only if they fit your product
- Meta ad policies and account safety
- What it costs and what to expect
- Common mistakes
- Frequently asked questions
How Facebook ads work for digital products
Facebook ads show your product to people on Facebook and Instagram based on their interests, behaviour, and what they have done before. You pay when Meta shows your ad, and the cost depends on your audience, your creative, and how many other advertisers want the same people.
For digital products, the ad itself rarely makes the sale. The ad earns a click, the landing page earns the sale, and email follow-up earns the sales from people who did not buy the first time. If any part of that chain is weak, the ads will look like a waste of money.
Before you spend anything: the funnel you need
A funnel is the path a buyer follows from the ad to the purchase. For a low-priced product, the funnel can be short: ad, sales page, checkout, thank you page. For a course or a higher-priced product, the funnel is usually longer: ad, free lead magnet, email sequence, then the sale.
Check your funnel before you spend a dollar. Your sales page should load fast, show the product clearly, answer the main objections, and make buying easy on a phone. Test the checkout with a real purchase before you spend on ads.
If you do not have a product page yet, build one first. Our guide to create your first digital product covers the product side, and our guide to launch a digital product on Gumroad shows a simple checkout.
You also need a way to follow up with people who click but do not buy. Email is the cheapest follow-up, and our guide to sell digital products with email marketing explains how to set it up.
Step 1: Set up your Business Manager, Page, and domain
Start with Meta Business Manager, which is the free tool that holds your ad account, your Page, and your payment method in one place. Create a Business Manager account, add your Facebook Page, and create an ad account inside it.
Verify your domain in Business Manager. Domain verification proves you own the website your ads point to, and it is needed for proper tracking. You add a small file or a DNS record to your site, and Meta checks it.
Step 2: Install the Meta pixel and Conversions API
The Meta pixel is a small piece of code on your website that tells Meta when someone visits, adds to cart, or buys. The Conversions API, often called CAPI, sends the same events from your server, so it keeps working when browser tracking is blocked.
Install the pixel first, using your website platform's built-in integration or Meta's Events Manager setup tool. Then add the Conversions API if your platform supports it. Test both with Meta's test events tool, and make a real test purchase to check that the purchase event fires.
This step matters because Meta's reported results can be wrong when tracking is incomplete. If your checkout has an order bump or an upsell, the browser pixel may miss those sales, and your reported return on ad spend will look worse than your real revenue. Server-side tracking through the Conversions API closes much of that gap.
Step 3: Choose your campaign objective
Your campaign objective tells Meta what you want the ad to do. For digital products, the two objectives that matter most are Sales and Leads.
Choose Sales when you want people to buy directly from the ad, and your product page and checkout are ready. Choose Leads when you want people to sign up for a free lead magnet, such as a free chapter or a free template, so you can sell to them by email later.
| Objective | Use it when | Watch out for |
|---|---|---|
| Sales | You want direct purchases and your checkout is ready | Needs a tested sales page and tracking |
| Leads | You want sign-ups for a free offer to sell by email later | Leads still need follow-up to become sales |
| Traffic | Never for sales | Brings cheap clicks from people who rarely buy |
| Engagement | Never for sales | Teaches Meta to find clickers, not buyers |
Do not choose Traffic or Engagement as your objective for sales. Those objectives bring cheap clicks from people who rarely buy, and they teach Meta to find more clickers instead of more buyers.
Step 4: Build your audience
You need three kinds of audience, and you should test them in that order: warm, lookalike, and cold.
Warm audiences are people who already know you: website visitors, email subscribers, and people who engaged with your Page. These are your cheapest buyers, and they are where your first campaign should start. Set up retargeting for people who visited your sales page but did not buy.
Lookalike audiences are people who resemble your buyers or your email list. Meta builds them from a source list you provide, such as your buyers or your subscribers. Start with a 1 percent lookalike in your main country, which is the closest match.
Cold audiences are people who have never heard of you, chosen by interests and behaviour. Interest targeting works best when it is specific, such as an interest in a tool your buyers use. Start with one or two interests per ad set, so you can tell which one works.

Step 5: Make ad creative that stops the scroll
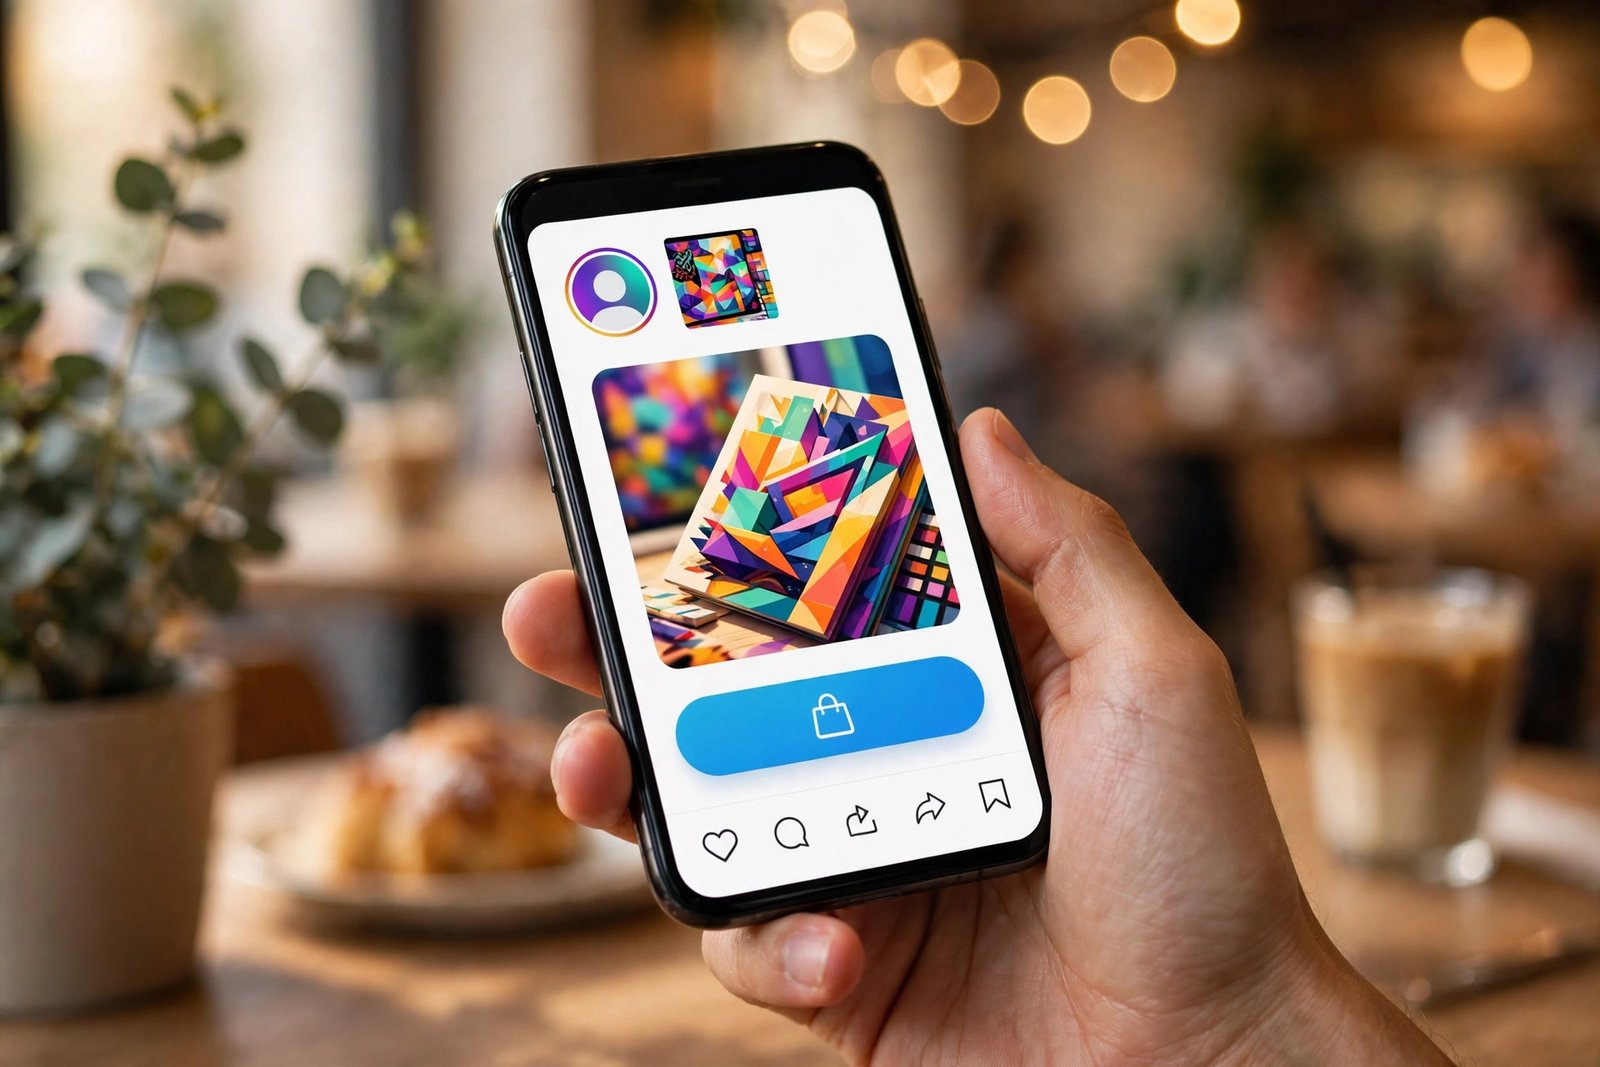
Creative is the image or video in your ad, and it matters more than your targeting. A good ad shows the product clearly, names the benefit in the first line, and gives one clear reason to click.
Video usually works best for digital products. A 30 to 60 second video that shows the product in use, with a hook in the first 3 seconds, beats a static image in most tests. If you sell a template or a preset, show the before and after on screen.
Write the ad copy in plain words. Say who the product is for, what it does, and what the buyer gets. Avoid claims you cannot prove, because Meta will reject ads with those claims and your account can be restricted.
Make three versions of your creative before you launch, with different hooks or different images. Test them against each other with the same audience and the same budget, and keep the winner. One ad is not a test.
Step 6: Set a test budget you can afford to lose
Your test budget is money you may lose completely, so set it at an amount you can afford. A common rule from seller guides is a daily budget of two to three times your product price, but that rule comes from video sources, not from Meta, so treat it as a starting idea.
For a low-priced product, a test of 5 to 10 US dollars a day for 5 to 7 days gives you enough data to judge the ad without risking much. For a higher-priced course, you may need 50 to 100 US dollars a day to get enough clicks to judge anything. The right budget depends on your price, so work it out from your own numbers.
Example only: if your ebook costs 20 US dollars and you spend 10 US dollars a day for 7 days, your test costs 70 US dollars. 10 multiplied by 7 equals 70. If that test brings 2 sales, you earn 40 US dollars and lose 30 US dollars on the test, which tells you the ad or the page needs work. That is an example only, not a promise of results.
Do not raise the budget on a losing ad. Fix the creative, the audience, or the sales page first, and only scale an ad that already earns more than it costs.
Step 7: Launch, read the numbers, and decide what to do next
Launch with one campaign, two or three ad sets, and three creatives, and let it run for at least 3 to 5 days before you judge it. Meta needs time to learn who responds to your ad.
Watch cost per click, click-through rate, cost per lead or cost per purchase, and your real revenue from your checkout, not just Meta's reported figures. Compare Meta's numbers with your own sales records, because the two can differ when tracking misses an order bump or an upsell.
Use simple decision rules. If an ad gets clicks but no sales after 50 to 100 clicks, the problem is usually the sales page, not the ad. If an ad gets almost no clicks, the problem is usually the creative or the audience. If an ad gets sales at a cost you can afford, keep it running and raise the budget slowly.
Stop an ad that spends your full test budget with no sales and no leads. Stopping is not failure. It is the test doing its job, and the money you save can fund the next test.
| Metric | What it tells you | When to worry |
|---|---|---|
| Click-through rate | Whether people want to click your ad | Very low rate means the creative is weak |
| Cost per click | How much each visitor costs | High cost with no sales means the audience is wrong |
| Cost per purchase | How much each sale costs you | Higher than your price means you lose money |
| Return on ad spend | Revenue compared with ad spend | Below 1 means you spend more than you earn |
Advantage+ compared with manual campaigns
Advantage+ is Meta's automated campaign type, where Meta chooses the audience and the placements for you. Manual campaigns let you choose the audience, the placements, and the budget yourself.
Advantage+ suits beginners who have good tracking and a proven product, because Meta's automation needs sales data to learn from. It can also spend your budget on audiences that do not convert.
Manual campaigns suit sellers who want control, or who are testing a new product with no sales data yet. You can test one audience at a time, see what works, and then let Advantage+ scale the winner.
Test with manual campaigns first, then move the winning creative and audience into an Advantage+ campaign to scale it. Do not start with Advantage+ on a brand-new product with no tracking, because the automation has nothing to learn from.
Order bumps and upsells, only if they fit your product
An order bump is a small extra offer shown at checkout, such as a 10 US dollar workbook with a 20 US dollar ebook. An upsell is a bigger offer shown after the purchase, such as a 67 US dollar course after a 19 US dollar ebook. Both raise the average order value, which is the average amount each buyer spends.
Example only: if your ebook costs 20 US dollars and 3 in 10 buyers add a 10 US dollar order bump, your average order value is 23 US dollars. 3 divided by 10 equals 0.3, and 0.3 multiplied by 10 equals 3, and 20 plus 3 equals 23. That extra 3 US dollars per buyer can turn a losing ad into a winning one. That is an example only, not a promise.
Only add bumps and upsells that fit your product. A workbook fits an ebook, and a template pack fits a course. A random extra that buyers do not want will hurt trust and raise refund requests.
Meta ad policies and account safety
Meta rejects ads that make income promises, use before and after images that imply guaranteed results, or use misleading claims. Do not write "you will earn" in your ad copy, and do not use screenshots of earnings. Keep your claims honest and checkable.
Your ad account can be restricted if your ads are rejected often, if your Page is new, or if your payment method fails. To reduce the risk, verify your domain, use a real business name, and pay your ad bills on time. If an ad is rejected, read the reason, fix the problem, and appeal once.
If your account is restricted, do not create a second account to get around it. That can lead to a permanent ban. Use the appeal process in Business Manager, and fix the issue that caused the restriction.
Note on sources: the two official Meta pages for this topic, the Meta Ad Library and the Meta Business Help Centre, returned HTTP 403 when our research tried to open them on 2026-11-13, so they could not be verified and are not linked here. Check them in your own browser before you rely on them.
What it costs and what to expect
Your costs are the ad spend, the product cost, and your time. Ad spend is the main cost, and it can be lost with no sales if the test fails. A first test of 5 to 10 US dollars a day for a week costs 35 to 70 US dollars, and you should expect to lose some or all of it while you learn.
Expect a slow start. Most first campaigns lose money, because the creative, the audience, and the page all need testing. Sellers who succeed usually test for weeks before they find a combination that earns more than it costs.
Do not believe agency figures that claim 12 million US dollars in course sales or 500,000 US dollar launches. Those are self-reported agency numbers that cannot be verified. Your results will depend on your product, your price, your creative, and your audience.
Common mistakes
- Running ads before the sales page and checkout are tested with a real purchase.
- Choosing Traffic or Engagement as the objective when you want sales.
- Sending ad traffic to your homepage instead of the specific product page.
- Testing one ad only, so you cannot tell whether the creative or the audience failed.
- Raising the budget on a losing ad instead of fixing the creative or the page.
- Ignoring email follow-up, so clicks that do not buy are lost forever.
- Making income promises in ad copy, which gets ads rejected and accounts restricted.
- Judging a campaign after one day, before Meta has had time to learn.
Risks and scams to watch for
Be careful with anyone who promises to run your ads for a fee and guarantees sales. No one can guarantee sales from ads, and a "guaranteed results" offer is a warning sign. Ask any agency for real references and a clear report of what they will spend.
Watch out for courses that promise a secret Facebook ads method. The basics in this guide are the method: a good product, a clear page, honest creative, and careful testing. A course that hides its method behind a paywall is selling the promise, not the skill.
Keep your ad account secure. Use two-factor authentication, do not share your login, and do not give admin access to strangers who offer to help.
Frequently asked questions
How much should I spend on Facebook ads for a digital product?
Start with a test you can afford to lose, such as 5 to 10 US dollars a day for 5 to 7 days for a low-priced product. Higher-priced courses may need 50 to 100 US dollars a day. Work the budget out from your product price, and only scale an ad that already earns more than it costs.
Do I need a funnel to sell digital products with Facebook ads?
Yes, you need at least a short funnel: ad, sales page, checkout, and delivery. For higher-priced products, a longer funnel works better, with a free lead magnet and email follow-up before the sale. Ads bring clicks, but the funnel earns the sale.
What is the best Facebook ad objective for digital products?
Sales is best when you want direct purchases and your checkout is ready. Leads is best when you want sign-ups for a free offer so you can sell by email later. Do not use Traffic or Engagement for sales, because those objectives bring cheap clicks.
Why is my Facebook ad account restricted?
Accounts are restricted for repeated ad rejections, policy breaches, payment problems, or suspicious activity. Read the reason in Business Manager, fix the problem, and appeal once. Do not create a second account to get around a restriction.
How do I track digital product sales from Facebook ads?
Install the Meta pixel on your site and add the Conversions API for server-side tracking, then test both with a real purchase. Compare Meta's reported figures with your own checkout records, because the pixel can miss order bump and upsell sales.
Conclusion: how to sell digital products with Facebook ads in 2026
That is how to sell digital products with Facebook ads in 2026: build your funnel first, set up Business Manager and your domain, install the pixel and the Conversions API, choose Sales or Leads, start with warm audiences, test three creatives, and run a small test budget you can afford to lose. Read the numbers against your own sales records, fix the weak link, and scale only what already earns.
Next, read sell digital products with email marketing, promote digital products with Pinterest, and learn digital marketing online if you want to build your ad skills further. Browse all our guides in Digital Products guides.
Reader note: the two official Meta pages for this topic could not be opened on 2026-11-13, as they returned HTTP 403, so they are not linked here and their contents are not claimed. Budget rules in this guide come from seller guides, not from Meta, so treat them as starting ideas. Tax rules for digital products differ by country, so check your local rules and a qualified accountant. Earning results vary; nothing on this site is financial advice.