Video editing looks like magic from the outside, because a finished video flows, the sound feels clean, and the story seems obvious. Then you open an editor for the first time, and the timeline, the tracks, the cuts, and the export settings all compete for attention. Learning how to learn video editing means learning one editor deeply, following one workflow in the same order every time, and finishing short videos every week. Effects come last. Cuts, sound, and story come first, and they are what make a video feel professional even before you learn anything fancy.
In this guide, you will choose one editor and learn it deeply. In this guide, you will follow a workflow from import to export in order. In this guide, you will learn audio, titles, captions, and colour in the right order. In this guide, you will finish weekly projects and build a three video portfolio.
Choose one editor and stay with it
Beginners often download three editors and learn none of them. Pick one, and stay with it for at least eight weeks. All of them can make good videos, so choose by your computer and goals, not marketing.
| Editor | Best for | Cost to start | Watch out for | | DaVinci Resolve | Long videos, careful colour and audio work | Free version available | Needs a capable computer for large projects | | CapCut | Short vertical videos made quickly | Free version available | Some features and templates are paid, and exports may push platform features | | OpenShot or Shotcut | Simple cuts on a basic computer | Free and open source | Fewer advanced colour and audio tools |
DaVinci Resolve is the strongest free choice for a beginner who wants to learn properly, because its free version covers editing, colour, and audio in one programme. See the official DaVinci Resolve page for the current free version and system needs. CapCut suits short vertical videos, while OpenShot and Shotcut suit very basic computers, but you will outgrow them sooner. Whatever you choose, learn its keyboard shortcuts early, because they save hours over a month. Do not switch editors because a tutorial uses a different one. Learn the idea, then find the same tool in your editor.
Follow one workflow in order
A workflow is the order you work in, and it matters more than any single trick. Skipping steps causes most beginner frustration, such as editing footage you never organised, or adding music before fixing bad audio. Follow this order for every project. First, import and organise: copy footage to one folder, name clips clearly, and sort them by scene. Second, watch everything once and mark the best moments, without editing yet. Third, build a rough cut: place the best clips in story order, cut pauses and mistakes, and ignore polish. Fourth, refine the cut: tighten pacing, remove dead space, and check that each scene earns its place. Fifth, fix audio: clean the voice, balance music under speech, and remove hums or clicks where you can. Sixth, add titles and captions, keeping them short and readable. Seventh, do basic colour correction, which means making shots look natural and consistent, not stylised. Eighth, review the whole video on a phone and on a computer, fix problems, then export. That order protects you from polishing a scene you later cut, which wastes hours.
Learn cuts before effects
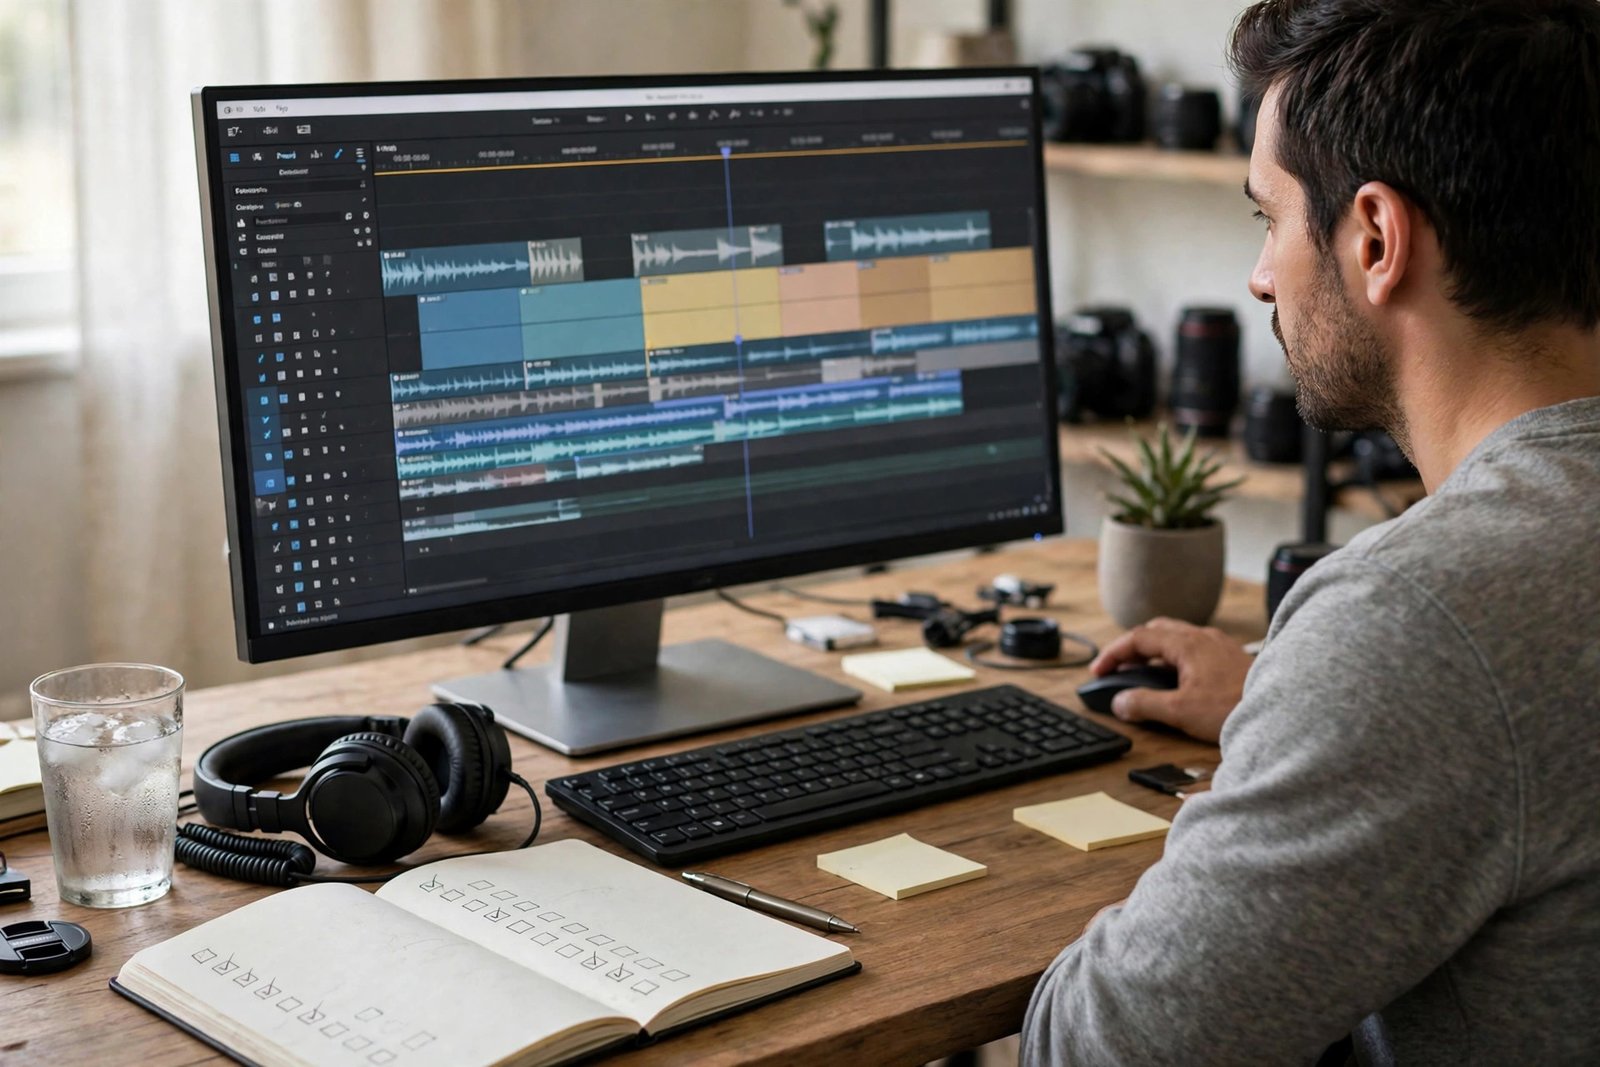
A cut is simply the point where one clip ends and another begins. Good editing is mostly good cuts. A jump cut removes a pause inside one shot, and it suits talking videos because it keeps pace tight. A B-roll cut shows related footage over the voice, such as hands working while a narrator explains a step, and it hides edits while adding meaning. A match cut links two shots by a similar action, but use it sparingly until timing feels natural. Transitions, such as dissolves, wipes, and spins, should be used rarely. A plain cut is invisible when the story flows, while a fancy transition draws attention to itself and often signals that the editor did not trust the footage. Learn three pacing rules. Cut on action, so movement carries across the cut instead of stopping. Cut out anything the viewer already understands, because repetition bores viewers faster than any other flaw. Watch the video without sound once: if the pictures alone tell a rough story, the structure works. If they do not, fix the order before adding music or titles.
Fix audio before you add music
Viewers forgive imperfect pictures faster than bad sound. Learn audio in this order. First, listen on headphones and speakers, and note problems at the start, middle, and end. Second, remove long pauses and background noise where your editor allows it, but do not overprocess the voice until it sounds robotic. Third, set voice levels so speech stays clear and steady, then bring music down well under the voice, so music supports rather than competes. Fourth, check the loudest moments, because sudden peaks hurt ears and cause viewers to leave. Fifth, add captions, because many viewers watch with sound off at first, and captions help everyone follow along, including viewers who are deaf or hard of hearing. Keep titles short, large enough to read on a phone, and on screen long enough to read comfortably. When you choose music, use only music you have the right to use, such as royalty free libraries, platform audio libraries, or music you made yourself. For the licence terms of one popular free library, see the Pixabay License Summary, and always check the terms for the exact track you use, because licences differ.
Learn colour, titles, and export in that order
Colour correction comes after audio, not before, because a well coloured video with bad sound still fails. Basic colour correction means three steps. Set exposure so the picture is neither too dark nor washed out. Set white balance so whites look white and skin looks natural, not orange or blue. Match shots from different cameras or lighting so they look like one video, not a collection of clips. Colour grading, which gives a video a stylised look, comes much later, so skip it until correction feels easy. Titles should follow the same restraint: one clear typeface, short words, and consistent placement. Now export, which means turning your edited timeline into a finished video file. The table below gives simple starting settings for common uses. Check the official YouTube upload encoding settings for current recommendations before you publish important work.
| Use | Shape and size | Starting export choice | | YouTube long video | Horizontal, 1920 by 1080 | MP4 with H.264 video, steady frame rate matching your footage | | Shorts and Reels | Vertical, 1080 by 1920 | MP4 with H.264 video, captions burned in or uploaded as a file where supported | | Client preview | Same as the final use | A smaller MP4 draft for review, then a full quality final after approval |
Practise with weekly projects
Weekly finished videos teach more than monthly perfect videos. Follow this eight week sequence, one short video per week. Week one: edit a one minute talking video from your own phone footage, cutting pauses only. Week two: edit a two minute how to video with B-roll over the voice. Week three: edit a 30 second vertical video with captions and music under speech. Week four: edit a short montage with music and no voice, learning to cut to rhythm. Week five: edit a product showcase with titles, clean audio, and a clear call to action at the end. Week six: re-edit your week one video using everything you learned, and compare the two versions. Week seven: edit someone else's raw footage with permission, such as a friend's clips, to practise working with material you did not shoot. Week eight: make one portfolio piece from scratch, with a brief and a shot list. Keep every project, including weak ones, because they prove learning and show clients how you improved. For each project, write the brief in one sentence, the audience in one sentence, and one lesson learned. That note turns a video into portfolio evidence.
What it costs and what to expect
You can learn video editing for free. DaVinci Resolve, CapCut, OpenShot, and Shotcut all offer free starting versions, and free footage and music libraries exist for practice. A paid editor or paid music library is only worth it when you need a feature your free tool lacks, such as advanced effects, team features, or a specific licence. Expect to spend nothing to about 50 pounds or dollars in your first three months if you use free tools, and more only for paid software, music, or storage. Storage is the hidden cost. Video files are large, so keep one folder per video, back up finished projects, and delete raw footage you no longer need after checking the final file. A basic computer can edit short videos, but long projects and high resolution footage need more memory and storage. Test with a two minute project before committing to a long one. On time, expect basic competent editing in two to four months of weekly practice, and stronger client ready work in six to twelve months. Results vary with experience, location, demand, time, competition, expenses, and platform fees. Early paid work often comes from small creators, local businesses, or short form clients, not large productions.
Common mistakes
Many beginners add effects before fixing cuts and audio. Fix story, cuts, and sound first, then consider effects. Many beginners use music too loud. Keep music well under speech, and check levels on headphones and speakers. Many beginners export without watching the full video once. Watch every export from start to finish before you share it. Many beginners keep every clip they shot. Cut ruthlessly, because a short clear video beats a long dull one. Many beginners ignore captions. Captions help viewers with sound off, viewers who are deaf or hard of hearing, and sharing. Many beginners never back up projects. Keep project files, media, and exports in one folder, and back up finished work.
Risks and scams to watch for
Video editing has practical risks worth naming. The largest is copyright. Do not use music, clips, or images you do not have the right to use, because takedowns, muted audio, or channel penalties can follow, and "everyone uses it" is not a licence. Check the licence for every asset, and keep a note of the source. The second risk is fake editing jobs that ask for unpaid trial work far beyond a short test, or ask for fees to access work. A short paid or small test is normal in some hiring, but a full free video for a stranger is not. The third risk is overpromising speed, which pushes beginners to skip review. Agree scope, revisions, and delivery time in writing. For the wider craft of making videos that viewers watch, read How to Make YouTube Videos That Get Views in 2026, and for simple graphics inside titles, see How to Learn Graphic Design Online in 2026. Keep this article in its lane: it teaches editing, not channel growth, which belongs in its own guide.
Frequently asked questions
Which video editing software should a beginner use?
Use one editor for at least eight weeks, and DaVinci Resolve is the strongest free choice for learning properly, because it covers editing, colour, and audio in one programme. CapCut suits short vertical videos, while OpenShot and Shotcut suit very basic computers. Choose by your computer and your goals, then stay with that editor.
How long does it take to learn video editing?
Basic competent editing takes about two to four months of weekly practice, while client ready work usually takes six to twelve months. Progress depends on finished videos, audio skill, and review habits, not tutorials watched.
Do I need a powerful computer for video editing?
Not to start. A basic computer can edit short videos, especially at lower resolutions, but long projects and high resolution footage need more memory and storage. Test with a two minute project first, keep project folders organised, and upgrade only when your work regularly hits a clear limit.
How do I practise video editing with no footage?
Film your own short clips on a phone, use royalty free footage and music libraries with clear licences, or edit a friend's footage with permission. Set a brief for every practice project, such as a one minute how to video, so the practice mirrors real client work.
What export settings should I use for YouTube and Shorts?
Export long YouTube videos as horizontal MP4 with H.264 video at 1920 by 1080, and Shorts as vertical MP4 at 1080 by 1920, with captions where supported. Check the official YouTube encoding guidance before important uploads, because platform recommendations change, and always watch the exported file once before publishing.
Conclusion
Video editing is learned by finishing videos in the same order: organise, rough cut, refine, fix audio, add titles and captions, correct colour, review, then export. Learn one editor deeply, practise one short video a week for eight weeks, and build a portfolio of three finished videos with briefs. Your next step is to pick one editor today, film two minutes of phone footage, and cut it to one tight minute with clean audio. For the wider choice, compare editing with the other skills in Best Digital Skills to Learn in 2026, and for starting a channel for your videos, read How to Start a YouTube Channel in 2026. You can browse the full set from the Digital Skills category page.