Graphic design looks like talent from the outside, because good posters, logos, and pages seem to arrive fully formed. In practice, design is a set of learnable decisions: what the eye sees first, which words matter most, which colours work together, and how much space each element needs. Learning how to learn graphic design online means learning those decisions in order, practising on small weekly projects, and getting critique before bad habits settle. You do not need art school, expensive software, or a powerful computer to start. You need one tool, a few principles, and finished work you can show.
In this guide, you will learn the five principles that explain most good design. In this guide, you will choose your first tool and learn when to pay for more. In this guide, you will follow an eight week project sequence with real briefs. In this guide, you will build a portfolio of five to seven projects and get useful critique.
Learn five principles before you learn software
Software changes, but principles stay useful. Learn these five first, and judge every piece of work against them. When a design looks wrong but you cannot say why, check these five in order, because most problems are hierarchy or alignment, not a lack of talent.
| Principle | What it means | Quick check | | Hierarchy | The most important element is seen first, through size, weight, or position | Can a stranger name the main message in five seconds | | Contrast | Different things look different, so headlines stand apart from body text | Is light text on dark backgrounds still readable | | Alignment | Elements line up, so the eye moves calmly across the page | Do edges and margins line up, or does the eye jump | | White space | Empty space gives the eye rest and makes key elements stand out | Is there breathing room around the important elements | | Colour and type | A small set of colours with a job each, and at most two readable typefaces | Do colours and type stay consistent across the piece |
Choose one tool and climb the ladder
Tool overwhelm stops more beginners than lack of talent. The table below gives a simple ladder. Start at the bottom, and move up only when a project needs something your current tool cannot do well.
| Stage | Tools to use | When to move up | | Start free | Canva or Figma for layout, GIMP for photo edits, Inkscape for vector shapes | When you need precise control over print files or complex vector work | | Grow | Figma for interface and layout, plus one raster or vector editor | When clients ask for source files in professional formats | | Professional | Adobe Photoshop, Illustrator, and InDesign | When paid work regularly needs those file formats |
Canva is a good first tool because it teaches layout quickly and its templates show you how spacing and hierarchy work, but you must learn to change templates, not just fill them in. Figma is free to start, works in a browser, and teaches layout, alignment, and component thinking that transfers to other tools. GIMP is a free raster editor, which means it edits photos made of pixels, while Inkscape is a free vector editor, which means it draws shapes that stay sharp at any size. Knowing that difference matters: use raster tools for photos, vector tools for logos and icons. Do not pay for professional software in month one. Pay only when you can name the exact feature you need, such as print colour control or a file format a client requires. For free structured lessons, start with Canva Design School, and for the free layout tool itself, see Figma and the free raster editor GIMP.
Follow an eight week project sequence
Weekly projects beat weekly tutorials, because projects force decisions. Follow this sequence, one project per week, and keep every project even when it feels weak. Week one: redesign a bad flyer you find in a shop or online, fixing only hierarchy and alignment. Week two: make a poster for a made up event, using two typefaces and three colours at most. Week three: design a social post set of three images for one small business idea, keeping the style consistent. Week four: make a simple logo and a business card for a made up brand, and show the logo at small and large sizes. Week five: redesign a homepage layout, with a clear headline, one call to action, and honest spacing. Week six: design a book or ebook cover, with the title readable from a distance. Week seven: make an infographic explaining one simple process in five steps. Week eight: revisit your weakest project from weeks one to four and redesign it using everything you learned. That final week teaches the most important professional skill of all: revising work instead of hiding it. Write one sentence under each project explaining the brief, the audience, and the main decision you made. That sentence turns a picture into portfolio evidence.
Get critique that actually helps
Design improves fastest with critique, but vague praise helps no one. Ask for critique in a structured way. Show the work, state the brief in one sentence, and ask four questions. What do you see first? What is confusing? What would you remove? Does the design fit the audience? If two people answer the same way, that is your next fix. Good places for critique include design communities, study groups, and experienced designers who offer portfolio reviews, but always check the rules of a community before posting, and always thank reviewers by showing the revised version. Learn to separate taste from problems. "I do not like blue" is taste. "I cannot read the date" is a problem. Fix problems first. Also learn to give critique, because explaining why a design works trains your own eye. When you review someone else's poster, name the principle at work, such as hierarchy or contrast, instead of saying it looks nice. That habit will improve your own work within weeks.
Build a portfolio of five to seven projects
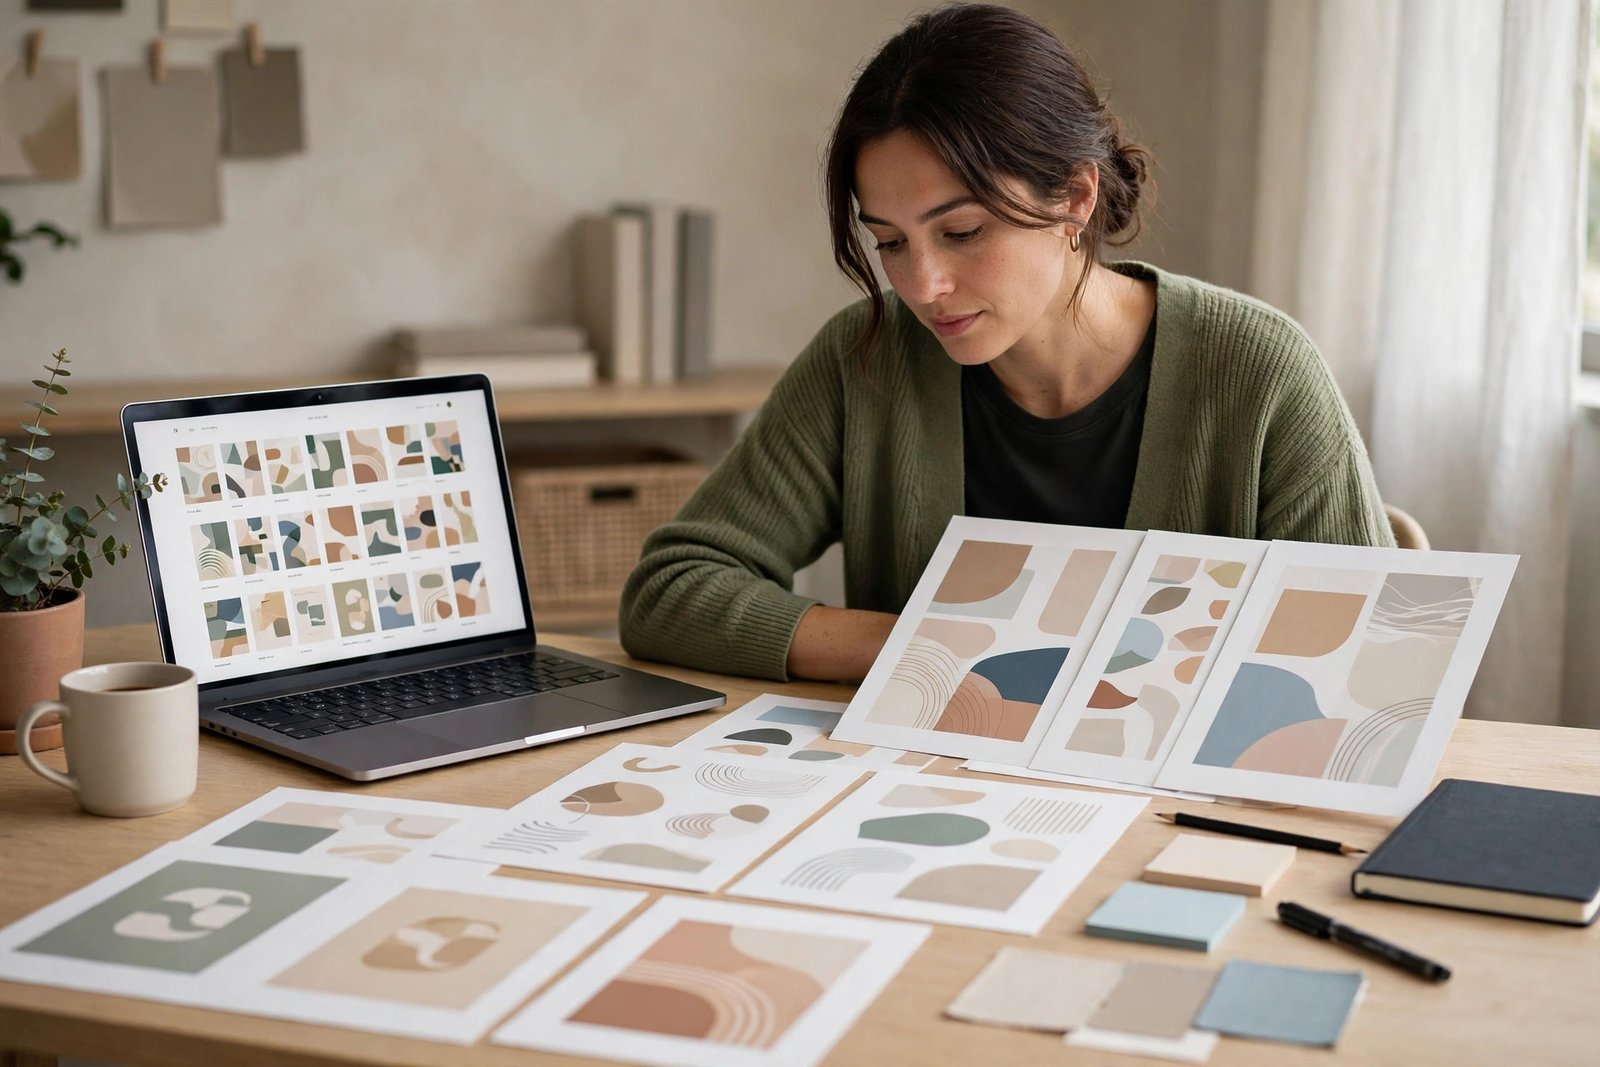
A strong beginner portfolio has five to seven projects, not twenty. Each project needs a short case note: the brief, the audience, the problem, your decisions, and the final result shown at a readable size. Show process where it helps: a first sketch, a rejected version, and the final version prove you can think, not just decorate. Keep the portfolio site simple. Use a clean portfolio builder or a simple page with large images and short notes. Check every project on a phone, because most viewers will see it there first. Use this checklist before you call the portfolio finished. Does each project have a brief and an audience? Can a stranger tell what each project is for in five seconds? Are images sharp and readable? Do colours stay consistent within each project? Is text readable at small sizes? Have you removed your weakest two projects? That last question matters most. A portfolio is judged by its weakest piece, so cutting weak work is a design decision, not a loss.
Learn file, export, and accessibility basics
Beginners often finish a beautiful design and then export it badly. Learn three basics early. First, resolution: screens need smaller files, while print needs higher resolution, so ask where the design will be used before you export. Second, format: use PNG for images that need sharp text or transparency, JPG for photos, PDF for print and sharing, and the native source file when a client needs to edit later. Third, naming: give files clear names with project, version, and use, so neither you nor a client loses the right file. Accessibility is part of good design, not an extra. Check contrast between text and background, because light grey text on white is unreadable for many people. Keep body text large enough to read on a phone, avoid text over busy photos without a solid background, and do not use colour alone to convey meaning, such as red for error with no words. These habits make your work usable by more people, and clients notice that care.
What it costs and what to expect
You can learn graphic design online for free. Canva, Figma, GIMP, and Inkscape all offer free starting tiers, and free tutorials and community feedback cost nothing. A paid course is worth it only when it includes project feedback or a structured brief sequence you would not set for yourself. Expect to spend nothing to about 100 pounds or dollars in your first three months if you use free tools, and more only when you pay for professional software or a course with critique. You do not need an expensive computer to start. A basic laptop that runs a browser based tool smoothly is enough for layout, posters, and social graphics. Large photo editing and print work benefit from more memory later, but that is a later purchase, not a starting requirement. On time, expect basic skills and a few projects in three to six months of regular practice, and freelance readiness in six to twelve months, depending on your hours and your portfolio. Results vary with experience, location, demand, time, competition, expenses, and platform fees. Design work is judged visually, so your portfolio matters more than any certificate, and early paid work often comes from small local jobs or social graphics rather than large brand projects.
Common mistakes
Many beginners use too many typefaces, colours, and effects in one piece. Limit yourself to two typefaces and three colours until restraint feels natural. Many beginners fill every empty space. White space helps the eye, so leave room around important elements. Many beginners copy templates without changing them. Templates teach layout, but clients pay for decisions made for their brief. Many beginners design only on a large screen and never check a phone. Check every piece at phone size before you call it finished. Many beginners hide process and show only final images. Sketches and revisions prove thinking, which is what clients buy. Many beginners chase trends instead of principles. A trendy style fades, but hierarchy, contrast, and alignment stay useful.
Risks and scams to watch for
Design learning has a few traps worth naming. Watch for courses that promise a design job or a fixed income after a set number of weeks, because no course can promise that outcome. Watch for "certification" fees that claim to license you as a designer, because graphic design has no single required licence of that kind. Watch for clients who ask for full source files and unlimited revisions before payment, and agree scope, files, and payment terms in writing before you start. Also respect other people's work. Do not trace logos, copy illustrations, or use stock images and typefaces beyond their licence terms. Check the licence for every asset you use, and keep a note of where each asset came from. For the wider steps of freelance work, read How to Start Freelancing and How to Create a Freelance Portfolio. Design pairs naturally with writing and video: clear words strengthen a poster, as shown in How to Learn Copywriting in 2026, and simple graphics strengthen a video, as shown in How to Learn Video Editing in 2026.
Frequently asked questions
Can I learn graphic design without a degree?
Yes. Most clients judge a design portfolio first, and a degree helps for some studio roles but is not required for freelance or small business work. Build five to seven strong projects with briefs and process notes, and keep improving them with structured critique.
Which tool should I learn first for graphic design?
Start with one layout tool, such as Canva or Figma, because layout teaches hierarchy, alignment, and spacing fastest. Add a raster editor for photos and a vector editor for logos only when a project needs them. Learn one tool deeply before adding another.
How long does it take to learn graphic design?
Basic skills and a few finished projects take about three to six months of regular practice, while freelance readiness usually takes six to twelve months. Progress depends on hours practised, quality of critique, and number of finished projects, not on hours of video watched.
Do I need expensive software to learn graphic design?
No. Free tools such as Canva, Figma, GIMP, and Inkscape cover beginner layout, photo editing, and vector work. Pay for professional software only when paid work needs its file formats or print features, and name the exact feature before you subscribe.
How do I build a graphic design portfolio with no clients?
Set your own briefs for made up brands, redesign weak real designs, and complete the eight week project sequence in this guide. Show five to seven projects with briefs, audiences, and process notes, and cut your weakest work before you share the portfolio.
Conclusion
Graphic design is learned through decisions, not downloads. Learn five principles, pick one tool, finish one project a week for eight weeks, get structured critique, and build a portfolio of five to seven projects with briefs. That sequence gives you proof, not just knowledge. Your next step is to pick one tool today, choose the week one flyer redesign, and fix only hierarchy and alignment. For the wider choice, compare design with the other skills in Best Digital Skills to Learn in 2026, and for selling design work as templates later, read How to Sell Templates Online. You can browse the full set from the Digital Skills category page.