How to Sell Printables Online in 2026
You can sell printables online by making one useful digital file, listing it on a marketplace or your own shop, and letting buyers download and print it at home. A printable is a file the buyer prints themselves, such as a planner, a wall art print, a party invitation, or a classroom worksheet. You do not post anything physical, so there is no stock to store and no postage to pay. This guide shows you how to sell printables online in 2026, from your first idea to your first buyers, without spending a lot of money to start.
In this guide:
- What printables are, and who buys them
- Step 1: Choose one narrow printable idea first
- Step 2: Design and export it correctly
- Step 3: Choose where to sell
- Step 4: Price it so small sales still pay
- Step 5: Write a listing that prevents printing questions
- Step 6: Get your first buyers
- Costs, time, and risks
- Common mistakes
- Frequently asked questions
What printables are, and who buys them
A printable is a digital file made to be printed by the buyer. Common types include planners and trackers, wall art, calendars, invitations, labels, stickers, worksheets, and business templates such as invoices or checklists. Buyers are often busy people solving a small, urgent problem. A teacher needs a worksheet for tomorrow. A parent needs a birthday invitation this week. A small business owner needs a simple price list template. Your job is to make that one job easier, not to make the prettiest file in the shop.
Printables suit beginners because the startup cost is low. You need a design tool, a selling platform, and time. Many sellers start with free or low cost tools such as Canva, and move to paid tools only when sales cover the cost. The trade off is price. Most single printables sell for a small amount, so you need either steady volume, sets and bundles, or repeat buyers to build meaningful income. Sales are rarely instant, and results vary a lot by niche, listing quality, and how much traffic you can bring.
If you are new to digital products in general, start with the guide to creating your first digital product. It covers choosing an idea and finishing a first product without overcomplicating the process.
Step 1: Choose one narrow printable idea first
The biggest beginner mistake is selling generic planners to everyone. A generic weekly planner competes with thousands of similar files. A narrow planner for a clear group has a better chance. For example, a weekly meal planner for small families, a revision planner for exam students, or a cleaning rota for shared houses each speak to one buyer with one problem.
Pick your idea with three checks. First, name the buyer in one sentence. Second, name the exact job the printable does. Third, check demand by searching the marketplace where you plan to sell and reading the top listings. Look at how many sales or reviews similar products have, and read buyer questions and complaints. Complaints are useful. They show you what your listing and file must explain better.
Finish one strong product before you start a second, and read the guide to pricing digital products before you set a price.
Step 2: Design and export it correctly
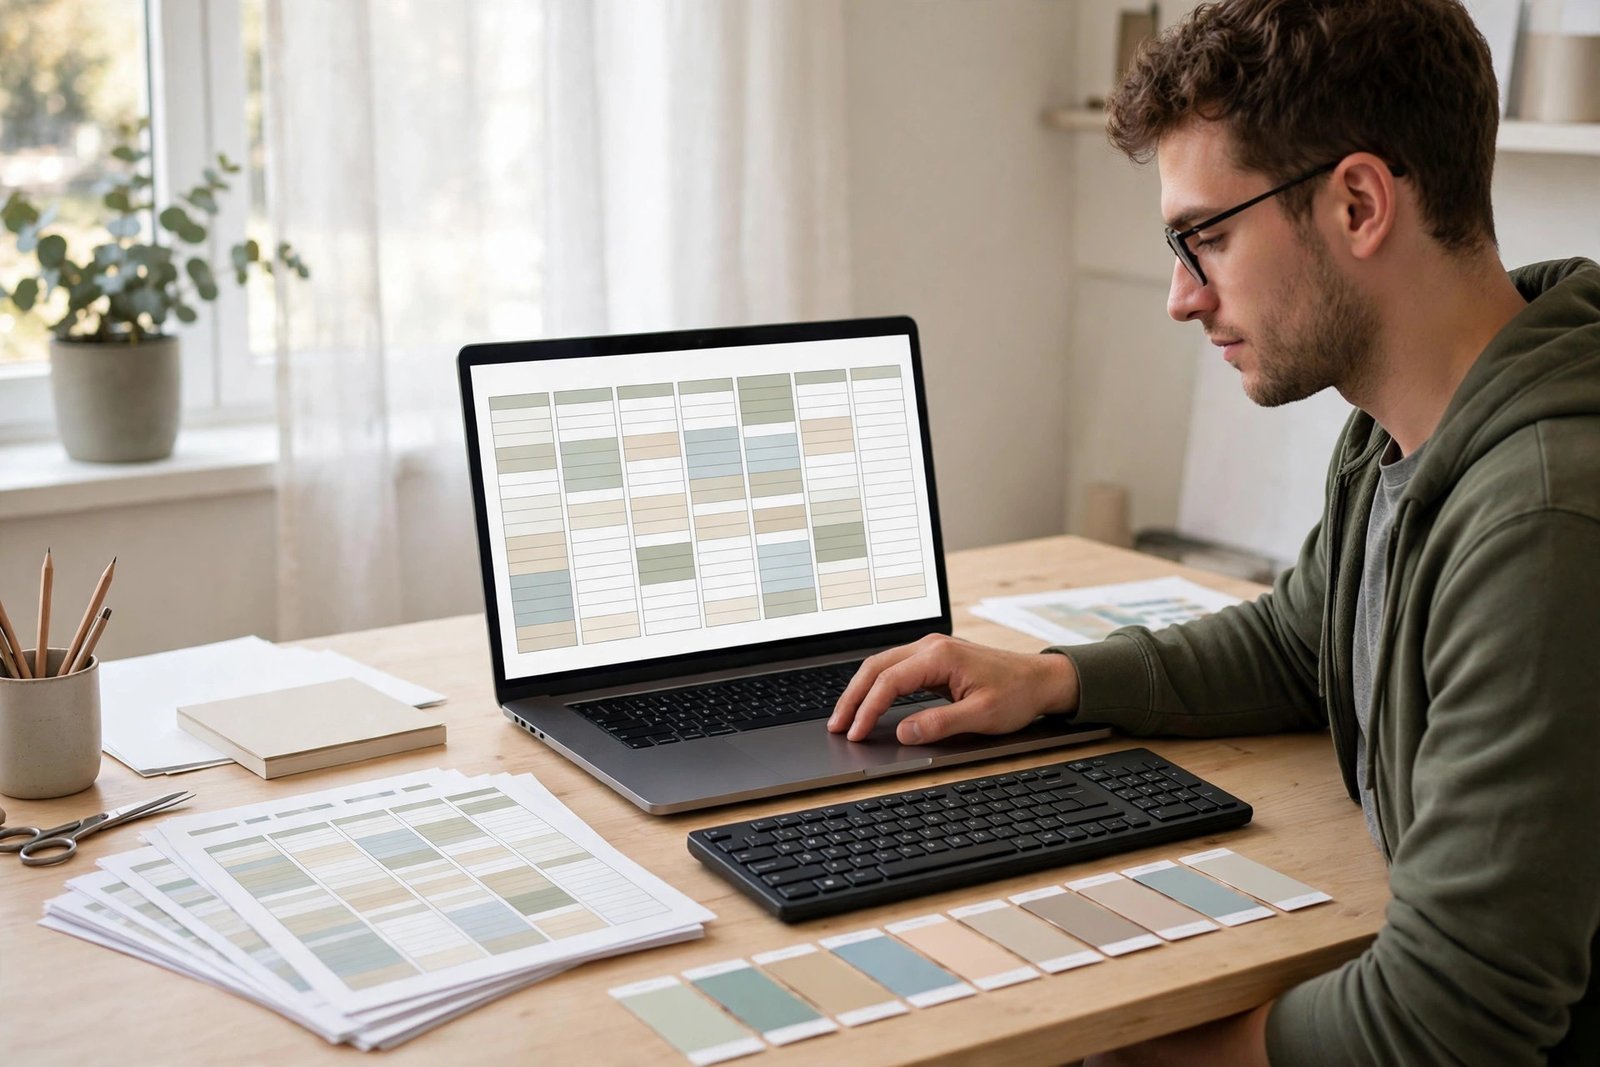
Good design for printables is mostly about correct setup, not fancy art. Start with the page size your buyers use. In the United States, US Letter is standard. In the United Kingdom and much of Europe, A4 is standard. Supply both sizes when you can, and label each file clearly so buyers print the right one. For wall art and anything with photos or detailed art, export at 300 dots per inch. This is a print quality setting that keeps the image sharp on paper. For simple planners and text pages, a clean PDF is usually enough.
Use this basic workflow. Design the pages in your chosen tool. Keep margins wide enough that home printers do not cut off text at the edges, since most home printers cannot print to the very edge of the page. Export a PDF for each size. Then test print every file yourself at 100 percent scale, which means no "fit to page" shrinking. Check that text is readable, lines are straight, and colours look right on plain paper. Fix problems now, because buyers will judge the product by the first page they print.
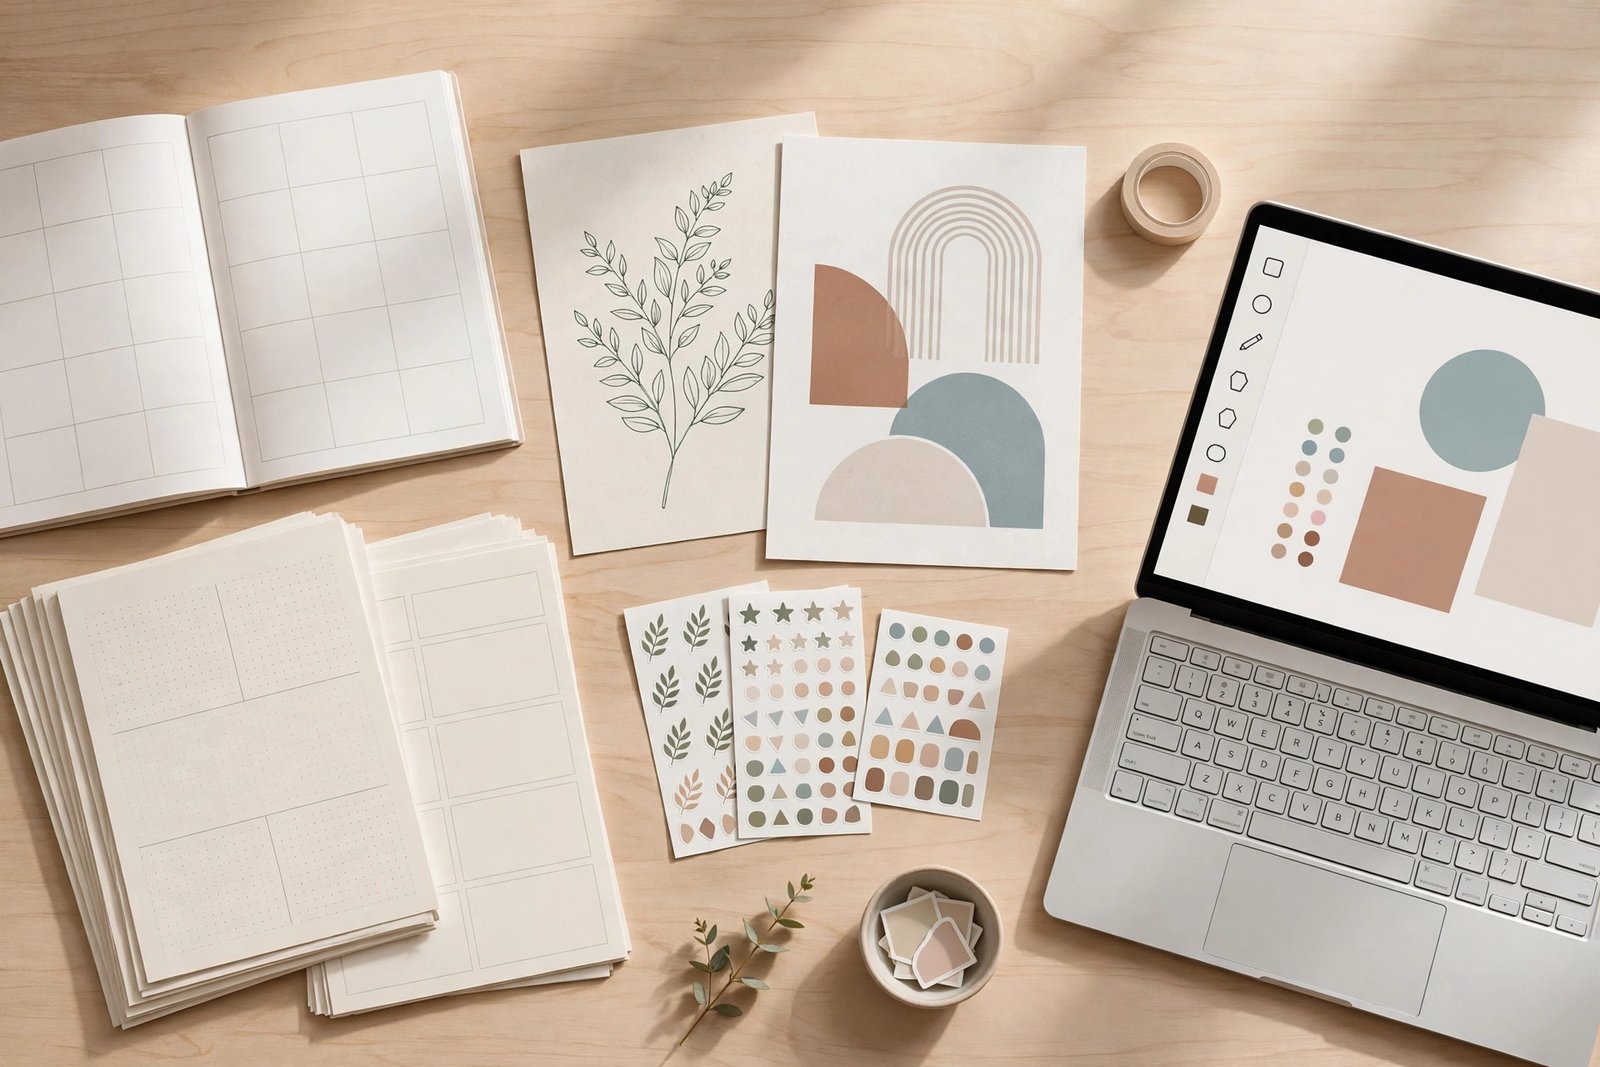
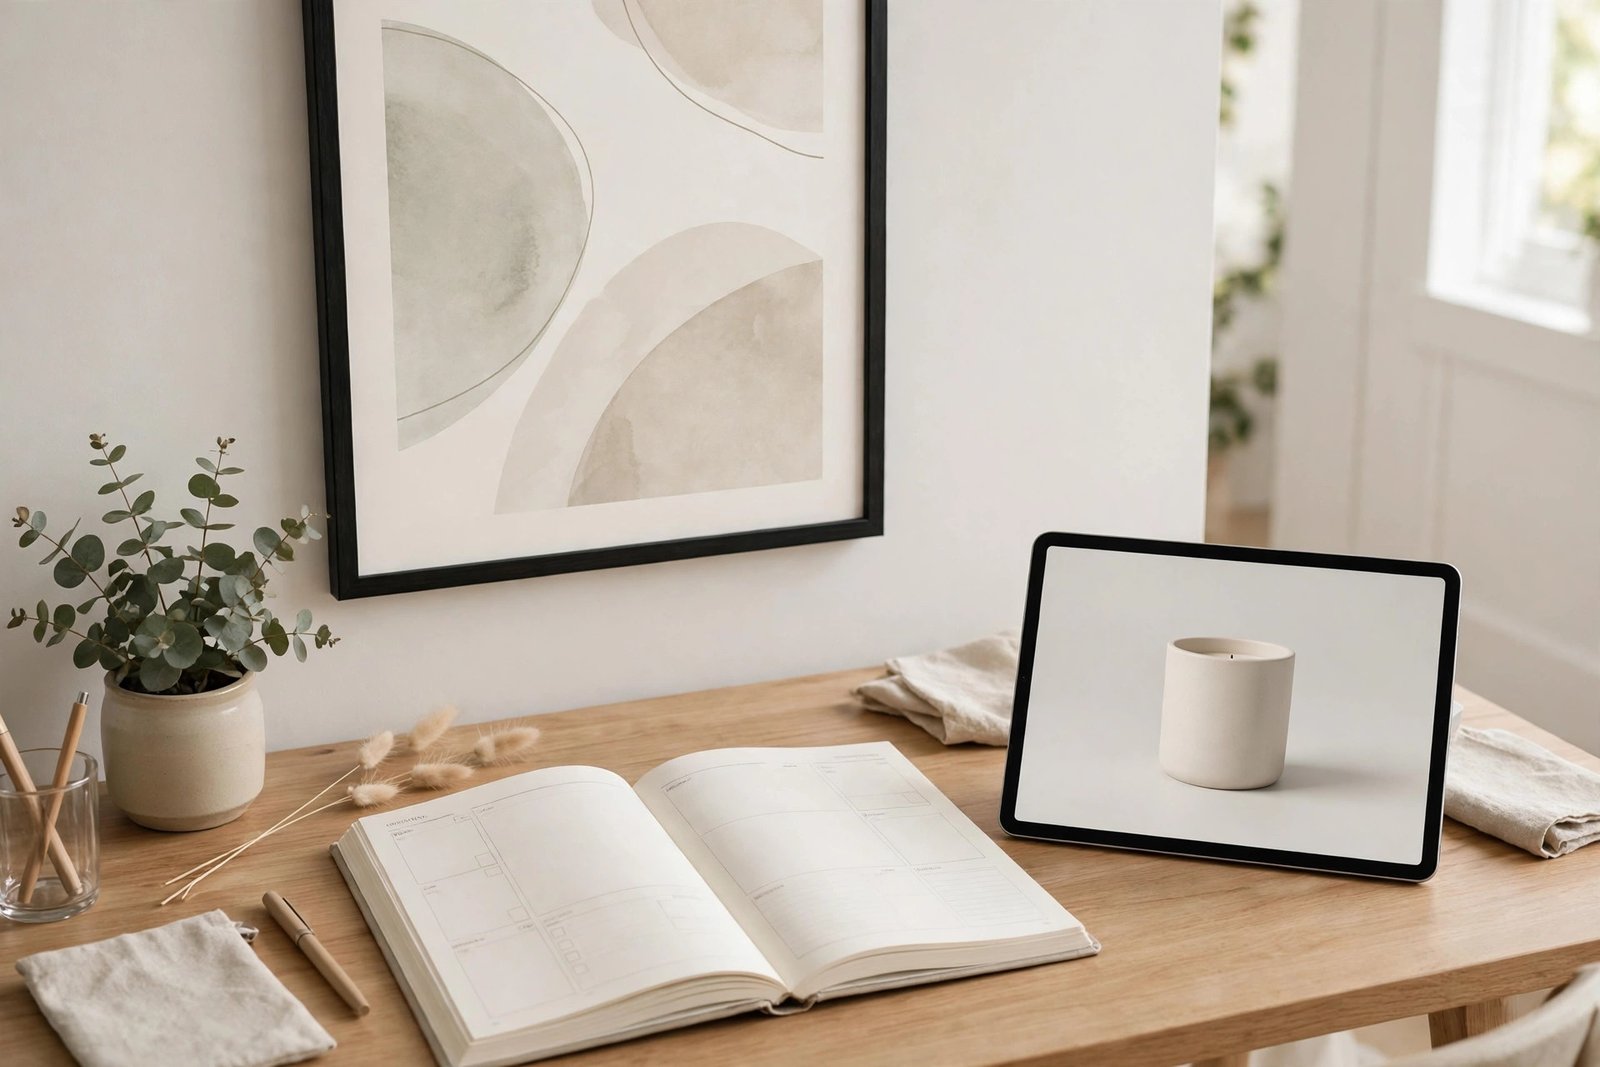
Make a simple set of preview images, called mockups, that show the printable in use. A planner shown open on a desk tells a buyer far more than a flat screenshot of a PDF page. You can make mockups in your design tool with stock style photos of desks and frames. Do not use photos you do not have the right to use. Your own photos, or photos from a library that allows commercial use, are the safe choice.
Step 3: Choose where to sell
Where you sell changes who finds you, what fees you pay, and how much control you have. Etsy brings built in search traffic, but it also brings listing fees, sale fees, and strong competition. Gumroad and Payhip suit sellers who already have an audience, because buyers mostly arrive through links you share. Your own checkout gives you the most control, but you must bring all of the traffic yourself. Creative Fabrica suits design focused files and works more like a marketplace for creative assets.
| Platform type | Best for | Main trade off |
|---|---|---|
| Etsy | Beginners who need search traffic | Fees on each sale, plus strong competition |
| Gumroad or Payhip | Sellers with an audience or email list | You must bring your own buyers |
| Creative Fabrica | Design led files such as art and fonts | Marketplace rules shape pricing and exposure |
| Your own checkout | Full control over pages and customer data | No built in traffic at all |
Fees and tax handling differ by platform and by country, and they change over time, so check the official fee and tax page of any platform before you list. Some platforms collect sales tax or VAT for you. Others leave that duty with you. Do not guess on tax. Read the platform help pages, and ask a qualified accountant if you are unsure about your local rules. This guide gives no tax advice, and rules differ by country.
Step 4: Price it so small sales still pay
Pricing printables is tricky because fixed fees eat a large share of a small sale. A single page sold for a very low price may leave you with little after platform and payment fees. That is why many sellers sell sets and bundles. A set of ten planner pages, or a bundle of a planner plus a habit tracker plus a meal plan, gives the buyer more value and gives you a healthier sale.
| Product format | Typical price thinking | When it works best |
|---|---|---|
| Single printable | Low price, easy first buy | A simple, single job file such as one invitation |
| Set of related pages | Mid price, better value per page | Planners, trackers, and classroom packs |
| Bundle of several products | Higher price, best value for the buyer | A full kit for one buyer, such as a new teacher pack |
Example only: these numbers are not typical results, and they are shown only to explain the maths. Suppose you sell a planner set for 8 US dollars. After platform and payment fees, you might keep around 6 dollars, depending on the platform and your country. Sell 50 sets in a month and that is about 300 dollars before any tool costs or tax. Sell 5 sets and it is about 30 dollars. The point is simple. Low prices need volume, and bundles help each sale count for more. Never promise yourself a monthly figure. Sales depend on demand, listing quality, traffic, and season.
Start with a fair price, then watch saves and sales. If buyers save but never buy, check the price, previews, or title first.
Step 5: Write a listing that prevents printing questions
Most printable support messages are about printing, not design. A buyer prints at the wrong size, or their printer shrinks the page to fit, and the planner looks wrong. Your listing can prevent most of this. State clearly that the product is a digital download and nothing physical will be posted. List exactly what is included, how many pages, which sizes (Letter and A4, for example), and which file format (usually PDF). Add one short line telling buyers to print at 100 percent scale and not to use "fit to page" if they want the true size.
Your title should use words buyers search for, such as "weekly meal planner printable". Your first preview image should show the product in use, and your description should answer what buyers get, what size it is, how to print it, and whether they may reuse it. Add a short personal use licence note. A personal use licence means the buyer may print it for their own use, but may not resell it, share the file, or claim it as their own work. A licence note will not stop all sharing, since a downloaded file can be copied, but it sets a clear rule and helps honest buyers understand the terms.
Step 6: Get your first buyers
Marketplaces give you some traffic, but your first buyers often come from your own effort. Pinterest suits printables well, because people search there for planners, organisation ideas, and party themes. Pin your mockup images with clear titles that match what people search for, and link each pin to the listing. A short blog post or video that shows the printable solving a real problem can also bring buyers over time. An email list helps even more once you have one, because you can tell past buyers about new sets and seasonal bundles.
For Pinterest traffic, see the guide to making money on Pinterest. Seasonal planning matters too, so plan new products a month or two ahead of the season, not during it.
Costs, time, and risks
Startup costs can be close to zero if you use a free design tool and a marketplace account, plus the small listing and sale fees charged by the platform. Paid design tools, mockup packs, and advertising are optional extras, not requirements. Time is the real cost. A first printable, from idea to listed product with mockups, often takes several evenings of focused work. A shop with a useful range can take months to build, and early sales are usually slow.
The main risks are copying, refunds, and printing problems. Once a file is downloaded, you cannot fully stop a buyer from sharing it. Watermarked previews, clear licence terms, and bundles that are hard to copy in full can reduce the problem, but they cannot remove it. Refund requests usually come from buyers who expected a physical item, or who could not print the file. A clear digital download notice and a short printing guide in the download folder reduce these messages. Budget time for polite, short replies. Results vary with niche, effort, traffic, and season, and nothing here guarantees income.
Common mistakes
- Selling a generic planner with no clear buyer in mind, which gets lost among thousands of similar files.
- Listing only one page size, then getting messages from buyers whose paper does not match.
- Skipping the test print, so a layout fault reaches buyers before you see it.
- Pricing a single page so low that fees leave almost nothing after the sale.
- Hiding the fact that the product is a digital download, which leads to refund requests.
- Using photos or art without the right to sell them, which can lead to takedowns.
- Launching ten rushed products instead of finishing one strong product well.
- Expecting steady sales in the first week, then giving up before listings have time to be found.
Frequently asked questions
What printables sell best?
The best sellers solve a clear, repeated job for a clear buyer, such as planners, classroom worksheets, party invitations, and business templates. Generic designs sell poorly because competition is high. A narrow product for one group, with strong previews and clear sizes, usually has a better chance than a broad product for everyone.
Is selling printables profitable?
It can be, but profit depends on price, fees, volume, and traffic. Single low price files need many sales or bundles to add up. Many sellers earn little at first, and income grows slowly as the shop gains more products and reviews. Treat early months as a learning period, not as proof of long term income.
Do I need a website to sell printables?
No. You can start on a marketplace such as Etsy, or on a simple shop platform such as Gumroad or Payhip, and link to it from social media. A website helps later, when you want full control and an email list, but it is not required for a first product.
How do I price printables?
Start from the value to the buyer and the fee on a typical sale, not from a guess. Single pages suit low prices, sets suit mid prices, and bundles suit higher prices. Check similar listings for a price range, then set a price you can defend. You can adjust later based on saves, sales, and buyer questions.
What file format should printables use?
PDF is the standard choice for most printables, because it prints well and works on most devices. Supply Letter and A4 versions when you can, and export art heavy files at 300 dots per inch. Always test print the final files at 100 percent scale before you list them.
What tools do I need to make printables?
A design tool such as Canva is enough to start, and many sellers also use Affinity or Adobe tools as they grow. You also need a selling platform and a way to make preview images. Start free or cheap, and pay for better tools only when sales justify the cost.
Conclusion
Start with one narrow printable for one clear buyer, design it in Letter and A4, test print it at full size, price it as a set or bundle where that makes sense, and write a listing that answers printing questions before they are asked. Then promote it steadily on Pinterest and through any audience you have, and add new products based on what buyers actually ask for. Your useful next step is to pick one idea today and list it this week, even if the shop is small. For related reading, see the guide to selling templates online, the guide to getting your first customers for an online business, and the Digital Products category page for the full range of guides. Earning results vary, and nothing on this site is financial advice.
================================================================================