How to Start an Education YouTube Channel and Earn Money in 2026
An education YouTube channel can earn money, and it has one big advantage over most niches: viewers arrive with a clear question and a real need to learn. A student who searches for help with one maths topic or one exam will watch a clear lesson to the end, and will return for the next one. This guide shows you how to start an education YouTube channel in 2026, pick a subject you can teach for years, script lessons that hold attention, and earn from ads, courses, tutoring and sponsorships.
This guide is for beginners who know a subject well and want to teach it on video. You do not need a teaching degree or a studio to start. You need clear explanations, honest limits and a steady upload plan. For the basic channel setup steps, read our guide on how to start a YouTube channel. This guide covers what is specific to education.
In this guide
- Why an education channel can earn money
- Step 1: Pick one subject and one learner
- Step 2: Plan lessons around real search questions
- Step 3: Script before you record
- Step 4: Film clear lessons with basic gear
- Step 5: Set up the channel the right way
- Step 6: Titles, thumbnails and YouTube search
- Step 7: Publish on a schedule you can keep
- How an education channel earns money
- What it costs and what to expect
- Worked example
- Common mistakes
- Risks and scams to watch for
- Frequently asked questions
Why an education channel can earn money
Education is one of the strongest niches on YouTube for ad rates, because advertisers who sell courses, software and professional tools want to reach learners. A lesson video also has a long life. A clear explanation of one topic can keep getting views for years, because students keep searching for the same help.
Education channels earn in several ways. Ads pay once you join the YouTube Partner Programme. Your own courses, ebooks and worksheets can earn more than ads, because viewers who trust your free lessons will pay for a structured course. Tutoring and consulting can earn well from a small audience. Sponsorships from education platforms and software companies pay for access to learners. Affiliate links for books, tools and courses add a smaller, steady stream.
The catch is accuracy. A wrong fact in a lesson video misleads students and breaks trust fast. Check every fact before you record, show your working, and correct mistakes in a pinned comment and in the description when viewers spot them. A channel that admits and fixes errors earns more trust than one that hides them.
Step 1: Pick one subject and one learner
An education YouTube channel that tries to teach everything teaches nothing well. Pick one subject you know deeply and one learner you can serve for at least 100 videos. The subject is what you teach. The learner is who you teach it to.
Good choices include Class 10 maths for students in India, spoken English for beginners, coding basics for career changers, science for children aged 8 to 12, or exam shortcuts for competitive test takers. Each group searches for different videos, needs different examples and buys different products.
Write your focus in one sentence. For example: "I teach Class 10 maths to students who find algebra hard, with one worked example per video." If you cannot write that sentence, your focus is still too wide. Test it by listing 20 video titles that fit it. If the titles come easily, the subject has enough material. If you stall at five, narrow it further.
Check the competition before you commit. Search YouTube for your subject and watch the top five videos. Note what they explain well and what they skip. Many education channels skip worked examples, skip common mistakes and skip practice questions. Those gaps are your opening. A lesson that shows the full working, names the common error and gives a practice question is more useful than a lecture that only states the rule.
Step 2: Plan lessons around real search questions
Education videos work when they answer a question a learner is already asking. Use YouTube search suggestions, Google autocomplete and your own students' questions to build your topic list. Type your subject into the search box and note the phrases that appear. Those are real questions with real search volume.
Plan your first 20 videos before you record the first one. Group them into a series that builds in order, such as a beginner series, an exam series or a topic series. A series helps viewers watch in order, and it helps you plan. Use a syllabus or exam pattern as your roadmap when one exists for your subject, because students search by syllabus topic.
For each video, write the question it answers in one sentence. For example: "How do you solve quadratic equations by factoring?" If you cannot write that sentence, the video has no clear job. Keep a list of questions from comments and from students, and film the most asked ones first.
Step 3: Script before you record
Scripts beat improvisation for teaching videos. Write a short outline, then a bullet script, then record. A bullet script lists the points in order without scripting every word, so you sound natural but stay on track.
A useful lesson structure is simple: a hook in the first 5 seconds that states the question, a short intro that says what the viewer will learn, the explanation in small steps with one worked example, a summary of the key point, and a call to action that points to the next lesson. Keep each step short. If a step needs more than two minutes to explain, split it into two steps.
Say the key idea out loud in plain words, then show it on screen. Write the formula, the steps or the diagram where viewers can see it while you talk. Use simple language and explain any technical term the first time you use it. If you use a slide, keep it clean: one idea per slide, large text and no clutter.

Record in short takes. If you stumble on one section, re-record only that section. This saves time and keeps your energy up. Read the script out loud once before you record, and cut any sentence that sounds hard to say. If you cannot say it clearly, your viewers cannot follow it either.
Step 4: Film clear lessons with basic gear
You do not need a studio to film a good lesson. A phone or a webcam, a USB microphone, one or two soft lights and a quiet room are enough. Clear audio matters more than a fancy camera, because learners leave fast when they cannot hear the explanation.
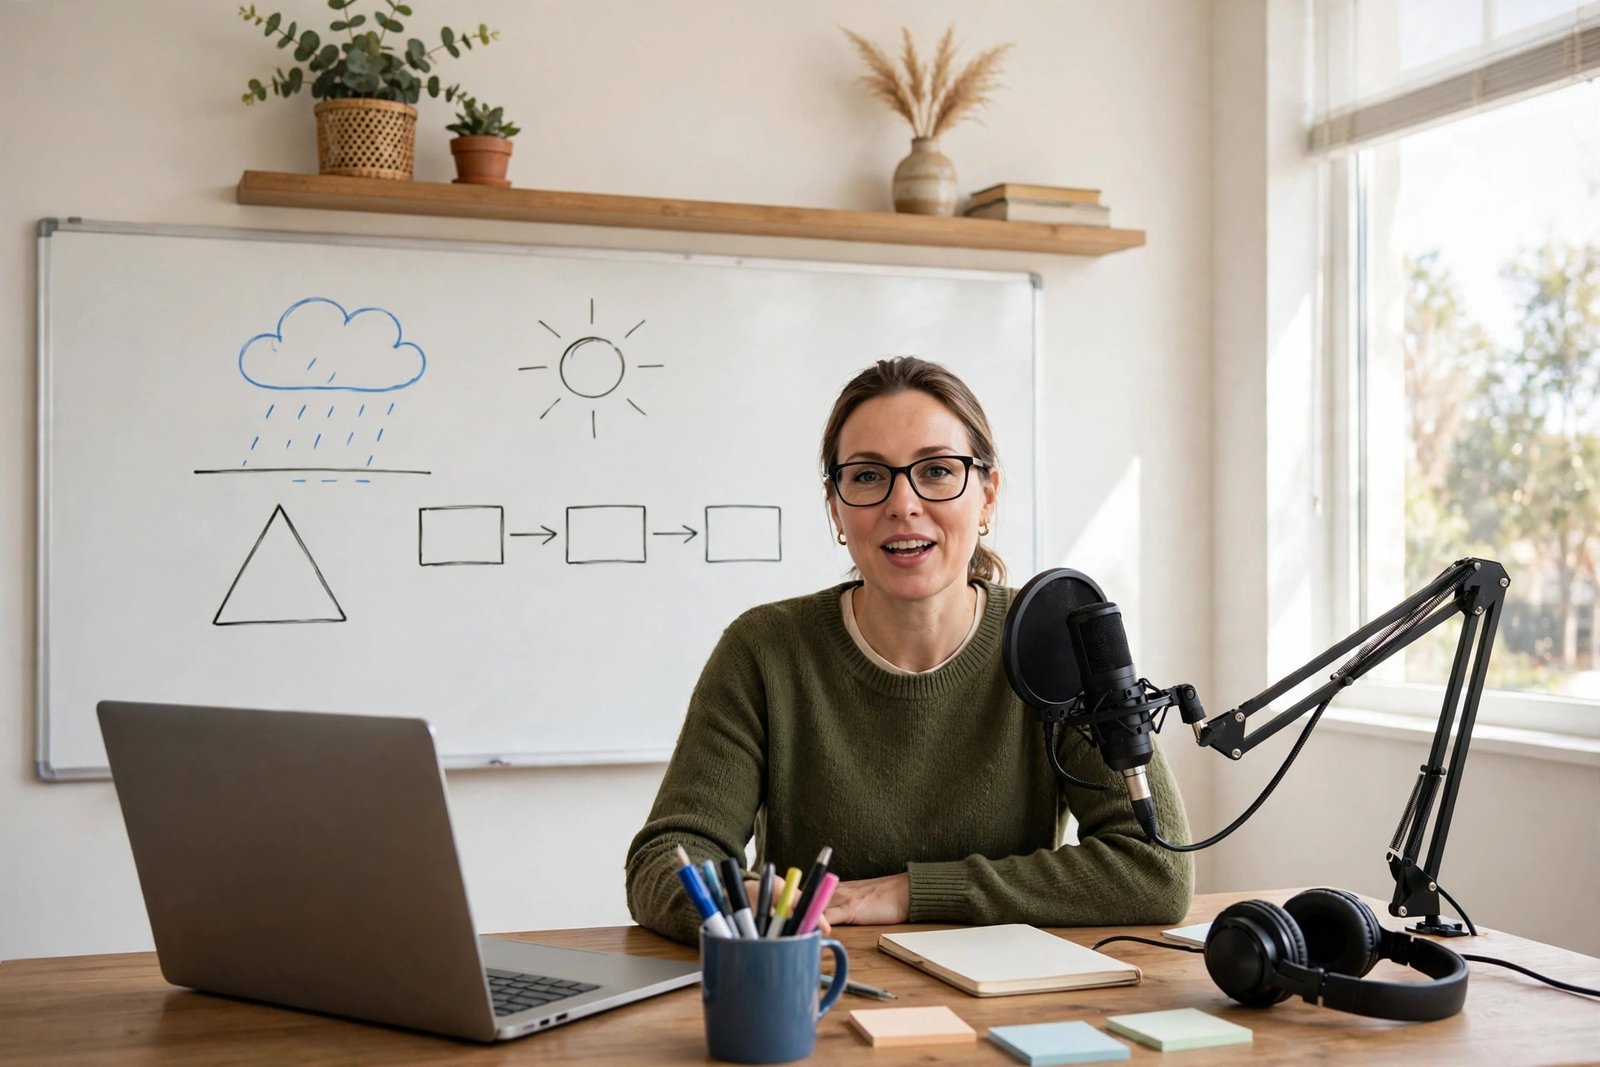
Choose one filming style and stick with it. Common styles include talking to camera with a whiteboard, screen recording with voiceover, or slides with voiceover. Screen recording works well for coding, maths and software lessons. Talking to camera works well for language and general topics. Whiteboard style works well for science and maths. Pick the style that fits your subject and your comfort level.
Film in good light. Sit near a window or use one soft light in front of you. Keep the background tidy and free of clutter. A messy background distracts learners from the lesson. Wear plain clothes that do not clash with your slides or your whiteboard.
Use free editing software to start. CapCut works on a phone. DaVinci Resolve works on a computer and costs nothing. Learn three skills first: cutting clips cleanly, adding text overlays and fixing audio levels. For a full editing walkthrough, read how to edit YouTube videos for beginners.
Keep your videos as short as the lesson allows. A tutorial can be 6 to 12 minutes. A deeper explainer can be 15 to 30 minutes. A Short can be 30 to 90 seconds for a quick tip. Watch time matters more than length, so cut anything that does not help the learner understand.
Step 5: Set up the channel the right way
Create the channel with a clear name that says what you teach. Your own name works if you plan to tutor. A brand name works if you plan to grow a team later. Keep it short, easy to spell and easy to say out loud.
Write a channel description that answers three questions in plain words. Who is the channel for? What will viewers learn? Why should they subscribe? Add your main keyword once, in a natural sentence. Do not stuff the description with keywords.
Add a profile photo that shows your face clearly, or a simple logo. Add a banner that states your subject in a few words. Organise your videos into playlists by topic or by series, such as beginner maths, exam prep and worked examples. Playlists keep viewers watching longer, and watch time is what YouTube rewards.
Set your channel defaults in YouTube Studio before your first upload. Add a standard description block with your social links, a link to your free worksheet or lead magnet, and a short disclosure line for affiliate links. This saves time on every upload and keeps your disclosures consistent.
Step 6: Titles, thumbnails and YouTube search
Your title and thumbnail decide whether anyone clicks. Write titles that name the topic, the learner and the benefit. "Quadratic Equations for Beginners: Solve in 5 Steps" is clearer than "Maths Lesson 12". Use the words people type into search, such as "for beginners", "explained", "step by step" and "exam".
Make thumbnails that show one clear idea. Use a still from the video that shows the key diagram or formula, add three to five words in large text and keep the colours high contrast. Most viewers see the thumbnail small on a phone, so test it at a small size before you publish. For more on this, search for guides on writing YouTube titles and designing thumbnails before you publish.
Write descriptions that help search and help learners. Put the main point and any worksheet link in the first two lines, because the rest stays hidden until a viewer taps to expand. Add timestamps for each step, list the key terms and add a practice question. Learn the basics of YouTube SEO so your videos can rank on YouTube and on Google search.
Step 7: Publish on a schedule you can keep
One video a week is enough to start. Two a week is better if you can keep it up for six months. Pick fixed days and publish at the same time, so learners know when to return. Batch record when you can. Film five lessons in one day, then edit them across the week. This saves setup time and keeps you publishing when life gets busy.
Reply to comments in the first day after you publish. Answer questions, correct mistakes quickly and ask what learners want next. Comments tell you what to teach next, and they show YouTube that viewers care about your channel. If a viewer spots an error, thank them, fix it in a pinned comment and note it in the description.

Track four numbers in YouTube Studio: average view duration, click through rate, subscribers gained per video and watch time. If learners leave early, shorten the intro and get to the first step faster. If few people click, fix the title and thumbnail. If learners watch but do not subscribe, check whether your videos promise a clear next lesson.
How an education channel earns money
Do not rely on ads alone. Ads pay little at the start, and education ad rates vary by audience, location and season. Build several income streams, and add them in order as your audience grows.
| Income stream | What it needs | When it starts |
|---|---|---|
| Ad revenue | YouTube Partner Programme membership | After 1,000 subscribers and 4,000 watch hours, or 10 million Shorts views |
| Affiliate links | A programme that fits your niche | From your first video, with disclosure |
| Tutoring | Trust and a way to book calls | After a few hundred loyal viewers |
| Courses and ebooks | A product learners asked for | After 1,000 subscribers |
| Sponsorships | A clear audience and engagement data | Usually after 10,000 subscribers |
| Channel memberships | Partner Programme membership | After 1,000 subscribers |
Your own courses usually earn the most per viewer. A paid course that builds on your free lessons can sell for a fair price to learners who already trust your teaching. Learn how to package that knowledge in how to sell courses on YouTube and how to create and sell an online course.
Tutoring can start even earlier than courses. Even five to ten private students can earn more than ads for a small channel. Use a free worksheet or mini lesson as a lead magnet, collect email addresses with the viewer's permission, and invite interested learners to book a call. For affiliate income, read our guide on online course affiliate programs to compare programmes before you join one.
YouTube Partner Programme requirements
Ad revenue starts when you join the YouTube Partner Programme. As of November 2026, the official YouTube Help page lists two paths to full ad revenue. You need 1,000 subscribers with 4,000 qualified watch hours in the last 12 months, or 1,000 subscribers with 10 million qualified Shorts views in the last 90 days. Watch hours from the Shorts feed do not count toward the 4,000 hours. You also need no active Community Guidelines strikes, two-step verification on your Google account and a linked AdSense for YouTube account.
In some countries, a lower tier opens earlier. It needs 500 subscribers, three public uploads in 90 days and either 3,000 watch hours in 12 months or 3 million Shorts views in 90 days. This tier unlocks fan funding and Shopping features, but not ad revenue. Check the official YouTube Partner Programme eligibility page before you apply, because thresholds change over time. If you plan to tag products in your videos, check the YouTube Shopping affiliate programme eligibility page too. For a full walkthrough of the programme, read how to monetize a YouTube channel.
What it costs and what to expect
You can start an education YouTube channel for very little money. A phone or a webcam, a USB microphone and free editing software are enough for your first 10 videos. Spend money only when you know which lessons your audience wants.
| Item | Typical cost |
|---|---|
| Phone, webcam or laptop camera | $0 (use what you own) |
| USB microphone | $20 to $60 |
| One or two soft lights | $25 to $60 |
| Whiteboard or slides | $0 to $30 |
| Editing software | $0 (CapCut or DaVinci Resolve) |
| Screen recording software | $0 (OBS Studio) |
| Total startup | $45 to $150 |
Expect slow growth for the first three to six months. Most new channels earn nothing from ads in that time, because they have not met the Partner Programme thresholds yet. Your first income is more likely to come from a tutoring student or a small course sale than from ads. Plan for 6 to 12 months of steady uploads before ad revenue becomes regular, and even then it will be modest until your views grow. Results vary with niche, effort, audience, competition and advertiser demand.
Worked example
Example only: these numbers are not typical results. They show how the maths works for a small education channel.
Imagine a channel that gets 20,000 views in a month. Suppose ad revenue works out at $5 per 1,000 views for this example. Divide 20,000 by 1,000 to get 20, then multiply 20 by $5 to get $100 in ad revenue.
Now add course income. Suppose 10 viewers buy a $20 mini course. Multiply 10 by $20 to get $200.
Add the two together: $100 plus $200 equals $300 for the month. This example uses made-up rates to show the method. Real ad rates and course sales vary widely, so your own numbers will differ. Note also that a course takes weeks to make, so spread that effort across the months it keeps selling.
Common mistakes
- Teaching too many subjects instead of one subject well.
- Reading a script word for word in a flat voice, with no worked example.
- Making videos too long, with slow intros that lose learners in 30 seconds.
- Skipping practice questions, so learners watch but never test themselves.
- Hiding mistakes instead of correcting them in a pinned comment.
- Buying views, subscribers or fake engagement, which breaks YouTube rules.
- Uploading for three weeks, then stopping for two months.
- Spending hundreds on gear before testing whether learners like your teaching.
- Ignoring comments, so you never learn what learners find hard.
- Promoting a course or tool you have never used, or hiding that a link pays you.
Risks and scams to watch for
Education is a high-trust niche, and trust is easy to lose. Do not teach a subject you do not know well. Do not copy another teacher's lessons. Do not use fake credentials, such as claiming a degree you do not hold. If you are not qualified in a subject, say so and teach only what you can support with a reliable source.
Watch for fake course platforms that promise to sell your course for you if you pay a fee first. Real platforms take a share of sales, not an upfront fee. Check any platform by searching its name with the word "scam" and by reading its terms before you upload your course.
Be careful with children's privacy. If your channel teaches children, do not ask them to share personal details in comments, and set your audience correctly in YouTube Studio. Videos made for children have different rules for ads and data, so check YouTube's rules for child-directed content before you publish.
Look after your own time too. Teaching on YouTube is slow work. Scripting, filming and editing one good lesson can take a full day. Plan a realistic schedule, keep a backlog of simple videos for busy weeks and do not promise a course date you cannot meet.
Frequently asked questions
Do I need a teaching degree to start an education YouTube channel?
No. You do not need a degree to teach on YouTube. You do need to know your subject well, explain it clearly and check your facts. A degree or a teaching qualification helps your credibility, and it matters more if you plan to sell tutoring. Tell viewers about your real background and do not claim a qualification you do not hold.
How many subscribers do I need to earn money from an education channel?
You need 1,000 subscribers plus 4,000 watch hours in 12 months, or 10 million Shorts views in 90 days, to earn ad revenue through the YouTube Partner Programme. Affiliate links have no subscriber minimum, so you can earn commission from your first video. Tutoring and courses can also start before you reach 1,000 subscribers, once learners trust you.
How much can a small education channel earn?
It varies too much to give a single figure. A small channel with a few thousand views a month may earn only a few dollars from ads, but it can earn more from tutoring or a small course if the audience is focused. Ad rates depend on the audience, the country, the season and the advertiser. Do not plan your budget around a fixed monthly figure.
What equipment do I need for education videos?
A phone or a webcam, a USB microphone, one or two soft lights and a quiet room are enough to start. Add screen recording software if you teach coding, maths or software. A whiteboard or slides help learners follow the lesson. Clear audio matters more than a fancy camera.
How long should education videos be?
Aim for the shortest length that fully answers the learner's question. Tutorials of 6 to 12 minutes work well. Deeper explainers can run 15 to 30 minutes. Shorts of 30 to 90 seconds work for quick tips. Watch time matters more than length, so cut anything that does not help the learner understand.
How do I turn viewers into course students?
Use a free lead magnet, such as a worksheet or a mini lesson, tied to your video topic. Ask viewers to download it, then follow up by email with the next steps toward your paid course. Pin a comment with the link and add it to the description and end screen of every relevant video.
Conclusion
Starting an education YouTube channel takes one subject, one learner and clear lessons that answer real questions. Script before you record, show your working, correct mistakes fast and add income streams in order as trust grows. Do not chase quick money with hype or fake credentials, because trust is the asset that pays in this niche.
Next, read how to sell courses on YouTube, how to monetize a YouTube channel for the Partner Programme rules, and how to create and sell an online course to build your first course. Then browse all YouTube earning guides to plan your next step.
Reader note: facts about Partner Programme thresholds were checked on the official YouTube Help pages in November 2026, and they can change, so check the official page before you apply. Education, tax and payment rules differ by country, so check your local rules and a qualified professional where needed. Earning results vary; nothing on this site is financial advice.