How to Start a Food Blog and Earn Money in 2026
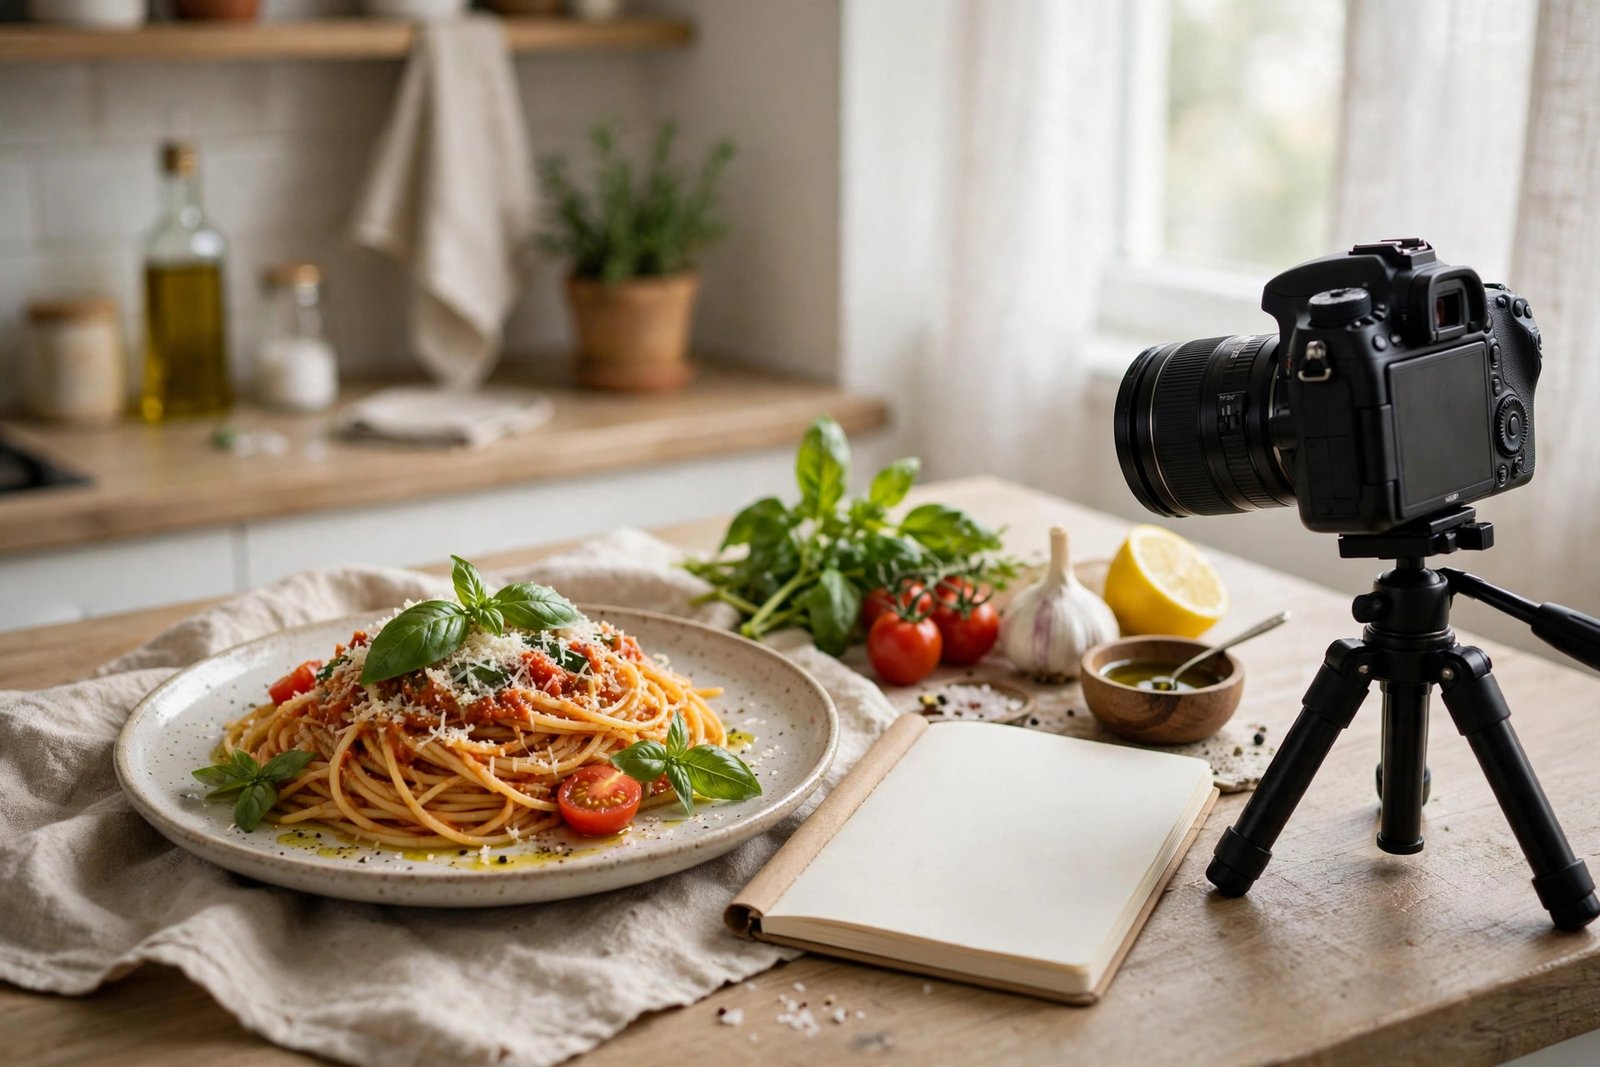
Learning how to start a food blog and earn money is a good goal, but the honest answer starts with time. A food blog can earn real money, yet most food blogs take 12 to 24 months to earn a useful amount. The blogs that do earn have four things in common: a clear niche, recipes that work, photos that make readers hungry, and posts that rank on Google. This guide shows you how to build all four, in order, with a phone camera and a small budget.
This guide is for beginners who like to cook and can follow a recipe. You do not need to be a professional chef. You will learn how to pick a niche, set up WordPress, choose a recipe plugin, take better food photos, write recipes that rank, grow traffic, and monetise your blog.
In this guide
- Step 1: Pick a niche you can own
- Step 2: Set up WordPress, hosting and domain
- Step 3: Choose a theme and a recipe plugin
- Step 4: Learn food photography basics
- Step 5: Write recipes that rank
- Step 6: Build traffic with SEO, Pinterest and email
- Step 7: Monetise, four income streams that compound
- Your first 30 days: a simple action plan
- Worked example: what a small food blog could earn
- What it costs and what to expect
- Common mistakes
- Risks and scams to watch for
- Frequently asked questions
Step 1: Pick a niche you can own
A niche is the narrow topic your blog covers. Broad food blogs compete with huge recipe sites on every dish, and a new blog cannot win that fight. A narrow blog can rank faster, because Google sees it as the expert on one kind of cooking.
Before you pick a niche, ask three questions. Can you cook 50 recipes in it without running out of ideas? Do readers search for it, and do they buy ingredients and tools for it? And do you enjoy cooking it enough to test recipes for two years?
| Niche idea | Example recipes | Why it can earn |
|---|---|---|
| Weeknight dinners under 30 minutes | One pan chicken, quick pasta, stir fry | Affiliate links for pans, knives and meal kits |
| High protein meal prep | Chicken bowls, lentil salads, egg muffins | Affiliate links for containers and protein |
| Budget cooking under 5 dollars a serving | Bean stews, rice dishes, seasonal soups | Affiliate links for pantry staples and tools |
| Gluten free baking | Breads, cakes, cookies without gluten | Affiliate links for flours and baking tools |
| Air fryer recipes | Crispy vegetables, chicken wings, snacks | Affiliate links for air fryers and accessories |
| Regional cooking, one cuisine | Curries, dumplings, tagines, tacos | Affiliate links for spices, cookware and books |
Pick one niche and stay with it for your first 30 posts. You can widen the topic later, once Google trusts your blog. For the full method, read how to choose a blog niche.
Step 2: Set up WordPress, hosting and domain
Most food bloggers use WordPress.org, which is self-hosted WordPress. It is not the same as WordPress.com. WordPress.org gives you full control over adverts, affiliate links and recipe plugins, which is what you need to earn. WordPress.com on a free plan limits adverts and plugins, so it is a poor choice for a money blog.
You need a domain name and web hosting. Hosting is the rented server space where your blog files live. Most hosts offer a one-click WordPress install, which sets up the blog for you in a few minutes.
| Item | Typical cost, year one | Typical cost, later years |
|---|---|---|
| Domain name | 10 to 15 US dollars | 10 to 15 US dollars a year |
| Shared hosting | 35 to 60 US dollars, first year offer | 80 to 120 US dollars a year |
| Premium food theme | 0 to 130 US dollars, one-off | 0 US dollars, unless you renew support |
| Recipe plugin | 0 to 79 US dollars a year | 0 to 79 US dollars a year |
| Total | About 45 to 285 US dollars | About 90 to 215 US dollars a year |
Watch out for first-year hosting offers. Many hosts advertise a low first-year price, then charge two or three times more when you renew. Check the renewal price before you buy, and set a calendar reminder for the renewal date. For the full setup walkthrough, read how to start a blog.
After WordPress is installed, create five essential pages before your first recipe. The About page says who you are and what you cook. The Contact page gives readers a way to reach you. The Privacy Policy page explains what data you collect, which matters once you run adverts. The Affiliate Disclosure page says you may earn a commission from links, which is a legal duty in many countries. The Recipe Index page lists every recipe by category, so readers can find what they need.
Step 3: Choose a theme and a recipe plugin
A food blog theme is a design template made for recipe sites. Look for three things: it loads fast, it works well on phones, and it shows recipe cards clearly. Popular food themes cost 50 to 130 US dollars as a one-off payment. A free theme can work at first, but a food theme saves you hours of setup.
A recipe plugin is the tool that turns your recipe into a neat card with ingredients, steps, times and a print button. It also adds recipe schema markup to your page. Schema markup is structured data, which is code that tells Google your page has a recipe, with its cooking time, ratings and ingredients. Google can then show your recipe as a rich result, which is a search result with a photo, a rating and a cooking time. Rich results get more clicks than plain blue links.
| Plugin | Free version | Paid version | Best for |
|---|---|---|---|
| WP Recipe Maker | Yes, with schema and print button | About 49 US dollars a year, adds nutrition and unit conversion | Beginners who want a solid free start |
| Tasty Recipes | No free version | About 79 US dollars a year | Bloggers who want a polished card and support |
| Recipe Card Blocks | Yes, with schema and basic card | Paid add-ons for extra features | Bloggers who want blocks they can style |
Any of the three works. Pick one, learn it well, and use it on every recipe. Do not switch plugins later, because you would need to rebuild every recipe card. After you publish, check your markup with the Google Rich Results Test, which shows whether Google can read your recipe data. For the writing craft, read how to write blog posts that rank on Google.
Step 4: Learn food photography basics
Food photography is what makes a reader stop and click. You do not need an expensive camera. A modern phone camera is enough to start, if you learn three skills: light, angles and styling.
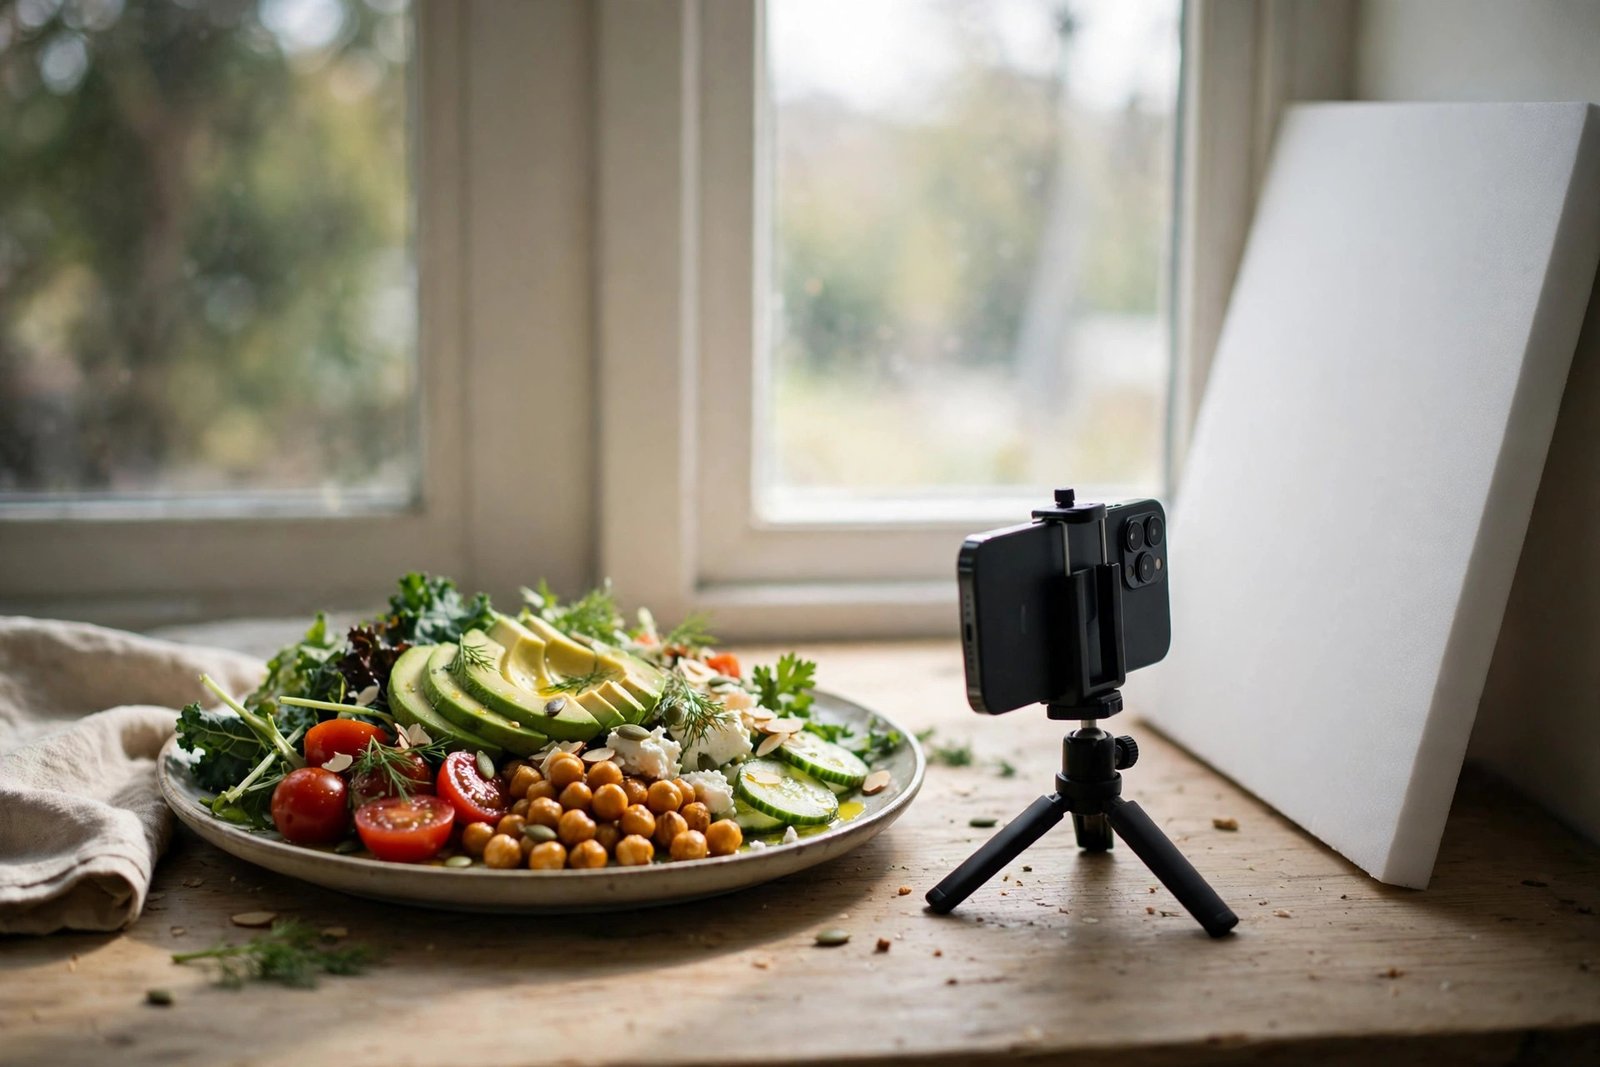
Light matters most. Use natural window light, and never use your camera flash, because flash makes food look flat and grey. Place the dish near a window, with the light coming from the side or from behind. A white foam board on the opposite side bounces light back and softens shadows. Foam board costs a few dollars at a craft shop.
Angles matter next. Shoot from above, which is called a flat lay, for bowls, salads and baked trays. Shoot at 45 degrees for burgers, cakes and tall dishes, because that angle shows height and layers. Take both angles for every recipe, then pick the best.
Styling is simple. Use a plain plate, a clean surface, and one or two props, such as a linen cloth or a sprig of herbs. Do not crowd the photo with props, because the food should be the star. Take six to twelve photos for each recipe: the finished dish, two or three process shots, and a close-up. Readers trust a recipe more when they can see each step.
Step 5: Write recipes that rank
A recipe post has a clear shape, and readers expect it. Start with a short introduction of two or three sentences that says what the dish is and why readers will like it. Then give the recipe card with ingredients, steps, times and servings. Then add the useful detail below the card: substitutions, storage advice, and common mistakes.
Test every recipe at least twice before you publish it. Cook it once to get it right, then cook it again to check the times and amounts. Write down the exact amounts you used, not the amounts you guessed. If you did not test a substitution, say so plainly, and do not claim it works.
Food safety matters too. Say how long the dish keeps in the fridge, and whether it freezes well. If a recipe uses raw eggs or undercooked meat, say so, and give the safe cooking temperature where you know it. Rules differ by country, so link to your local food safety authority where relevant.
Keyword research is the other half of ranking. A keyword is the phrase a reader types into Google. Use Google autocomplete and the People Also Ask box to find real questions, such as "easy chicken curry for beginners" or "how long to bake banana bread". Target one search phrase per post, and use it in the title, the first paragraph and one heading. Avoid broad phrases such as "chicken recipe", because huge sites already rank for them. For the full method, read keyword research for a blog.
Write the recipe in your own words. Ingredient lists are facts, so they cannot be owned, but the way you explain a recipe is your own work. Never copy another blogger's recipe text or photos.
Step 6: Build traffic with SEO, Pinterest and email
Google traffic takes months to build, so use Pinterest and email in the meantime. Pinterest works well for food, because readers use it to plan meals. Create a business account, make vertical pins in a 2 to 3 ratio for each recipe, and link every pin to the recipe, not to your homepage. Write a clear pin description of up to 500 characters that names the dish and who it suits. Many food bloggers report that Pinterest brings more early traffic than Google. For the method, read how to make money on Pinterest.
Short video helps too. A 30 second video of the dish coming together, posted as a Reel or a Short, can bring readers who never search Google. Film with your phone, keep it simple, and link back to the full recipe. Do not spend hours editing video before you have 30 recipes published.
Start an email list early, even when you have ten readers. Offer one useful freebie, such as a weekly meal plan or a printable shopping list, in exchange for an email address. Send one email a week with your new recipe and one older recipe worth a second look. For the method, read how to build an email list for a blog.
Publish one quality recipe a week at first, then two a week once you are faster. A library of 30 to 50 recipes is the point where Google starts to take a food blog seriously. Every three months, audit your old posts: update the photos, fix the times, and improve the posts that already get some traffic.
Step 7: Monetise, four income streams that compound
A food blog earns in four main ways, and they work best together. Set them up early, even before they pay much, because each one needs time to grow.
| Income method | How it works | When it starts to pay |
|---|---|---|
| Display ads | An ad network places adverts on your pages and pays you per 1,000 views | After steady traffic, usually 10,000 sessions a month or more |
| Affiliate links | You link to tools, ingredients and cookware, and earn a commission on sales | From your first posts, but only a few dollars until traffic grows |
| Sponsored posts | A brand pays you to feature its product in a recipe | After you have traffic and an audience a brand wants |
| Own products | You sell a cookbook, a meal plan or a course | After readers trust you, usually in year two |
Display ads are usually the biggest stream for a food blog, because food readers view many pages. Google AdSense has no traffic minimum, and its eligibility page asks only for your own unique content, compliance with its programme policies, and an age of 18 or over. Read the Google AdSense eligibility page before you apply. Premium networks pay more, but they need more traffic. As of November 2026, Mediavine's main programme asks for at least 5,000 US dollars in annual ad revenue, not a session count, and Raptive asks for at least 25,000 pageviews a month. Check the live requirements on Mediavine's application page and Raptive's application page before you apply, because these figures changed in 2025 and 2026 and many guides still print the old ones. For the full display ads guide, read how to monetise a blog with display ads.
Affiliate links work well in food blogging, because every recipe needs tools and ingredients. Link to the pan, the blender or the spice you actually used. Amazon Associates pays 1 to 4 percent on most kitchen items, which is small per sale, so it only adds up with traffic. Sponsored posts pay more, from about 100 to 500 US dollars for a new blog to 2,000 US dollars or more for an established one, according to food blogging guides. Own products, such as a 10 US dollar meal plan, can earn the most per sale once readers trust you.
Your first 30 days: a simple action plan
| Week | Action | What done looks like |
|---|---|---|
| Week 1 | Pick a niche, buy a domain, set up WordPress and a theme | Blog live with five essential pages |
| Week 2 | Install a recipe plugin, cook and photograph three recipes | Three recipe posts published |
| Week 3 | Publish two more recipes, set up Pinterest and an email list | Five posts live, Pinterest account running |
| Week 4 | Publish two more recipes, share every post on Pinterest | Seven posts live, first email sent |
Do not wait for perfect photos or a perfect design. Publish the first recipes, learn from them, and improve as you go.
Worked example: what a small food blog could earn
Example only: these numbers are not typical results. Imagine a food blog with 50,000 pageviews a month. At an RPM of 20 US dollars, which means 20 US dollars earned per 1,000 pageviews, display ads earn 50 times 20, which is 1,000 US dollars a month. Affiliate links earn 150 US dollars a month from kitchen tools and ingredients. One sponsored post earns 300 US dollars that month. Total income is 1,450 US dollars a month. Hosting costs 10 US dollars a month and the recipe plugin costs about 7 US dollars a month, so the blog keeps about 1,433 US dollars before tax. If the blogger spends 60 hours a month on the blog, that is about 24 US dollars per hour. The same blog at 5,000 pageviews a month would earn about 100 US dollars from ads at the same RPM, which shows why traffic matters more than any single income stream.
What it costs and what to expect
Your money costs are low. Your time cost is high. Expect to spend 10 to 20 hours a week on cooking, photos, writing and promotion for at least a year.
| Period | What to do | What income to expect |
|---|---|---|
| Months 0 to 3 | Set up the blog, publish 12 recipes, start Pinterest | 0 US dollars |
| Months 3 to 6 | Publish 1 to 2 recipes a week, build an email list | 0 to 50 US dollars a month |
| Months 6 to 12 | Apply for AdSense, pitch small brands | 50 to 200 US dollars a month |
| Year 2 | 50 to 100 recipes live, apply for a premium ad network | 300 to 800 US dollars a month |
| Years 2 to 3 | Add products and sponsored posts | 1,000 US dollars a month or more, if traffic keeps growing |
These figures are typical ranges reported by food blogging guides, not promises. One often quoted figure needs a warning: a survey of established food bloggers reported a median income of 9,169 US dollars a month, but that survey covered bloggers who were already earning, so it does not describe what a beginner can expect. Your results depend on your niche, your traffic, your country, and how much time you put in. Most food blogs never reach year two, because the owner stops publishing. The blogs that earn are usually the ones that kept publishing when nothing was happening.
Note for the reader: ingredient availability, measurement units and ad rates differ by country. Where a recipe uses cups, give grams too, because most readers outside the United States cook by weight. Tax rules differ by country, so keep records of your income and your costs from day one, and check your local tax authority or a qualified accountant before your first tax deadline. Earning results vary; nothing on this site is financial advice.
Common mistakes
- Picking a broad niche such as "all food", then competing with huge recipe sites on every dish.
- Publishing five recipes and applying for adverts, then feeling disappointed when nothing earns.
- Writing a long life story above the recipe, instead of a short introduction and a clear recipe card.
- Using dark, blurry photos, which stop readers from clicking your pins.
- Copying a recipe from another blog, which breaks trust and can break copyright rules.
- Quoting a median blogger income figure without saying it comes from established bloggers, which misleads beginners.
- Ignoring Pinterest and email, then depending only on Google from day one.
- Buying an expensive camera before publishing ten recipes, instead of learning with a phone.
Risks and scams to watch for
Watch for brands that offer "exposure" instead of payment, then ask you to buy their product first. A genuine sponsorship pays you, and it never asks you to pay for the product you are meant to review. Watch for paid food blog courses that promise income in 90 days. No course can promise that, because income depends on traffic, and traffic takes months to build. Watch for guest post offers that ask you to pay for a link, because paid links must be marked clearly under Google's rules, and a site that sells links without marking them can harm your blog.
Also watch for the risk in your own recipes. If you publish a recipe you did not test, a reader may waste good ingredients on a dish that fails. Test every recipe twice, and say plainly when a substitution was not tested. If a job or brand deal looks too good to be true, read how to spot online job scams before you reply.
Frequently asked questions
Do food bloggers get paid?
Yes, but slowly. Food bloggers earn from display ads, affiliate links, sponsored posts and their own products, and each stream needs traffic first. Most new food blogs earn nothing for 6 to 12 months, then a small amount that grows as the recipe library grows.
Do I need to be a professional chef to start a food blog?
No. Readers want recipes that work, clear photos and honest advice, not a chef qualification. Home cooks who test their recipes carefully and write clearly do well. Say what you tested and what you did not, and readers will trust you.
What camera do I need for food photography?
A modern phone camera is enough to start. Good window light, a white foam board reflector and a clean plate matter more than an expensive camera. Upgrade to a better camera only after you have 30 recipes published and you know food blogging suits you.
How often should I post on a food blog?
One quality recipe a week is a good start, then two a week once you are faster. A library of 30 to 50 recipes is the point where Google starts to take a food blog seriously. Posting daily with weak recipes helps no one.
Should I use WordPress for a food blog?
Yes, self-hosted WordPress, known as WordPress.org, is the best choice for most food bloggers, because it supports recipe plugins, adverts and affiliate links without limits. Free builders and hosted platforms limit what you can earn.
How long does it take a food blog to make money?
Plan for 12 to 24 months before a useful income, and longer before it pays a full wage. Research on food bloggers reports an average of about 21 months to earn, with about a quarter earning within six months, but those figures come from surveys of bloggers who kept going, so treat them as a rough guide, not a promise.
Conclusion: pick a niche, test your recipes, publish every week
Learning how to start a food blog and earn money comes down to four moves. Pick a narrow niche you can cook 50 recipes in, test every recipe twice, take bright photos with window light, and publish one recipe a week while you build Pinterest and email traffic. Do not buy an expensive camera, do not copy other bloggers, and do not stop publishing when the first months earn nothing.
Your next step is to write your niche down and cook your first three recipes this week. Then read how to start a blog, how to grow blog traffic, and how to write blog headlines. You can also browse all our guides in the blogging category.