How to Work as a Freelance Graphic Designer in 2026
Learning how to work as a freelance graphic designer starts with one clear idea. Clients do not pay you for knowing a software tool. They pay you for a finished file that solves a problem, such as a logo that looks trustworthy. This guide shows you how to pick one deliverable, learn the basics, build a portfolio, set a rate, and win your first paying work.
In this guide
- How to work as a freelance graphic designer: what the job really involves
- Step 1: Pick one deliverable for one type of client
- Step 2: Learn the four design basics before the tool
- Step 3: Choose your tools, free route first
- Step 4: Build a portfolio of ten honest practice designs
- Step 5: Write a brief the client can approve
- Step 6: Work out your rate
- Step 7: Find your first clients
- Step 8: Agree scope, payment and revisions in writing
- Step 9: Check rights, export and hand over usable files
- Getting paid, including routes for Pakistan
- Your 30 day starting plan
- A worked example: pricing a logo package
- What it costs and what to expect
- Common mistakes
- Risks and scams to watch for
- Frequently asked questions
How to work as a freelance graphic designer: what the job really involves
A freelance graphic designer creates visual work for clients, one project at a time. The deliverables are concrete things: a logo, a brand identity set, a flyer, a poster, a book cover, a set of social media graphics, a menu, or a presentation deck.
The work is not only drawing. A designer reads a brief, asks questions, researches the client's market, makes two or three concepts, presents them with reasons, revises the chosen one, and hands over final files with clear instructions.
You do not need a degree to start, and many working designers are self taught. You do need a portfolio that proves you can finish real work, and you need to run the business side properly, with written agreements and clear prices.
Step 1: Pick one deliverable for one type of client
Beginners who offer every kind of design compete with every designer on the internet. Pick one deliverable and one type of client first.
Your deliverable should match work you enjoy and can finish well. If you like clean layouts and short text, social media graphics are a good start. If you like symbols and typography, logos suit you better. You can add a second deliverable later, once the first one brings in work.
Your client type matters just as much. Small businesses, new online shops, coaches, restaurants, and event organisers all buy design regularly and decide fast. Large companies pay more but move slowly. Start with clients who can say yes in a week.
Step 2: Learn the four design basics before the tool
Four basics decide whether a design looks professional. Learn them before you buy expensive software.
Layout is how you arrange things on the page. Give the most important element the most space, and leave empty space around it so the eye knows where to look first.
Colour is how you set the mood and guide the eye. Pick two or three colours that work together, and use one of them sparingly for the thing you want noticed.
Fonts are the voice of the design. Use one font for headings and one for body text, and keep them consistent across a project. Avoid more than two fonts in one piece.
Space is the empty area around and between elements. It separates ideas, makes text readable, and makes a design feel calm and confident.
Study good design every day. Save examples you admire, and ask yourself why the layout, colour, fonts, and space work. If you want a structured learning path, read our guide on how to learn graphic design online.
Step 3: Choose your tools, free route first
You can start with free tools and move to paid software when paying work justifies the cost. Canva is the easiest starting point, because it runs in a browser and lets you make social media graphics, flyers, and simple logos fast. Photopea works much like Photoshop in a browser. GIMP is a free desktop program for photo editing.
When you earn enough to pay for tools, the industry standard is Adobe's Creative Cloud, mainly Photoshop for image work and Illustrator for logos and vector art. Vector art is made from maths curves instead of pixels, so it stays sharp at any size. Learn these tools one at a time.
AI image tools can help with ideas and mockups, but they are helpers, not a replacement for design judgement. Check the licence on any AI image before you sell it to a client.
Step 4: Build a portfolio of ten honest practice designs
A portfolio is a set of finished designs that shows what you can do. Without clients, you build it with practice designs, and you must label them honestly as practice work. Never present practice work as a paid client project.
Make ten designs in your chosen deliverable. If you chose social media graphics, design ten posts for a made up cafe. If you chose logos, design logos for five made up businesses.
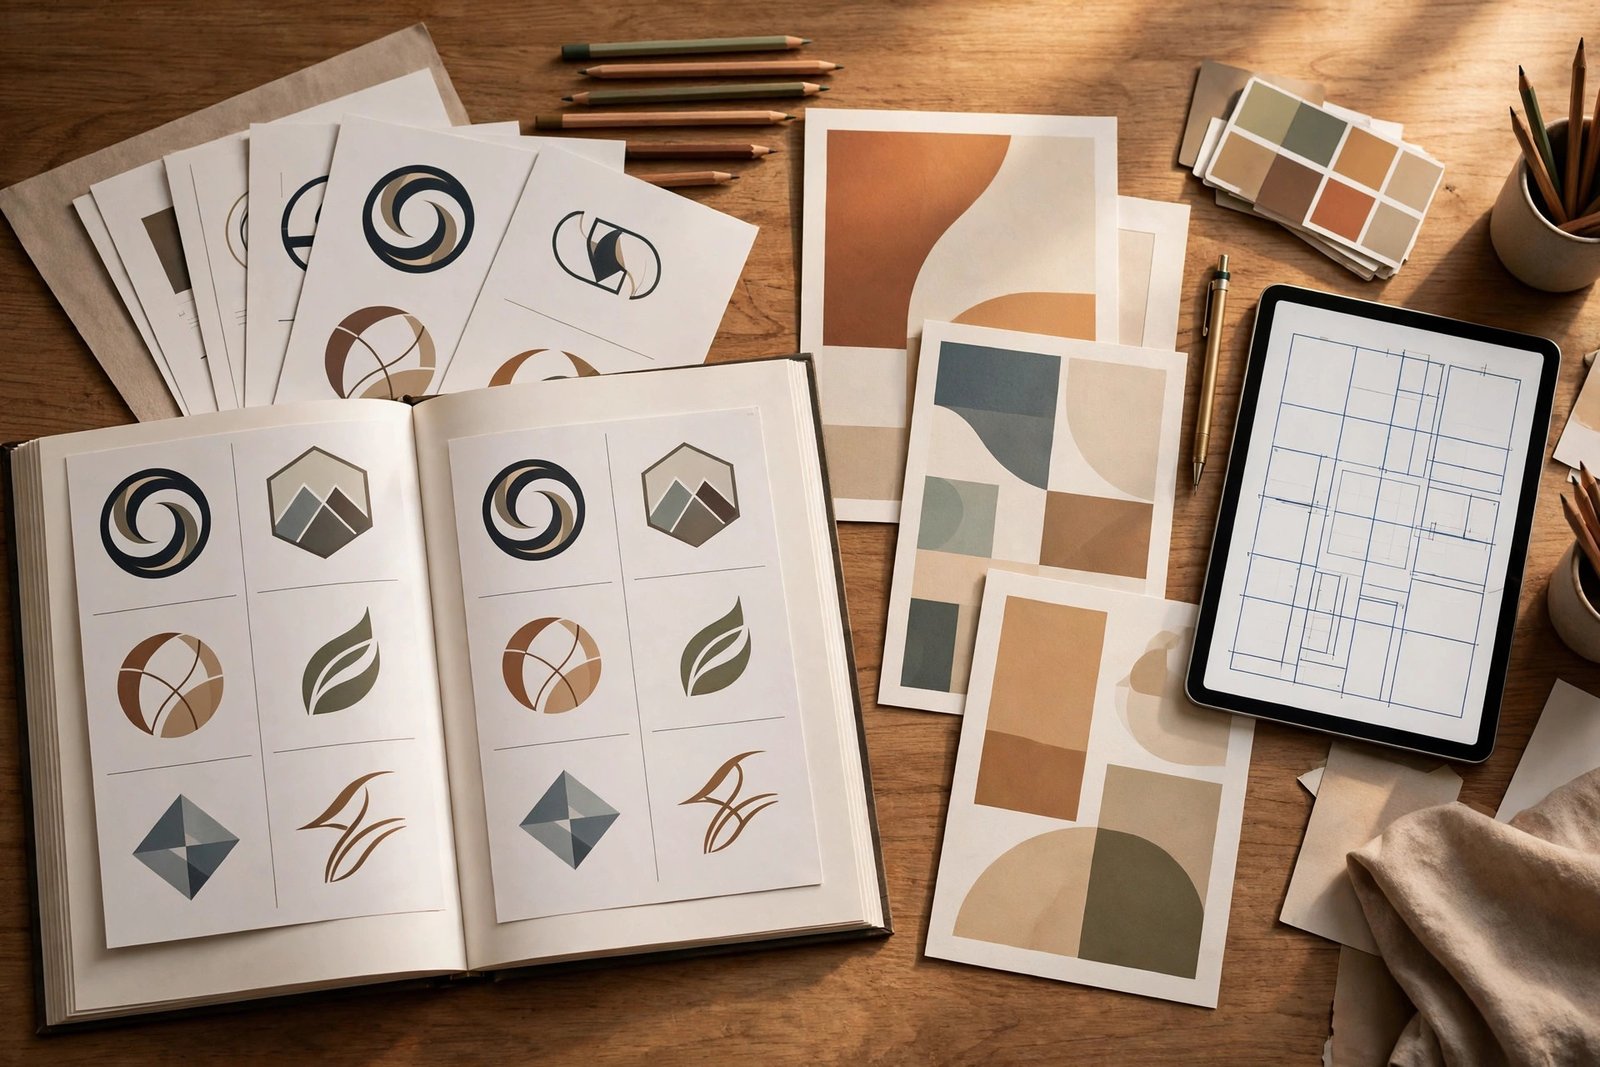
For each piece, add one or two lines that explain the brief and your design choices. Put the ten pieces on a simple page, or on a portfolio site such as Behance, and keep the best three at the top.
Step 5: Write a brief the client can approve
A brief is a short written agreement about what you will design. It stops the most common designer problem: a client who changes their mind after three revisions. Write the brief before you open your design tool, and ask the client to approve it in writing.
A good brief answers eight questions. What is the deliverable and how many pieces are included? Who is it for? What should the reader do after seeing it? What text must appear? Which colours, fonts, or logos must you use? What style does the client like? When is the deadline? What counts as finished?

Present your concepts with reasons, not just pictures. Say why you chose a colour, a font, or a layout. Then give the client one clear review task, such as "pick one concept and list changes in one message by Friday".
Step 6: Work out your rate
Designers usually charge by the project, not by the hour, because a logo that took six hours is worth the same as one that took ten. But you still need an hourly floor rate to check that a project price makes sense: divide your monthly income target by your billable hours, and never quote below the result for long.
Research current rates before you quote, because design prices vary widely by service, by market, and by your skill. Look at what similar designers charge on freelance platforms and in your local market, and compare like with like.
Always build the full workload into your price. A project is not only the design time. It includes the brief call, research, concepts, revisions, export, and handoff. Count the whole job, or your rate will be lower than you think.
For the full pricing method, read our guide on how to set freelance rates.
Step 7: Find your first clients
Start with people you know. Local businesses are the best first clients for a designer, because you can walk in, show your portfolio on a phone, and talk to the owner. A cafe with a messy menu, a gym with no social graphics, or a new shop with no logo are all real leads.
Next, use freelance platforms. Fiverr suits designers who can package one clear service as a gig, such as a logo or a set of social posts. Upwork suits larger jobs and longer client relationships. Both platforms take a fee from your pay, so check it before you price a gig. Fiverr takes 20 percent of each order from the seller, and Upwork's freelancer service fee ranges from 0 to 15 percent per contract, as of November 2026. You can read the details on Upwork's official fee page.
Design contests are another route for beginners. Sites such as 99designs let you enter contests, but you only get paid if you win, so treat them as practice, not as steady income. Read our guide on how to earn money on 99designs before you try them.
Finally, use social media as a shop window. Post your practice designs regularly, and explain one design choice in each post. Our guide on how to find freelance clients covers these channels in more detail.
Step 8: Agree scope, payment and revisions in writing
Before you start, agree four things in writing: the deliverables, the number of revision rounds, the payment terms, and the deadline. Two revision rounds is a fair standard. More rounds cost more, so charge for extra rounds.
Ask for a deposit of 30 to 50 percent before you start, and the rest on delivery. For direct clients, staged payments work well: a deposit, a midway payment when the concept is approved, and the final payment before you hand over the final files.
Keep a written record of every change request. When a client asks for something outside the brief, point to the brief and quote the extra work as a separate price. Read our guide on freelance contracts explained before your first job.
Step 9: Check rights, export and hand over usable files
Rights are the legal permission to use an image, a font, or a piece of artwork. Before you hand files to a client, check every asset you used. Free stock photos often need attribution or forbid commercial use, and fonts often have a licence that covers personal use only. If you are unsure about an asset, replace it with one you know is safe.
Check your exports separately from your editing file. Open each exported file and look at it at the size the client will use. Check that text is not cut off, colours look right, and nothing is blurry. Send the right file for each use: a large vector file for a shop sign, and a small JPG at the right size for a social media post.
Hand over usable files with a short note that says which file to use where. For a logo, send the vector file for print, a PNG with a clear background for the web, and a JPG for documents, plus the colour codes and font names.
Getting paid, including routes for Pakistan
Getting paid is part of the job, so agree the method before you start. Direct clients usually pay by bank transfer or a payment service. Platform clients pay through the platform, which then sends the money to you after its fee.
If you are in Pakistan, plan your payment route early, because PayPal is not available there. Services such as Payoneer let freelancers receive payments in many countries, and you can read how it works on Payoneer's website. Check the fees on the provider's own pages before you quote, and set aside money for tax from the first payment.
Your 30 day starting plan
| Week | What to do |
|---|---|
| Week 1 | Pick one deliverable and one client type, study the four design basics, and choose your free tools |
| Week 2 | Make five practice designs, and write a short note for each one that explains the brief and your choices |
| Week 3 | Finish five more designs, put all ten on a simple portfolio page, and set your floor rate |
| Week 4 | Contact ten local businesses, set up one platform profile, and post three designs on social media |
Do the plan in order. A portfolio with no outreach brings no clients, and outreach with no portfolio wins no jobs.
A worked example: pricing a logo package
Example only: these numbers are not typical results. They show the maths, so you can repeat it with your own figures.
Imagine your monthly income target is 800 US dollars after costs, and you can bill 40 hours a month. Your floor rate is 800 divided by 40, which is 20 US dollars per hour.
Now imagine a client wants a logo package: a main logo, one variation, and a simple colour guide. You estimate 12 hours of paid work, including the brief call, research, three concepts, two revision rounds, and the final export. Your floor price is 12 times 20, which is 240 US dollars. You quote 350 US dollars for the package, because a logo is the face of the client's business.
The client accepts, and the work comes through Fiverr with a 20 percent fee. The fee is 20 percent of 350, which is 70 US dollars, so you receive 280. You set aside 20 percent for tax, which is 56, so you keep 224 US dollars before your own costs.
You also spent 4 hours of unpaid time on the proposal, the revision admin, and the file handoff notes. Your total time was 16 hours. Your effective rate was 224 divided by 16, which is 14 US dollars per hour. That is below your 20 US dollar floor.
Recheck the maths: 350 minus 70 is 280, and 20 percent of 280 is 56, and 280 minus 56 is 224, and 224 divided by 16 is 14. Every unpaid hour cuts your real rate, so count all of them before you quote.
What it costs and what to expect
Graphic design has low startup costs if you start with free tools. The main cost is your time.
| Item | Typical cost |
|---|---|
| Computer and internet | You probably already have these |
| Free tools (Canva, Photopea, GIMP) | 0 US dollars |
| Portfolio page | 0 to 100 US dollars a year |
| Adobe Creative Cloud, when you move to it | Check the current price on Adobe's site, as it changes |
| Tax set aside | 20 to 30 percent of income, depending on your country |
| Total to start | 0 to 100 US dollars, plus your time |
Expect a slow start. Your first clients will be small jobs at low prices. As your portfolio fills with real client work, your prices can rise. Keep a part time income while you build, if you can.
Common mistakes
- Offering every kind of design, so no client can tell what you are best at.
- Copying another designer's portfolio work, which breaks trust and can break the law.
- Learning tools before learning layout, colour, fonts, and space.
- Quoting only the design hours and forgetting the brief, revisions, export, and handoff.
- Agreeing to unlimited revisions, which turns a fixed price into open ended work.
- Using a font or photo without checking its licence, then handing the files to a client.
- Handing over final files before the final payment clears.
- Waiting for clients to find you, instead of contacting local businesses every week.
Risks and scams to watch for
The main risks in freelance design are unpaid work, scope creep, and licence trouble. Reduce them with a deposit, a written brief, a revision limit, and a check of every asset's licence before handoff.
Watch for scams aimed at new designers. Be wary of any client who asks you to pay a fee to join, buy a starter kit, or pay for training before you can work. Be wary of design contests that ask for free work with no prize, or clients who ask for a full free sample that is really the finished job. Be wary of anyone who asks for your bank login or a verification code. Real clients pay you, not the other way round.
Also be careful with shared software accounts. Some sellers offer cheap shared accounts for paid design tools on messaging apps. These accounts often break the tool's terms and can stop working without warning. Use the free tools, or pay for your own licence when you can afford it.
Frequently asked questions
How much do freelance graphic designers charge?
Rates vary widely by service, market, and skill. Work out your floor rate from your monthly target and your billable hours, then research what similar designers charge for the same service in your market before you quote.
Do I need a degree to be a freelance graphic designer?
No, you do not need a degree. Clients hire designers for their portfolio, not for qualifications. Ten strong practice designs matter far more than a diploma.
Can I start with Canva?
Yes, you can start with Canva, and many beginners do. Canva is free to start, runs in a browser, and covers social media graphics, flyers, and simple logos well. It is not the right tool for complex print work, so move to Photoshop and Illustrator when paying work justifies the cost.
Conclusion
Learning how to work as a freelance graphic designer comes down to a simple order of work. Pick one deliverable for one type of client, learn layout, colour, fonts, and space, and build ten honest practice designs.
Next, read how to create a freelance portfolio, how to set freelance rates, and how to find freelance clients. Then browse all freelancing guides to find your next step. Earning results vary; nothing on this site is financial advice.