Learning how to learn app development online is a bigger commitment than most skills on this site, but it is also one of the most useful. An app developer builds the apps people use every day, from to-do lists to banking. This guide helps you choose one path, learn the coding basics, build three real apps, and publish one of them, with a free-first plan and a 90-day roadmap.
In this guide
- What app development is, in plain words
- Step 1: Choose your path
- Step 2: Learn the coding basics
- Step 3: Take one structured course
- Step 4: Build your first three apps
- Step 5: Learn design and testing basics
- Step 6: Publish one app and build a portfolio
- Your 90-day plan
- Worked example: a realistic first 90 days
- What it costs and what to expect
- Common mistakes
- Risks and scams to watch for
- Frequently asked questions
What is app development, in plain words?
App development is the work of designing, building, testing and publishing software that runs on phones and tablets. A mobile app has two main parts: the front end, which is what the user sees and touches, and the back end, which is the server and database that store data and handle accounts. As a beginner, you start with the front end and learn the back end later.
There are three main ways to build an app. Native development means building separately for each system: Swift for iPhone and iPad, and Kotlin for Android. Cross-platform development means writing one codebase that runs on both, using tools such as Flutter or React Native. No-code and AI-assisted tools let you build simple apps with little or no code, which is a different route.
App development is a skill employers pay for, and freelancers sell it as a service. It takes longer to learn than most skills on this site, and that is normal. The work is more technical, so expect to spend real time stuck on errors. That debugging skill is part of the job, not a sign that you are failing.
This guide is about learning app development as a skill, including the coding. If you want the faster AI-assisted route, read build apps with AI and earn money. The two guides cover different paths, and you should pick one before you start.
Step 1: Choose your path
This is the most important decision in the whole guide, because switching paths halfway wastes weeks. Choose one path and stay with it for at least 90 days.
| Path | Language and tools | Best for | Watch out for |
|---|---|---|---|
| Native iOS | Swift, Xcode, Apple devices | iPhone apps, Apple jobs, the highest-paid iOS roles | You need a Mac to build and publish |
| Native Android | Kotlin, Android Studio | Android apps, the largest phone market | More device types to test on |
| Cross-platform with Flutter | Dart, Flutter | One codebase for iPhone and Android, fast to learn | Some advanced features still need native code |
| Cross-platform with React Native | JavaScript, React Native | Web developers moving into apps | Needs JavaScript knowledge first |
| No-code or AI-assisted | Visual builders, AI tools | A simple app fast, with no coding | Limited control, and hard to fix when it breaks |
If you have no coding experience and no strong preference, choose Flutter. It has one language to learn, one codebase for both systems, and good free courses. If you already know JavaScript, choose React Native. If you want an iPhone-only career and you own a Mac, choose Swift. If you want Android only, choose Kotlin.
Do not try to learn two paths at once. Pick one and stay with it for 90 days.
Step 2: Learn the coding basics
Before you build an app, you need the basics of one programming language. A programming language is a set of rules for telling a computer what to do. You do not need to master it before you start building. You need enough to follow a course: variables, which store values; functions, which are reusable blocks of instructions; conditions, which let the program choose between options; and loops, which repeat an action.
Learn the basics in this order:
- Variables and data types. Numbers, text, true or false values, and lists. This is the vocabulary of code.
- Conditions. If this, then that. This is how an app decides what to show.
- Loops. Repeat an action for each item in a list. This is how an app handles many items at once.
- Functions. Bundle a set of steps under one name, then reuse it. This keeps your code tidy.
- Objects and classes. A way to group data and behaviour together, such as a "user" with a name and an email address.
Free interactive platforms such as freeCodeCamp and Codecademy teach these ideas with short exercises. If you want a fuller guide, read how to learn coding for beginners. Spend two to three weeks here, no more. The goal is to start building, not to finish a theory course.
Step 3: Take one structured course
One good course beats ten half-finished ones. Pick a single course for your chosen path and finish it. Free options exist for every path, and they are good enough to start.
- Flutter. The free Flutter course from Google and the App Brewery teaches you to build eight complete apps with step-by-step video lessons. It needs no prior experience.
- Android. Google's own Android developer training recommends Android Basics with Compose as the starting course. It uses Kotlin, needs no programming experience, and builds a series of apps as you learn.
- iOS. Apple's Swift page points to Develop in Swift tutorials and Swift Playgrounds, which teach Swift as a first language with interactive lessons. A free university course on iOS development is also available through edX.
- React Native. A free course from a university on Coursera covers multiplatform development with React Native, and it can be audited for free. It assumes some prior experience with web basics, so finish the coding basics first.
While you take the course, type every line of code yourself. Do not just watch. Pause the video, write the code, run it, and fix the errors. That fixing time is where the learning happens.
Step 4: Build your first three apps
Courses teach the ideas. Building teaches the skill. After the first few course lessons, start your own projects in this order. Each one teaches a new idea, and each one is small enough to finish.
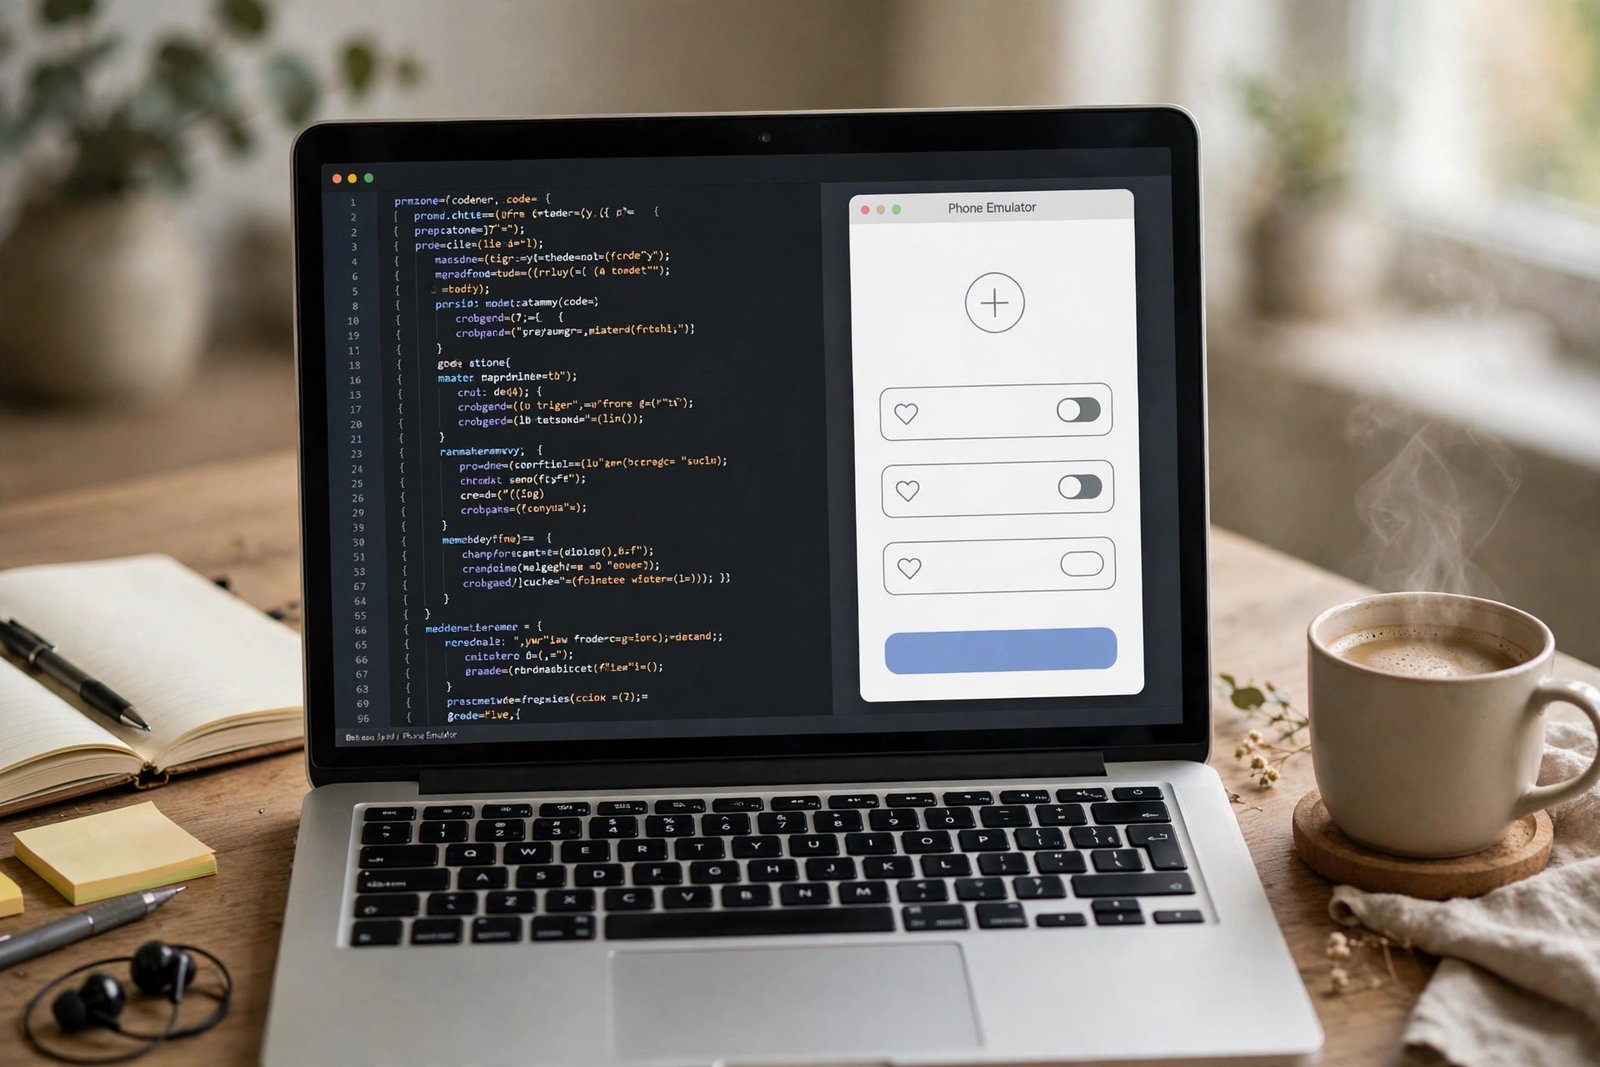
App 1: A to-do list. One screen, a list of tasks, add and delete buttons. This teaches lists, buttons, and saving data on the device.
App 2: A weather app. It fetches data from a free weather service and shows it on screen. This teaches APIs, which are services that give your app data over the internet.
App 3: A notes app with categories. Several screens, a search box, and categories for notes. This teaches navigation between screens, searching, and organising data.
For each app, follow the same routine: plan it on paper first, build the simplest version, test it on a real phone or emulator, fix the bugs, and write three lines about what you learned. An emulator is a pretend phone that runs on your computer. Do not skip the write-up. It becomes your portfolio evidence later.
Step 5: Learn design and testing basics
A working app is not enough. It must be easy to use, and it must not crash. Learn these two basics before you publish anything.
Design basics. Learn the platform's design rules: Apple's Human Interface Guidelines for iPhone, and Material Design for Android. The key ideas are simple: big touch targets, readable text, one main action per screen, and consistent colours. Sketch each screen on paper before you build it. If you want to learn design properly, read how to learn UX design for beginners.
Testing basics. Test on a real phone, not only on the emulator. Tap every button, type wrong input on purpose, rotate the screen, and turn the internet off. Ask one friend to use the app while you watch, and do not help them. Every time they get stuck, you have found something to fix.
Step 6: Publish one app and build a portfolio
Publishing is the step most learners skip, and it proves the skill. Publish your best app, even if it is simple. A published app with real users says more than ten unfinished projects.
The publishing steps are:
- Create a developer account. Apple and Google both charge a yearly fee for a developer account. Check the current fee on the official Apple Developer and Google Play pages before you pay, because fees change.
- Prepare the store listing. You need an app name, a description, screenshots, and an icon. Write the description in plain words, and say honestly what the app does.
- Follow the store rules. Both stores review every app. Common rejections are crashes, missing privacy information, and copied content. Read the review rules before you submit.
- Submit and wait. Review usually takes a few days. If the app is rejected, read the reason carefully, fix it, and submit again. Rejection is normal, even for experienced developers.

Build your portfolio around the published app and the other two projects. For each one, show a screenshot, a short description, the tools you used, and one thing you learned. Put it on a simple page or a GitHub profile, which is a public place where developers share code. If you plan to offer app work to clients, read how to create a freelance portfolio next.
Your 90-day plan
This plan assumes seven to ten hours a week. App development needs more hours than most skills, so adjust the schedule to your life, but keep the order.
| Weeks | Focus | What you will have |
|---|---|---|
| 1 to 2 | Choose a path, learn coding basics | One path chosen, basic language ideas understood |
| 3 to 6 | One structured course, typed by hand | Half the course finished, two small practice apps |
| 7 to 8 | App 1: to-do list, finished and tested | One working app on your phone |
| 9 to 10 | App 2: weather app with a free API | One app that fetches live data |
| 11 to 12 | App 3: notes app, design basics, publish the best app | One published app and a three-project portfolio |
Worked example: a realistic first 90 days
Example only: these numbers are not typical results. They show the time and the maths, not what you will earn.
Bilal is a complete beginner with eight hours a week. He chooses Flutter, because he has no coding experience and wants one codebase for both systems.
- Weeks 1 to 2: 16 hours. He learns Dart basics with free interactive lessons and finishes the first part of the Flutter course.
- Weeks 3 to 6: 32 hours. He finishes the course, typing every line himself, and builds two small practice apps from the lessons.
- Weeks 7 to 10: 32 hours. He builds the to-do app and the weather app, tests them on his own phone, and fixes the bugs.
- Weeks 11 to 12: 16 hours. He builds the notes app, prepares screenshots, creates a developer account, and submits his best app to the store.
- Total learning time: 96 hours over 90 days. Total money spent: the yearly developer account fee, which he checks on the official store page before paying, and 0 on courses.
At the end he has three working apps, one of them published, and a small portfolio. He has not earned anything yet. That is normal. The next step is a small freelance job or a junior role. For the client side, read how to find freelance clients.
What it costs and what to expect
| Item | Typical cost | Notes |
|---|---|---|
| Coding basics (freeCodeCamp, Codecademy free tier) | Free | Enough for the basics |
| Structured course (Flutter, Android, Swift) | Free | The best beginner courses are free |
| Paid course on Udemy | Usually a low price on sale | Optional, and only if you want a different teacher |
| Developer account (Apple and Google) | Yearly fee each | Check the official store pages before you pay |
| Total to get started | 0 for learning | The developer account fee is the only real cost |
Expect the basics to take two to three weeks, and a first working app to take six to eight weeks. Getting confident takes six to twelve months of steady building, because real skill comes from fixing real bugs. Do not expect income in the first three months. App development pays when you can ship working apps. Results vary with experience, the path you choose, and the time you put in.
Common mistakes
- Switching paths halfway. Learning Flutter for a month and then switching to Swift wastes the first month. Pick one path and stay with it for 90 days.
- Watching without typing. A course only works if you write the code yourself. Pause the video, type it, run it, and fix the errors.
- Building only from tutorials. Tutorial apps teach the steps, but your own apps teach the thinking. Build your own projects as soon as you can.
- Skipping testing on a real phone. An app that works on the emulator can still fail on a real phone. Test on a real device before you publish.
- Ignoring the store rules. Read the review rules before you submit, or you will waste days on rejections you could have avoided.
- Giving up at the first hard bug. Debugging is the job. Every developer spends hours on errors. Search the error message, read the docs, and ask in a developer community.
Risks and scams to watch for
- Bootcamps that promise a job. No bootcamp can promise you a job. Some charge high fees for material that is free online. Check the syllabus and the teacher's background before you pay.
- "Build an app with no code and get rich" claims. No-code tools are real, but they do not guarantee income. An app earns only if people want it and use it, and that is a business problem, not a tool problem.
- Fake app ideas for sale. Some sellers charge for "proven app ideas" or source code that is freely available online. Do not pay for ideas. Build small apps and learn what users actually want.
- Store account scams. Never buy a developer account from a stranger, and never share your account login. Apple and Google can close accounts that break their rules, and a bought account is a fast way to lose your work.
- Copying other apps. Do not copy another app's design, name, or content. Stores reject copied apps, and it can cause legal trouble. Build your own ideas, even if they are simple.
Frequently asked questions
Do I need to know coding to learn app development?
Yes, for the path in this guide. You need the basics of one programming language before you can build an app. The exception is the no-code route, which needs no coding but gives you less control. If you want to learn the coding first, read our guide on how to learn coding for beginners.
Which language should I learn first for app development?
It depends on your path. Choose Swift for iPhone apps, Kotlin for Android apps, Dart for Flutter, or JavaScript for React Native. If you have no preference, choose Flutter with Dart, because one codebase covers both iPhone and Android and the free courses are strong.
How long does it take to learn app development?
You can build a first simple app in six to eight weeks at seven to ten hours a week. Getting confident takes six to twelve months of steady building. Getting hired takes longer, because you need a portfolio of finished apps first.
Can I learn app development for free?
Yes, the learning is free. The best beginner courses for Flutter, Android and Swift are free, and the coding basics are free on interactive platforms. The only real cost is the yearly developer account fee when you publish.
Is app development hard?
It is harder than most skills on this site, because it combines coding, design, testing and publishing. Every developer spends hours fixing errors. If you enjoy solving small puzzles and you can stay with one path for 90 days, you can learn it.
Do I need a degree to become an app developer?
No. Employers and clients judge you by your apps and your portfolio, not by a degree. A published app matters more than a certificate. A degree can help for some jobs, but it is not required.
Conclusion
Learning app development online comes down to a clear order: choose one path and stay with it, learn the coding basics, finish one structured course, build three small apps of your own, learn design and testing, and publish your best app. Do not start with a huge app idea.
Next, read how to learn coding for beginners, how to learn UX design for beginners, and build apps with AI and earn money. Then browse all digital skills guides to plan your next step.
Reader note: course and platform details were checked on 14 November 2026 against the official Android developer training page and the Apple Swift page. Developer account fees and store rules change, so confirm them on the official Apple Developer and Google Play pages before you pay. Tax and work rules differ by country, so check your local rules and a qualified accountant. Earning results vary; nothing on this site is financial advice.